Press ESC to close

TVHeadend: Docker Compose installation guide on Synology

Table of contents

Hello!

Today I’ll show you how to install TVHeadend on a Synology server using Docker containerization. We will perform the entire installation using Docker Compose via the Portainer tool. Next, we will configure a reverse proxy using the already installed Nginx Proxy Manager. In order for us to access Traccar by domain name on the local network, we will configure DNS rewriting using AdGuard Home.

Introduction to our project

What is TVHeadend?

TVHeadend, LogoTVHeadend is an advanced server platform for streaming digital TV. It is an open source software that allows you to transmit TV signals to various devices on your home or business network. TVHeadend supports various transmission standards, including DVB-S, DVB-S2, DVB-C, DVB-T, ATSC, ISDB-T and IPTV.

TVHeadend is popular among digital TV enthusiasts and hobbyists because of its flexibility and configurability. The ability to install on a Synology NAS via Docker Compose greatly simplifies the installation and management process, making it accessible to a wider range of users.

Key features of the software include:

  • Channel Management: Users can view, manage and record TV channels.
  • DVR and Recording: Offers digital video recording (DVR) functions, allowing you to schedule and record TV programs.
  • Electronic Television Program (EPG): Supports EPG, allowing users to view TV programs and schedule recordings.
  • Streaming: The ability to stream TV content to various devices on the network, including smartphones, tablets and computers.
  • Multi-user support: Allows multiple users to operate simultaneously, each with their own settings and access.
  • The ability to integrate with various CA systems, which is key when receiving encrypted TV channels. This allows users to legally decode and watch pay channels, as long as they have the proper authorization and equipment.

Legal information on conditional access (CA)

Before configuring TVHeadend in conjunction with OSCam, it is important to be aware of the legal issues surrounding the use of card sharing and conditional access to TV channels. Card sharing, or network conditional access card sharing, can have different legal connotations depending on the country.

In many countries, using card sharing to unblock pay TV channels without having the proper license or subscription is considered copyright infringement and may be subject to legal sanctions. This is particularly important in the context of commercial television services, where access to content is governed by licensing agreements and subscriptions.

Users who are considering using card sharing to access encrypted channels should carefully review local laws and make sure their actions are fully legal. It is recommended to use card sharing only in legitimate scenarios, such as sharing a signal within a single household while holding a valid subscription.

Preparation

In order to prepare the tutorial, we will adopt an established domain name and certain configuration names, shown below. For customized configuration, apply settings according to individual requirements.

  • Full domain name (FQDN) of Synology DSM: https://dsm.xyz.com,
  • Full domain name (FQDN) TVHeadend: https://tvh.xyz.com,
  • Installed on Synology via Docker: Portainer, AdGuard Home,
  • Installed on Synology via Package Center: Container Manager,
  • On the router’s DHCP server, the indicated IP address of the DNS server (AdGuard Home) installed on the Synology.

Hardware

  • 1x Synology DS920+
    • The aforementioned model has a built-in graphics card to better support video processing operations, such as transcoding. This is especially important when we’re talking about streaming multimedia content, which may require additional computing resources.

Nginx Proxy Manager (optional)

On my Synology, I have configured a reverse proxy using Nginx Proxy Manager, which allows access to the TVHeadend panel via a URL (https://tvh.xyz.com) instead of the standard IP address. It is a solution that increases the convenience of managing UniFi devices by offering an easier to remember and more intuitive address available on the LAN. Are you interested in how to do it? Take a look here.

In addition, local DNS redirection is performed by the AdGuard DNS server, also running on a containerized version of the Synology server.

Container from LinuxServer.io

A repository of the containerized version of TVHeadend created by LinuxServer.io is available here. Based on this data, we will create a new Stack in the Portainer.

Step 1 – Configuration in Synology DSM

If you use the Authentik single sign-on system, you can make the login process easier by integrating the operating system from Synology DSM with Authentik. For integration instructions, see the dedicated guide.

  • Log in to your Synology file server and launch File Station.
  • Then, navigate to the previously created shared folder named docker. Inside this folder, create a tvheadend folder.
Synology DSM, File Station tvheadend

Step 2 – Configure Docker Compose in the Portainer

Log in to the Portainer to start the process of creating a new stack (Stack), which will be needed to create Docker Compose code.

  • Log in to your account and go to the administrative interface of the Portainer.
    • If you are using the Authentik single sign-on system, you can make the login process easier by integrating Portainer with Authentik. For integration instructions, see the dedicated guide.
  • Select your environment (eng: Environments) in which you will edit the configuration of the created Docker Compose. Then go to Stacks.

Guide to installing Traccar on Synology in Docker

  • From the upper right corner (under your login), select Add stack.

Guide to installing Traccar on Synology in Docker

  • Fill in the Docker Compose file creation with the following values:
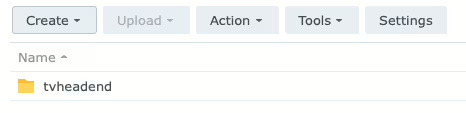
    • Name: tvheadend
    • Build method: Web editor
    • Web editor: copy the content described below and paste

Option A: Network mode – Host

If you are using IPTV, SAT>IP decoder or HDHomeRun, you should create a container using the host option. This is because TVHeadend requires a multicast address of 239.255.255.250 and UDP port 1900 to work with these services, which is not possible in Docker bridging mode.

---
version: "2.1"

services:
  tvheadend:
    image: lscr.io/linuxserver/tvheadend:latest
    container_name: tvheadend_server
    hostname: tvheadend-server
    network_mode: "host"
    environment:
      - PUID=1026
      - PGID=100    
      - TZ=Europe/Warsaw
    volumes:
      - /volume2/docker/tvheadend:/config
      - /volume1/video/dtv:/recordings
    devices:
      - /dev/dri:/dev/dri
    restart: unless-stopped

Option B: Network mode – Bridge

---
version: "2.1"

services:
  tvheadend:
    image: lscr.io/linuxserver/tvheadend:latest
    container_name: tvheadend_server
    hostname: tvheadend-server
    environment:
      - PUID=1026
      - PGID=100    
      - TZ=Europe/Warsaw
    volumes:
      - /volume2/docker/tvheadend:/config
      - /volume1/video/dtv:/recordings
    ports:
      - 9981:9981
      - 9982:9982
    devices:
      - /dev/dri:/dev/dri
    restart: unless-stopped

Parameters

At startup, we can specify parameters that configure containers (such as those included above). These parameters are separated by a colon and indicate <external>:<internal>. For example, -p 8080:80 will make port 80 inside the container accessible from outside the container, from the host IP, on port 8080.

  • A list of all parameters for this Stack is available at this link.
Ports
  • WebUI: 9981
  • HTSP Server: 9982
    • TVHeadend’s Home TV Streaming Protocol is used to stream TV content to clients, i.e. software or end devices that receive and display TV broadcasts.
Time Zone
  • After pasting the code in the editor, change the value for the time zone (TZ) by selecting the appropriate time zone from this list.
PUID i PGID

When you use volumes (-v parameter), there may be permission issues between the host OS and the container. To get around these problems, we give you the option to select a user identifier (PUID) and a user group (PGID).

  • Before pasting the above code into the editor area, change the number values for PUID and PGID to your own PUID and PGID values. The PUID and PGID values refer to a particular account existing on Synology. You need to enter your own values.
  • To check your PUID and PGID values on Linux, you can use a terminal. Enter the command id username (replacing username with your own username on the computer). The result of this command will show your PUID (UID) and PGID (GID). These values are essential to properly configure Docker containers, as they allow you to match the permissions of files and directories in the container to your system.
id jkowalski
uid=1026(jkowalski) gid=100(users) groups=100(users),101(administrators)
  • Click Deploy the stack, then wait until Portainer downloads the content and creates the container.
  • When the process is successful, the message Success: Stack successfully deployed will appear in the upper right corner of the screen. Then, the newly created container stack will appear in the container list.

Step 3 – Configuration in Nginx Proxy Manager

Web access over HTTPS (SSL Certificate).

If you have uploaded an SSL certificate for your domain that supports subdomains (Wildcard certificate):

  • Log in to the administrator account in Nginx Proxy Manager.
  • Click on Hosts, then select Proxy Hosts from the menu,

Nginx Proxy Manager desktop

  • In the upper right corner, click Add Proxy Hosts.

Add Proxy Host in Nginx Proxy Manager

  • Complete the parameters with the following values:
    • Domain Names: tvh.xyz.com
    • Scheme: http
    • Forward Hostname/IP: IP-ADDRESS-SYNOLOGY
    • Forward Port: 9981
  • In the Edit Proxy Host window on the Details tab, check:
    • Cache Assets,
    • Websockets Support,
    • and Block Common Exploits.

Edit Proxy Host in Nginx Proxy Manager

  • Then go to the SSL tab, select your SSL certificate and check all available additional options:
    • Force SSL,
    • HTTP/2 Support,
    • HSTS Enabled,
    • and HSTS Subdomains.

Edit Proxy Host, SSL in Nginx Proxy Manager

Step 4 – Configuration in AdGuard Home

In order to access the Netbox from our computer via the domain name defined in Proxy Manager (e.g. netbox.xyz.com) on our local network, it is necessary to configure the DNS server to point to the location of this site.

AdGuard Home Desktop

  • Log in to the AdGuard Home administration panel.
  • Go to the Filters tab, and then select DNS Rewriting from the menu.

DNS rewriting

  • Click Add DNS rewriting, then fill in the fields with the following values:
    • Enter the domain name you want to rewrite: tvh.xyz.com
    • IP Address: IP-ADDRESS-SYNOLOGY
  • Done! Wait a while until the configuration is saved. Once the process is complete, you will be able to access the server at tvh.xyz.com. 🚀

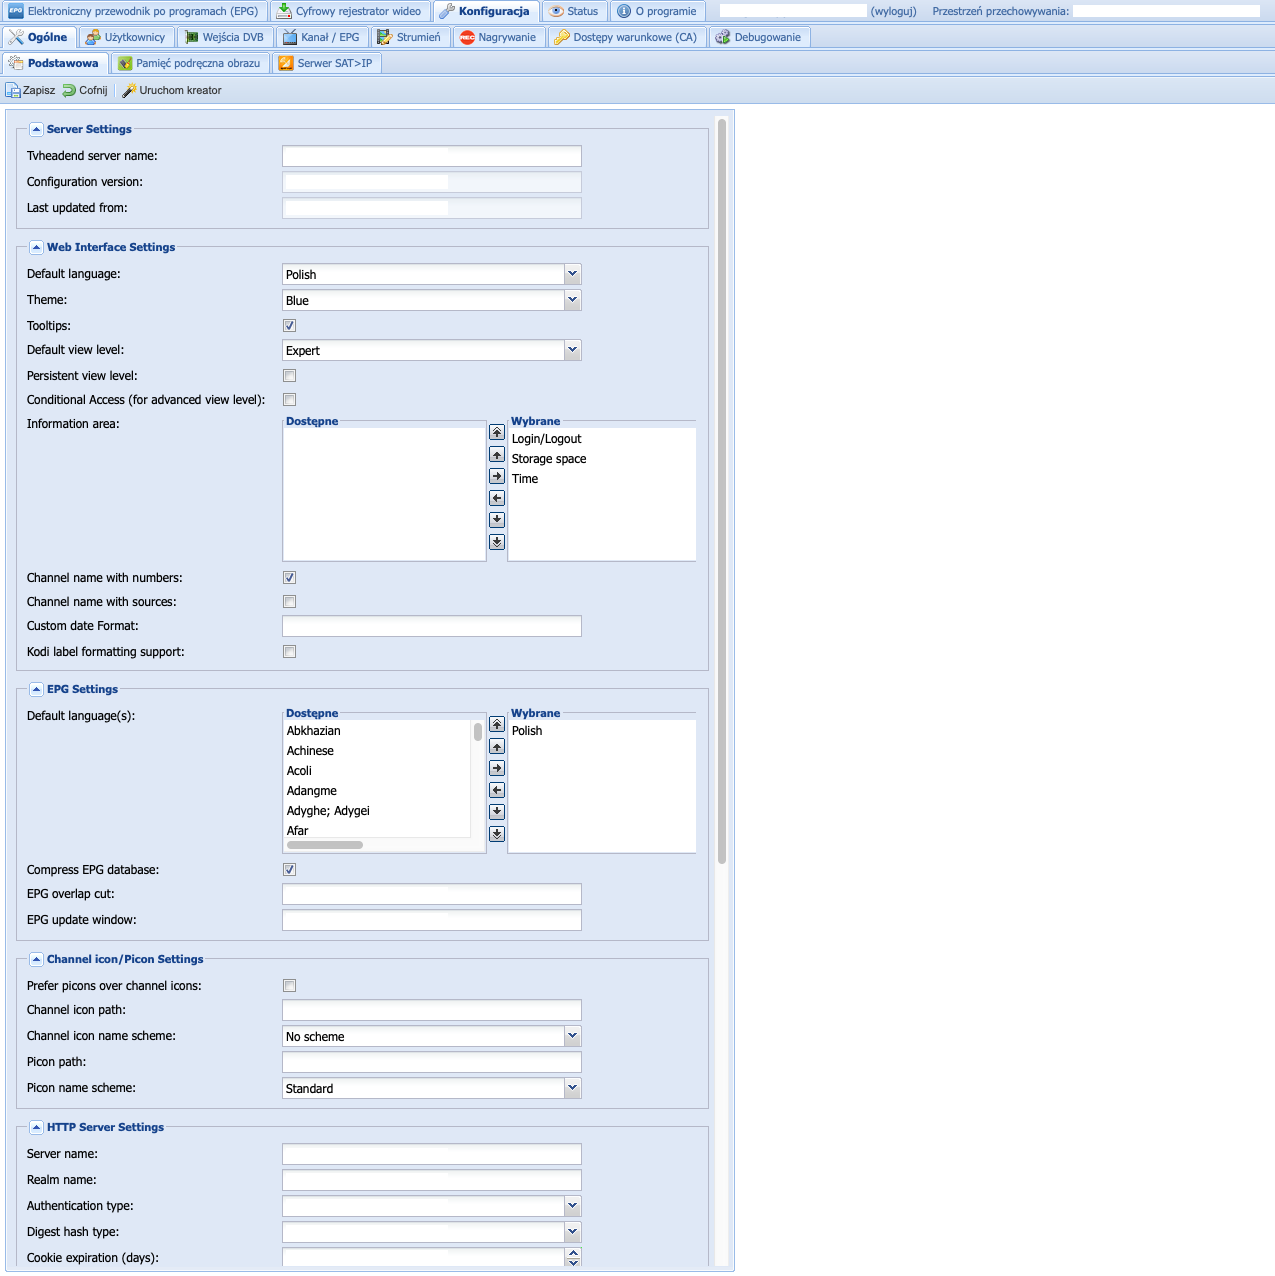
Step 5 – Log in to the TVHeadend server

The final step of our installation is to log in with administrator rights to the application we have just deployed.

  • Open the TVHeadend Web Interface: After successfully installing and launching TVHeadend, open a web browser and type https://tvh.xyz.com or enter the IP address of the Synology server with the added port on which TVHeadend runs (9981 by default), for example, http://IP-ADRES-SYNOLOGY:9981.
  • Login Page: On the TVHeadend start page, you will see the server configuration window. Since TVHeadend does not have users configured by default, you will have to go through the process of configuring an administrator account.
  • Administrator Account Setup: On the account configuration screen, follow the instructions to set the username and password for the administrator account. Make sure you choose a strong and secure password, as the administrator account has full access to all TVHeadend features and settings.
  • Log in as Administrator: Once the setup is complete, use the newly created login credentials to log in to TVHeadend as an administrator.
  • Customize Settings: As an administrator, you now have the ability to customize TVHeadend settings, including channel configuration, EPG, recording and user access management.

Note that it is also recommended to configure additional users with appropriate permissions if you plan to share access to TVHeadend with others on the network. Once logged in as an administrator, you can take full advantage of TVHeadend’s functionality and customize it to your needs.

SAT>IP decoder installation and configuration

Want to expand your TVHeadend options? Read my detailed instructions for installing a SAT>IP decoder. With this step you will get access to satellite channels, allowing you to maximize the potential of TVHeadend. 📡 🖥️ 🚀

👉 Click here and learn how to set up a sat-ip decoder on your server step by step!

Additional Sources and information:

For further exploration and more information, I recommend checking out the links below. They are valuable sources that were used in the development of this guide:

Read also:

Filip Chochół

Filip Chochol runs two blogs: personal “chochol.io” and together with his girlfriend “Warsaw Travelers” about travel. He specializes in IT resource management and technical support, and has been active in the field of cyber security awareness for almost two years. A proponent of open-source technologies, he previously worked in the film and television industry in the camera division (2013-2021). After hours, he develops interests in smart homes and networking.

Comments (2)

  • Gravatar

    litiosays:

    26/05/2024 at 12:15

    should explain how to activate hardware transcoding on your synology DS920.
    I have the same model and the “devices: – /dev/dri:/dev/dri” option is not enough.

    • Filip Chochółsays:

      29/05/2024 at 10:34

      Hello!
      Hardware transcoding is used when you need to transcode video to for example – low quality of stream. By default you have MPEG passthrough, so you don’t need transcode something – because the MPEG is directly streamed on your receiving device, without having to transcode it.
      If you want to use transcoding, you can use codec profiles for stream something on your receiving device. And then – hardware transcoding will be use.

Leave a Reply

Your email address will not be published. Required fields are marked *


This site uses Akismet to reduce spam. Learn how your comment data is processed.