Hello!
In my last post, I presented you with a tutorial on how to install a TVHeadend server on a Synology using containerization in Docker Compose on Portainer. Today we will look at the installation and basic configuration of the SAT>IP Telestar Digibit Twin. Step by step, I will show you how to set up satellite channel detection so you can enjoy watching your favorite TV shows.
Introduction
What is TVHeadend?
 TVHeadend is an advanced server platform for streaming digital TV. It is an open source software that allows you to transmit TV signals to various devices on your home or business network. TVHeadend supports various transmission standards, including DVB-S, DVB-S2, DVB-C, DVB-T, ATSC, ISDB-T and IPTV.
TVHeadend is popular among digital TV enthusiasts and hobbyists because of its flexibility and configurability. The ability to install on a Synology NAS via Docker Compose greatly simplifies the installation and management process, making it accessible to a wider range of users.
It is worth noting that TVHeadend is gaining popularity because of its ease of installation and operation. It is especially appreciated for its ability to be easily implemented on NAS servers such as Synology, for example.
Key features of the software
- Channel Management: Users can view, manage and record TV channels.
- DVR and Recording: Offers digital video recording (DVR) functions, allowing you to schedule and record TV programs.
- Electronic Television Program (EPG): Supports EPG, allowing users to view TV programs and schedule recordings.
- Streaming: The ability to stream TV content to various devices on the network, including smartphones, tablets and computers.
- Multi-user support: Allows multiple users to operate simultaneously, each with their own settings and access.
- Ability to integrate with various CA systems: which is key when receiving encrypted TV channels. This allows users to legally decode and watch pay channels, as long as they have the proper authorization and equipment.
Legal information on conditional access (CA)
Before configuring TVHeadend in conjunction with OSCam, it is important to be aware of the legal issues surrounding the use of card sharing and conditional access to TV channels. Card sharing, or network conditional access card sharing, can have different legal connotations depending on the country.
In many countries, using card sharing to unblock pay TV channels without having the proper license or subscription is considered copyright infringement and may be subject to legal sanctions. This is particularly important in the context of commercial television services, where access to content is governed by licensing agreements and subscriptions.
Users who are considering using card sharing to access encrypted channels should carefully review local laws and make sure their actions are fully legal. It is recommended to use card sharing only in legitimate scenarios, such as sharing a signal within a single household while holding a valid subscription.
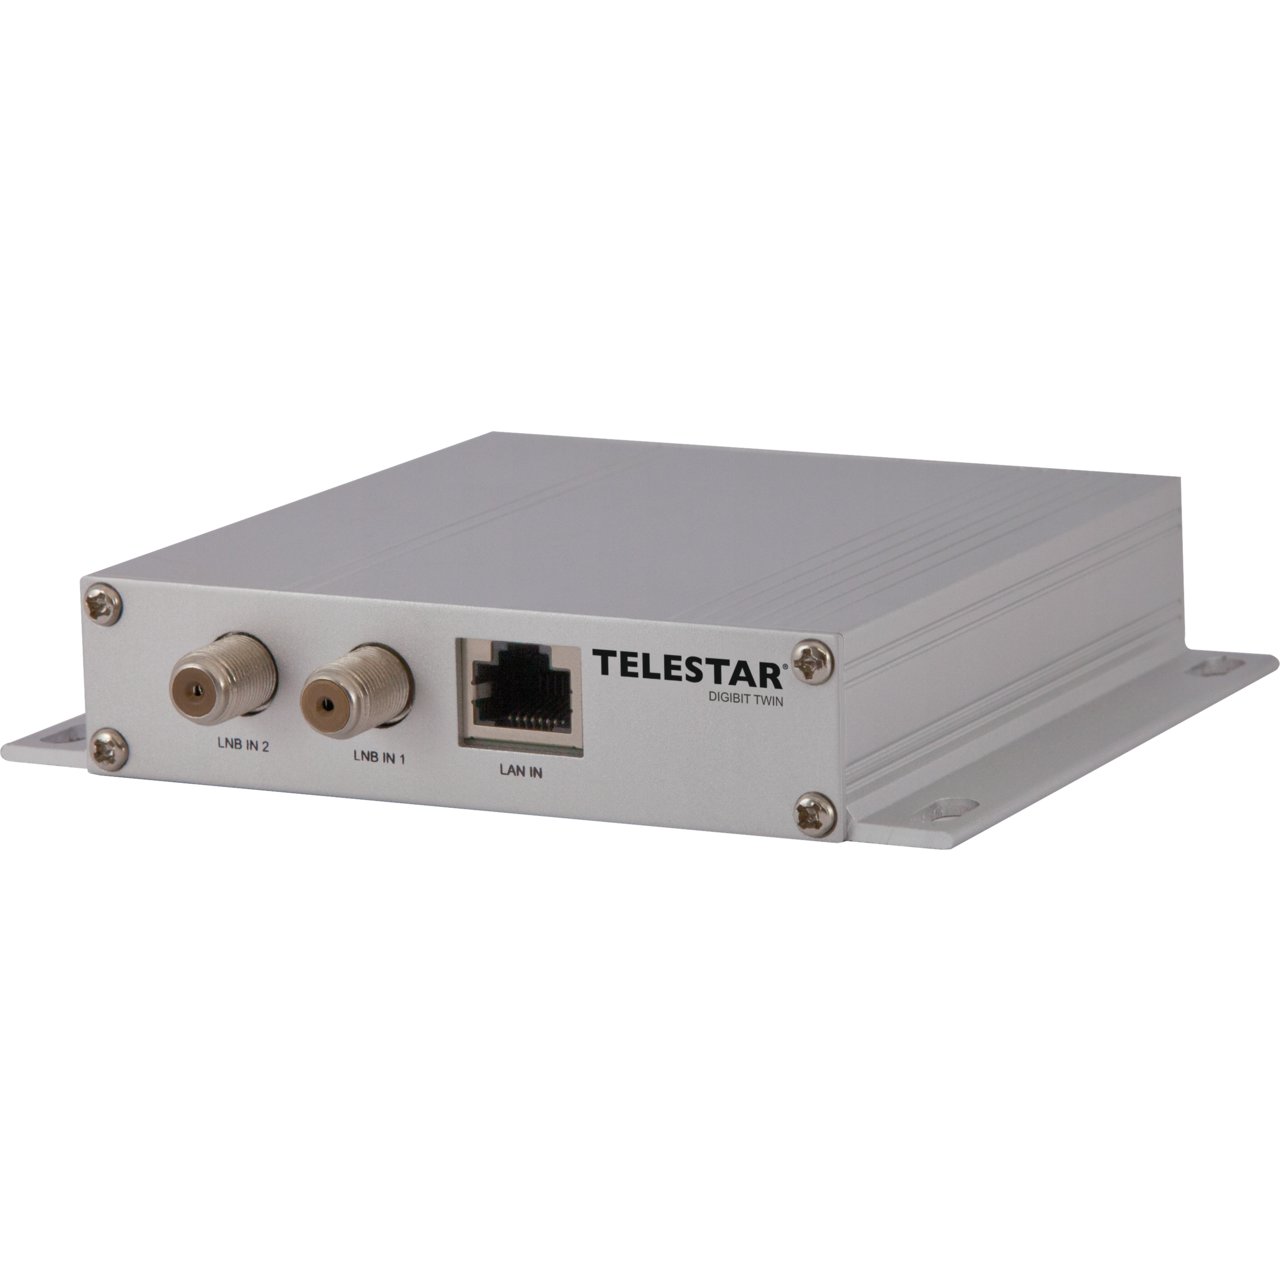
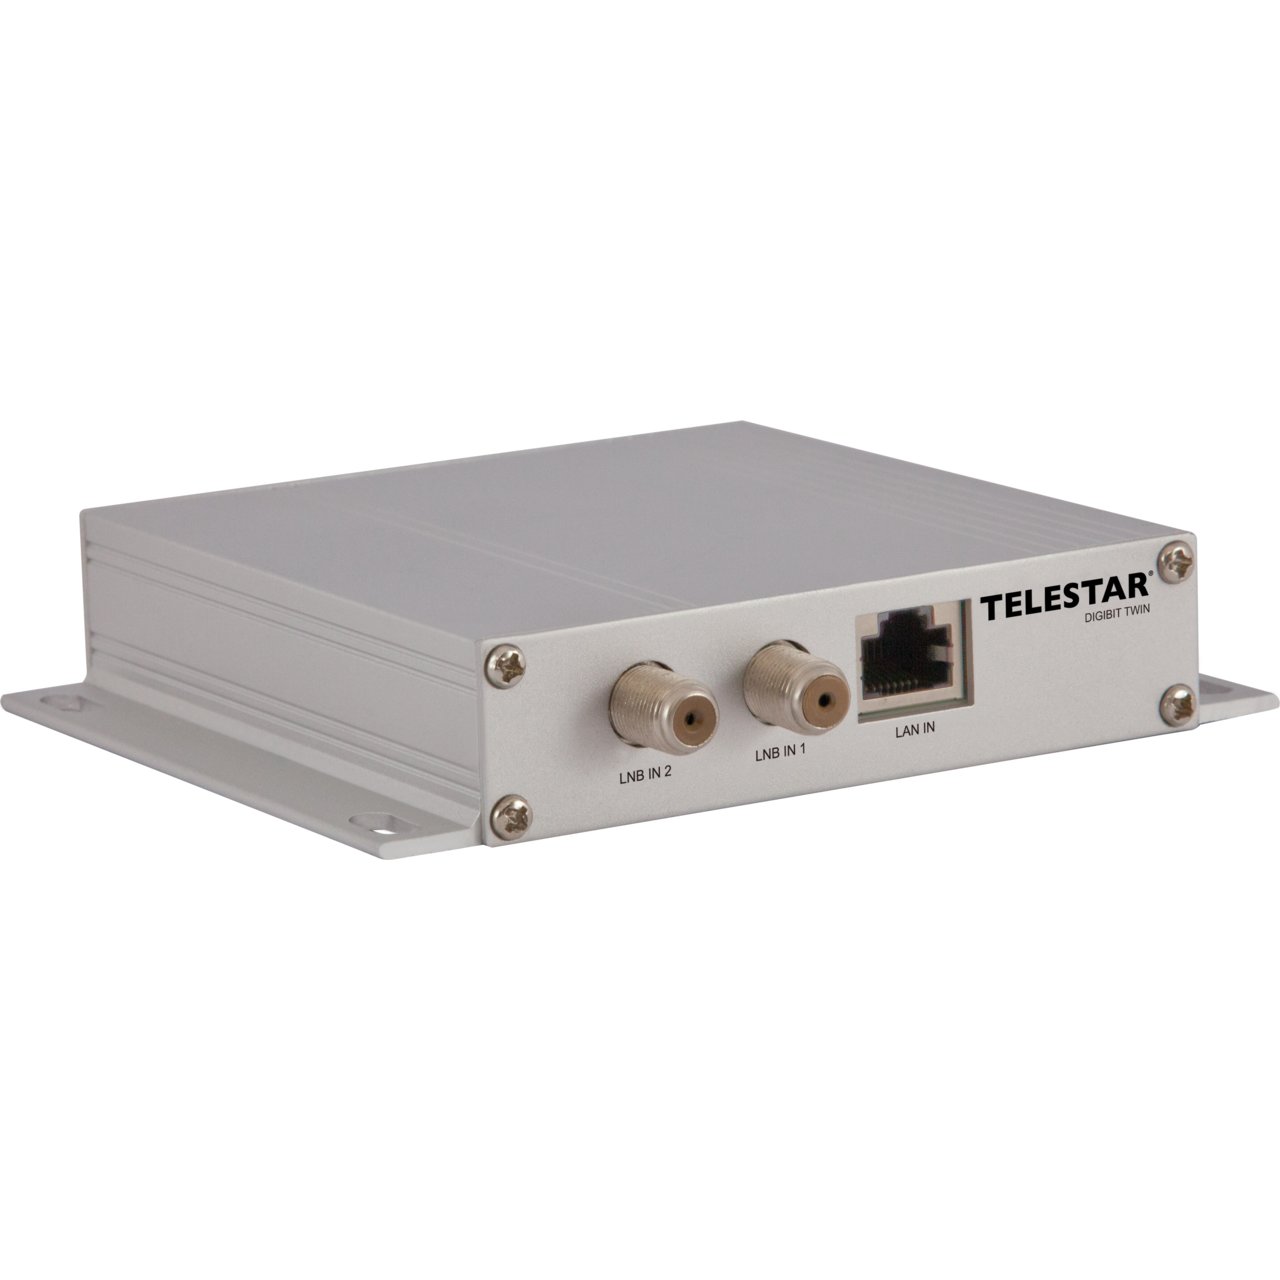
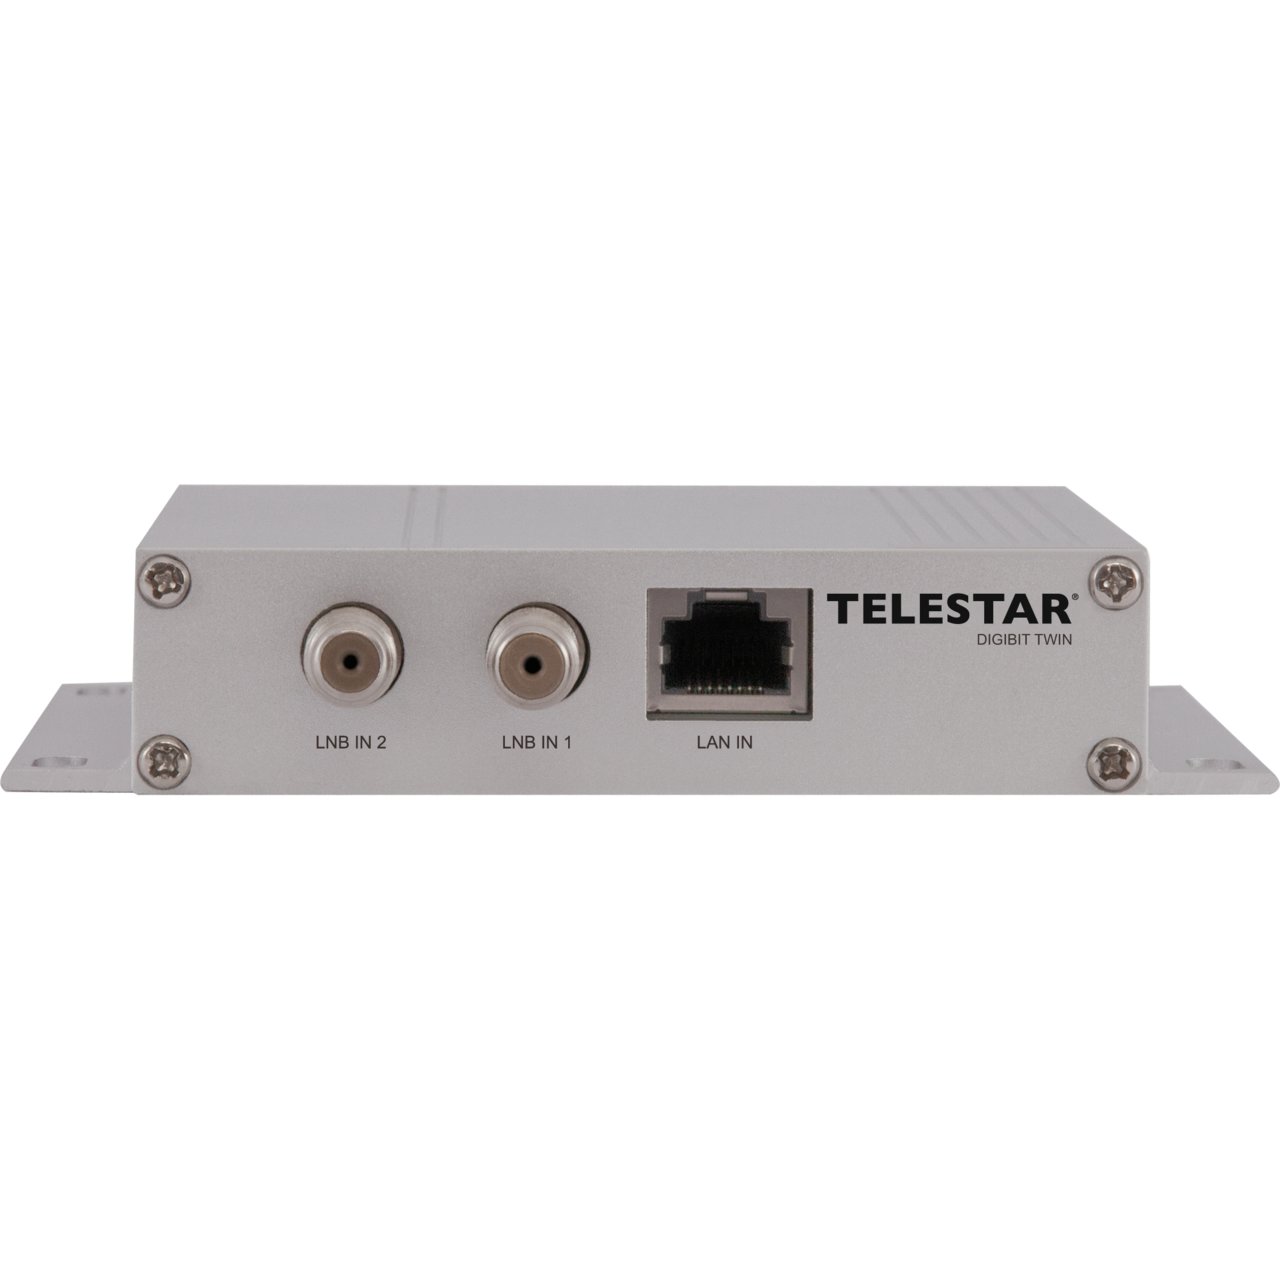
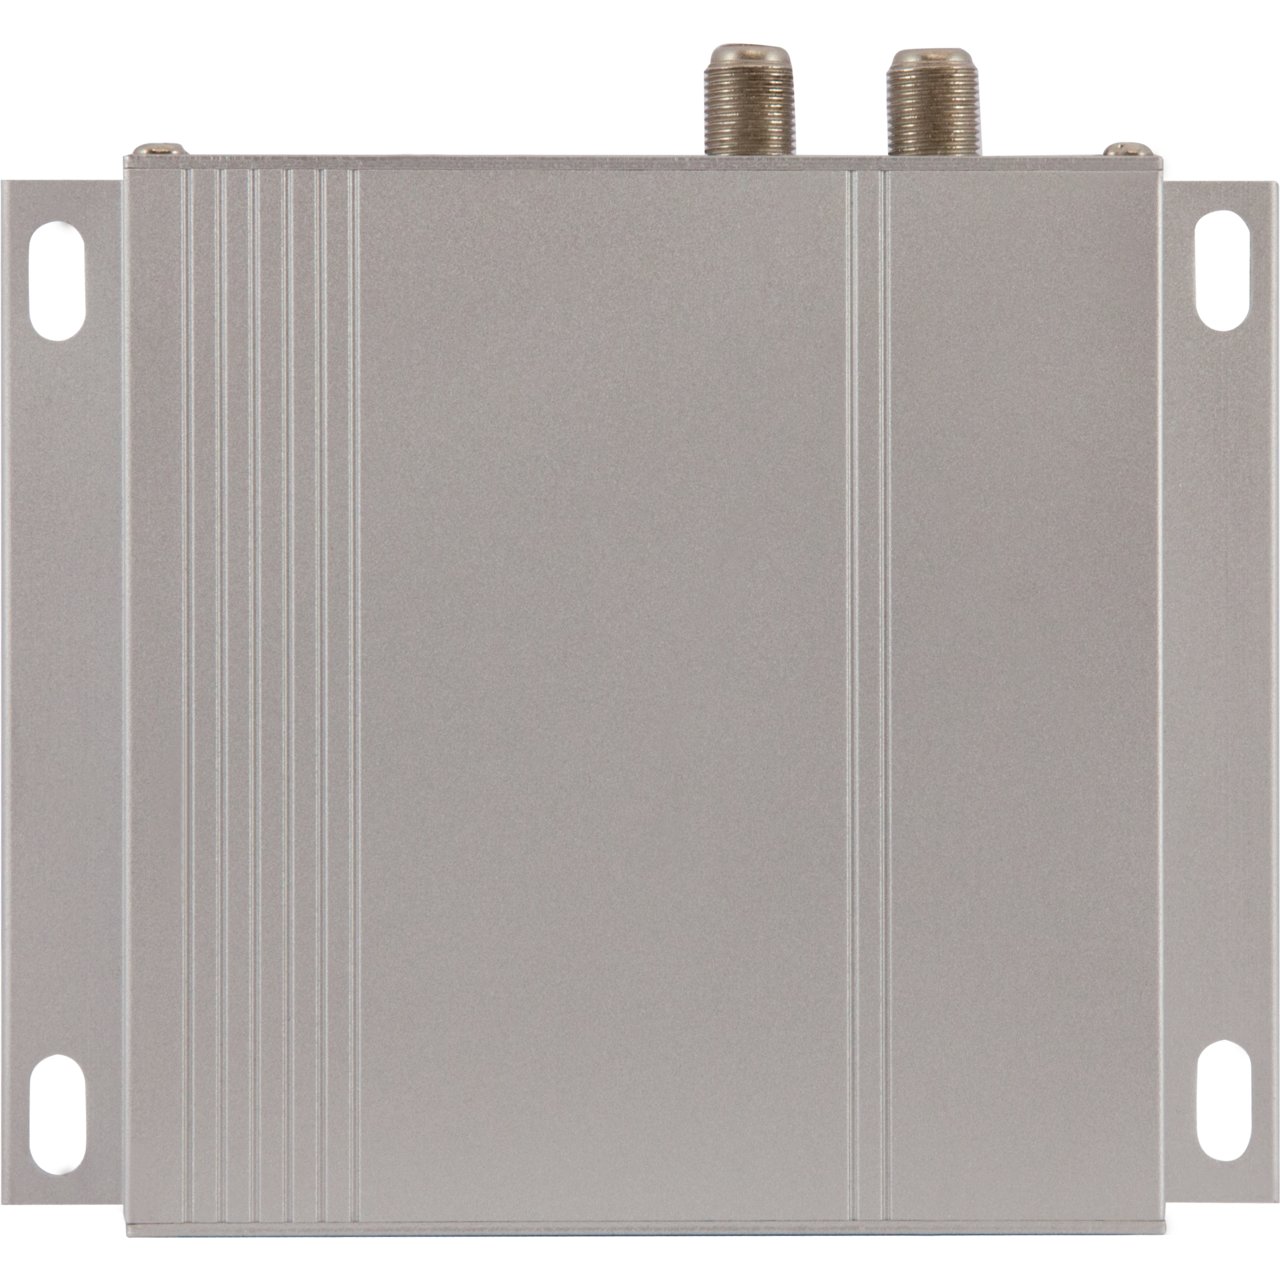
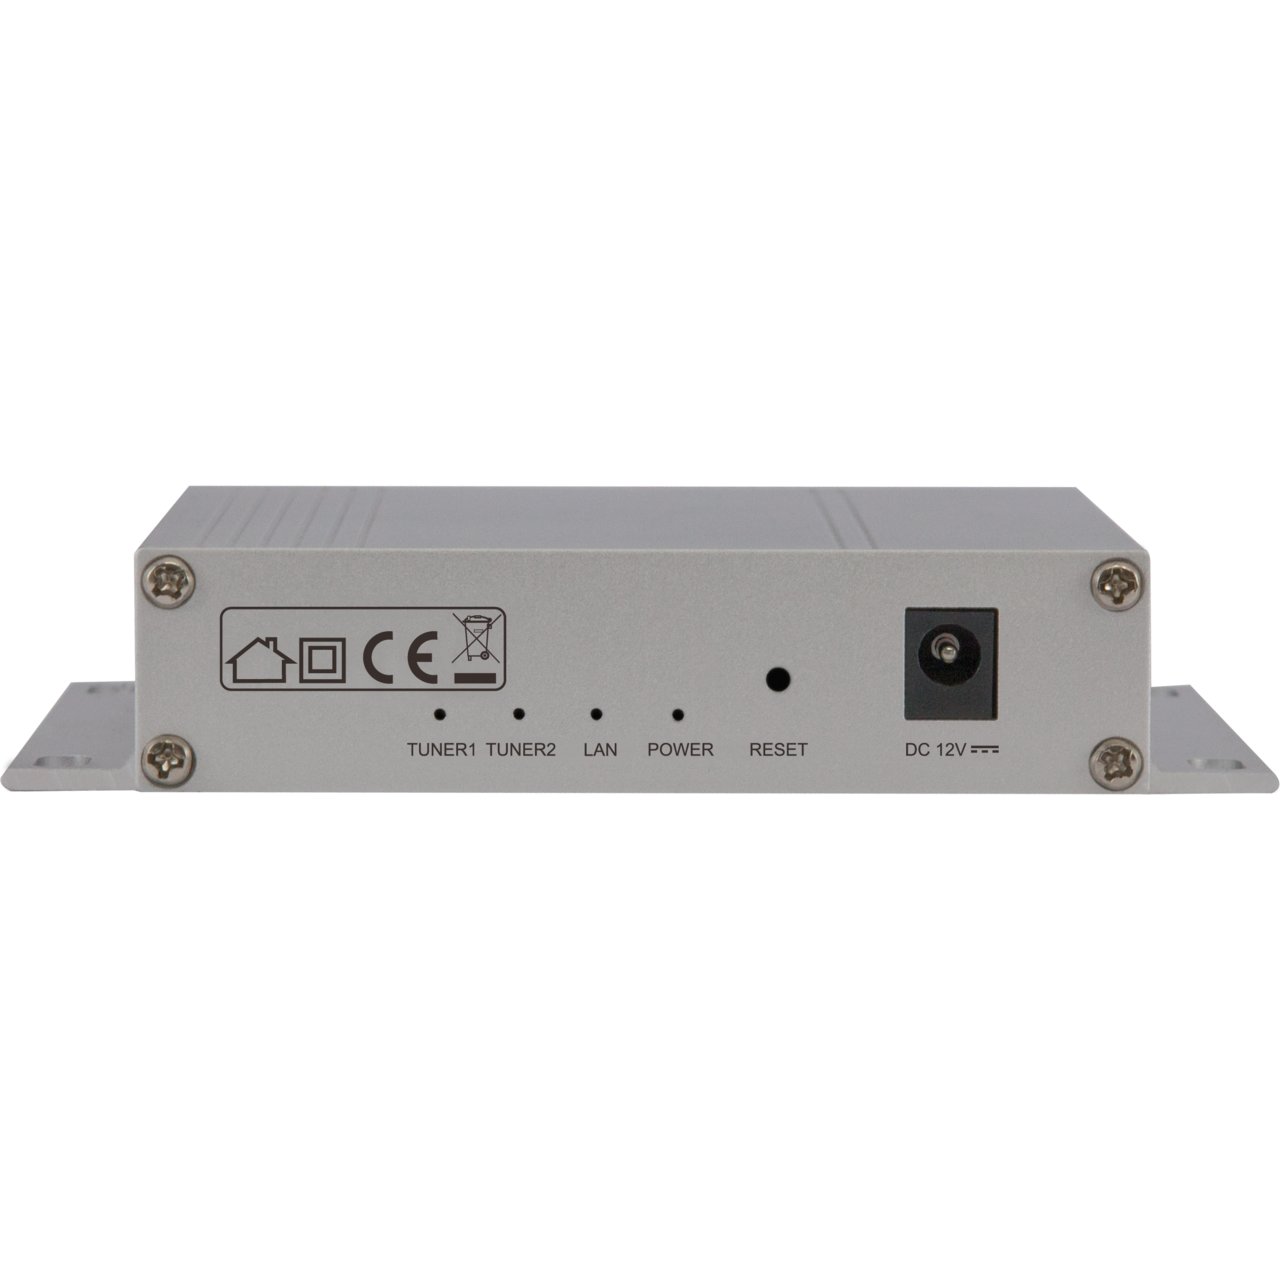
What is a Telestar Digibit Twin decoder?
Setting a permanent LAN IP address via DHCP Reservation
- Once the router has correctly detected the device, it will be assigned a random IP address. Set your desired one by using DHCP Reservation.
- The process of configuring IP address reservation in the DHCP server may vary depending on the router manufacturer. Below I will give a general description of the process. For the purposes of our configuration, we assume that our device has been assigned an IP address reservation of 192.168.100.20.
- Logging into the router’s administrative interface:
- Enter the router’s administrative interface via a web browser,
- Log in to your administrative account,
- Finding the DHCP section:
- In the router’s interface, find the section related to DHCP or LAN Settings,
- Selecting DHCP Reservation:
- In the DHCP section, look for an option related to IP address reservation,
- Adding reservations:
- In the case of TP-Link, Netgear or Asus etc.:
- Select DHCP Reservation or a similar option,
- Add a new reservation, specifying the device’s MAC address and assigned IP address (e.g. 192.168.100.20)
- In the case of MikroTik:
- Go to the IP > DHCP Server,
- In the Leases tab, find your device,
- Double-click on the selected device,
- In the DHCP Lease window of the selected device, click Copy,
- In the New DHCP Lease window, set your desired IP address, then save the configuration by clicking Apply and then OK.
- In the case of TP-Link, Netgear or Asus etc.:
- Restart the device and wait for the decoder to get a new IP address.
- Logging into the router’s administrative interface:
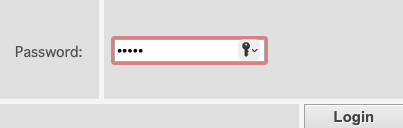
- Log in with the default password (pass: admin) to the decoder to verify the availability of the device on the network.
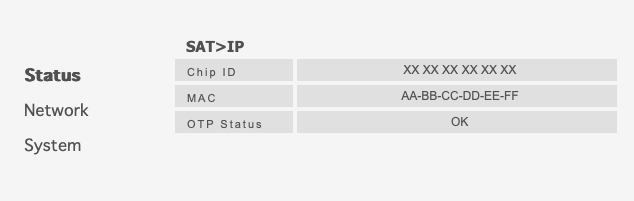
- The main page of the decoder looks like the following screenshot, you won’t notice much detail here. More configuration will be done in TVHeadend.
Step 3 – First configuration in TVHeadend
WebUI login
- To get started, open the TVHeadend Web Interface. After the successful installation and launch of TVHeadend, point to your web browser. Enter https://tvh.xyz.com or use the IP address of the Synology server with the added port on which TVHeadend is running (default 9981). For example, http://IP-ADDRESS-SYNOLOGY:9981.
- If you have configured an administrator login and password, log in using them. To continue with the following configuration, you will need an account with administrator privileges.
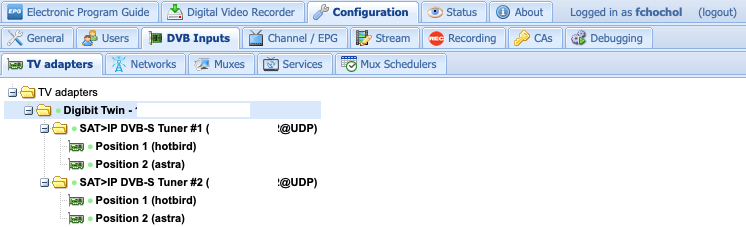
- Then, go to the Configuration tab, and then to DVB Inputs – TV adapters. At this point you should notice SAT>IP detected by the decoder. In the screenshot below, I have previously configured two satellite positions (due to the availability of HotBird and Astra in my residential area).
Parameter setting
Decoder
- Click on Digibit Twin and the device parameters will appear on the right. Below you will find configured settings that work perfectly:
- Basic Settings
- Tuner configuration: Auto
- Advanced Settings
- RTP/AVP/TCP transport supported: No
- Fast input switch: Yes
- Full mux RX mode supported: Yes
- Signal scale: 240
- Maximum PIDs: 32
- Maximum length of PIDs: 127
- Addpids/delpids supported: Yes
- FE supported: Yes
- Force pilot for DVB-S2: No
- Send rolloff settings for DVB-S2: Auto
- PIDs 21 in setup: No
- Local bind IP address: empty field
- Disable device/firmware-specific workarounds: No
- Check tuner-number in signal-status messages: Yes
- Expert Settings
- Skip TS packets (0-200): 0
- Read-only Info
- In this section we will read the available metadata of our decoder, which TVHeadend has detected.
- Basic Settings
Decoder tuner
- Go to the configuration of the first and second tuners by clicking on SAT->IP DVB-S Tuner #1, and then enter the following configuration:
- Basic Settings
- Enabled: Yes
- Name: leave default SAT>IP DVB-S Tuner
- Over-the-air EPG
- If you plan to download the EPG from the satellite, mark this option as active. On the other hand, if you intend to set up EPG downloading separately and do not want to occupy the tuner for this purpose, leave this option unchecked.
- Satelite positions
- If you have one satellite position, enter 1. If, on the other hand, you use two satellite positions (e.g. HotBird and Astra), enter 2. If your antenna installation is more advanced and supports a larger number of satellite positions, enter the appropriate number corresponding to the number of available satellite positions in your antenna installation.
- Master tuner: This tuner
- Advanced Settings
- Priority: 0
- Streaming priority: 0
- Initial scan: No
- Idle scan: No
- Free subscription weight: 0
- Linked input: Not linked
- Transport mode: Default server config
- UDP RTP port number (2 ports): 0
- Next tune delay in ms (0-2000): 50
- Send full PLAY cmd: No
- Grace period: 0
- Force teardown delay: No
- Pass subscription weight: 1
- Pass specinv: Do not use
- Tuner bind IP address: empty field
- Expert Settings
- Remove scrambled bits: No
- Delivery system: All
- Basic Settings
- Save the above configuration and configure the second tuner.
Tuner positions
Let’s assume that our antenna installation, available in the apartment or house, includes two satellite positions – the mentioned Hot Bird and Astra.
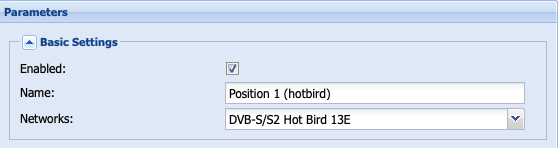
- Set the same parameters and names for both items on the two tuners. In my setup, I named Position 1 as Position 1 (hotbird) and labeled Position 2 as Position 2 (astra).
- Leave the rest of the parameters by default:
- Basic Settings
- Enabled: Yes
- Name: Position 1/2 (hotbird/astra)
- Networks: blank, we’ll fill in later
- Advanced Settings
- Priority: 1
- Timeout (seconds): 10
- Expert Settings
- Network limit per group: 0
- Network group: 0
- Basic Settings
- Save the configuration.
Satellite networks
In the context of this tutorial, we will configure Hot Bird. It is worth noting that the configuration of other satellite networks is done in the same way.
- Under DVB Inputs, go to the Networks subsection;
- Click on Add, select DVB-S Network from the drop-down list;
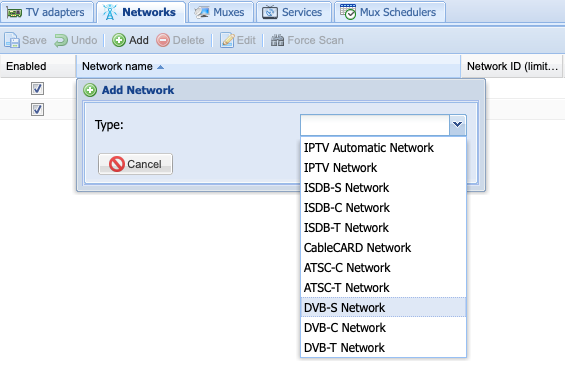
- In the new configuration window that opens, complete the following parameters:
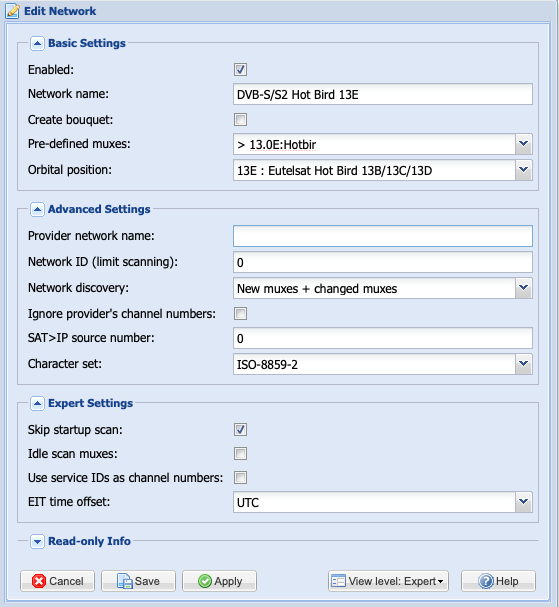
- Basic Settings
- Enabled: Yes
- Network name: DVB-S/S2 Hot Bird 13E
- Create bouquet: No
- Pre-defined muxes: > 13.0E: Hotbir
- Orbital position: 13E: Eutelsat Hot Bird 13B/13C/13D
- Advanced Settings
- Provider network name: leave blank, it will most likely fill in the name of TVN by itself later;
- Network ID (limit scanning): 0
- Network discovery: New muxes + changed muxes
- Ignore provider’s channel numbers: No
- SAT>IP source number: 0
- Character set: ISO-8859-2
- It is important to choose this type of character set, because if you choose another, strange characters may appear in place of Polish characters.
- Expert Settings
- Skip startup scan: Yes
- Idle scan muxes: No
- Use service IDs as channel numbers: No
- ETC time offset: UTC
- It is important to select this time offset, especially for EPG. Otherwise, there may be a time discrepancy between the EPG and real time.
- Save the configuration.
- Basic Settings
Changes resulting from the replacement of Eutelsat Hot Bird 13B/13C/13D satellite positions
As a result of the replacement of the retired Eutelsat Hot Bird satellites 13B, 13C and 13E – and the introduction of new satellites at positions 13F and 13G in its place – there may be significant changes in channel availability and transponder frequencies. It is worth realizing that the TVHeadend database may not yet be updated with the latest transponders, which may lead to differences in access to channels.
To effectively deal with possible unavailability, I recommend using the manual definition of transponders in TVHeadend under the Muxes tab. In practice, this means manually adding the desired transponders to the TVHeadend database by manually entering the relevant parameters, such as frequency, symbol rate, polarization, etc. For this purpose, I recommend using the useful table of authors King of Sat. This process allows you to adjust the configuration to the current satellite settings, which ensures stable reception of channels.
Connection of satellite networks to the tuners
- Under DVB Inputs, go to the TV adapters subsection. Then indicate to the created two positions on the tuners to use the networks you just created – specifically:
- Position 1 (hotbird) connect to Networks: DVB-S/S2 Hot Bird 13E
- Position 2 (astra) connect to Networks: DVB-S/S2 Astra 19.2E
- Enter the above parameters both to the first tuner and similarly to the second tuner. Finally, save the settings.
Searching for new channels on satellite
- Under DVB Inputs, go to the TV adapters subsection,
- Select the desired satellite network, for example, Astra.
- Click Force Scan (making sure beforehand that the indicated transponders/muxes exist in the Muxes tab).

- Wait a while until the server detects all available services on the indicated satellite.
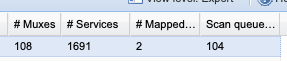
- You can view the process of searching for services in the Status tab.

Step 4 – Mapping channels in TVHeadend
After detecting TV and radio channels, we can now set them as desired channels in our channel layout. For the example, we will use Stars TV channel, available on Hot Bird 13E satellite orbit.
- Under DVB Inputs, go to the Services subsection.
- Check the filter option in the Service name column. Then select Filters from the menu and type the phrase stars.

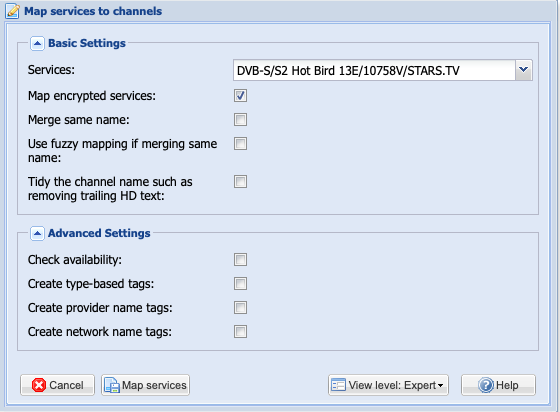
- Select the desired channel and click on Map Selected, then Map selected services.

- In the Map services to channel window, select Map services and wait for the channel to be mapped. Note that our channel is FTA, so we do not have to worry about the mapping option of encrypted services.
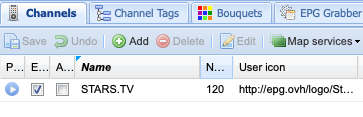
- Congratulations! Now you have the ability to create your own list of channels that you would like to watch on any application that supports m3u playlists, such as VLC Media Player. Assign them numbers (determine which position in the list they should be on) and icons (if you use an application that supports displaying icons in playlists).
Step 5 – IPTV playback on the local network
M3U Playlist
You can use the previously mentioned VLC Media Player to play the channels on your computer. To do this, follow the steps below:
- Go to the File menu, then select Open Network.
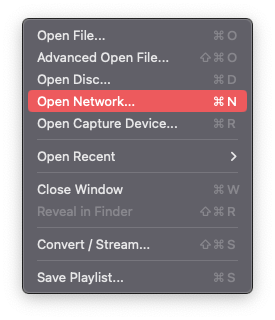
- Enter the IP address of your TVHeadend server, adding “playlist” to the end. – ie: http://IP-ADRES-SYNOLOGY:9981/playlist.

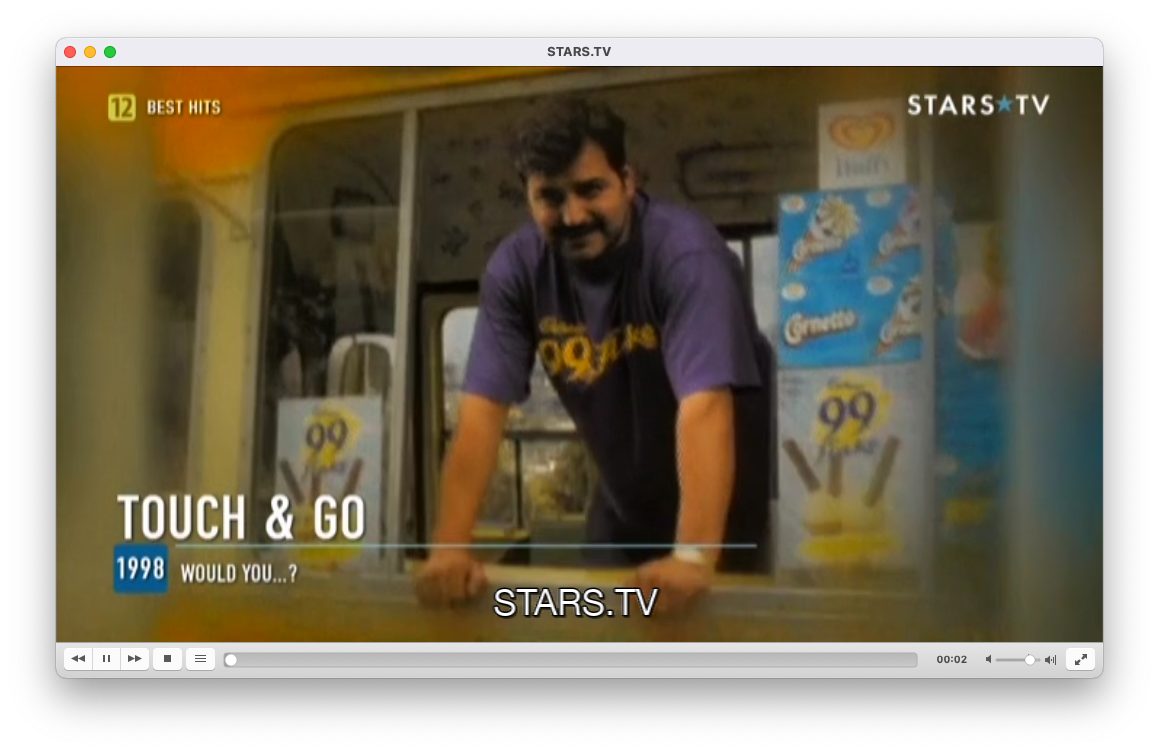
- From the list of available channels, select the desired one, as an example the previously mentioned Stars TV. You can also preview the parameters with which the channel is broadcast.
Leave a Reply