Hello!
Today I’ll walk you through the steps of configuring the single sign-on (SSO) service between the Cloudflare Zero Trust service server and Authentik.
Introduction
What is Cloudflare Zero Trust?
 Cloudflare Zero Trust is an offer from Cloudflare, which provides network security and performance services. It is part of the larger Cloudflare One platform, which is designed to provide a comprehensive and deeply integrated Zero Trust solution to protect and accelerate the performance of devices, applications and entire networks.
Zero Trust, also known as the “don’t trust, verify” model, is an approach to network security that assumes that no device, user or network service is trusted by default, regardless of whether it is inside or outside the corporate network.
It is a powerful tool that allows secure access to network resources. By integrating with various identity providers (IdPs), such as Authentik, Cloudflare Zero Trust allows you to access resources using identity providers via Single Sign-On
What is Authentik?
![]() Authentik is an open source software that serves as an Identity Provider to manage user authentication and authorization. As an alternative to commercial services such as Okta or One Login, Authentik offers similar functionality in an open-source model. Other open-source tools with a similar purpose include Keycloak and Authelia, which also allow central management of user identities in applications and web services.
Authentik is an open source software that serves as an Identity Provider to manage user authentication and authorization. As an alternative to commercial services such as Okta or One Login, Authentik offers similar functionality in an open-source model. Other open-source tools with a similar purpose include Keycloak and Authelia, which also allow central management of user identities in applications and web services.
It stands out for its configuration flexibility and broad support for various authentication protocols, making it an excellent choice for organizations looking for an advanced but accessible open-source identity management solution.
Step 1 – Configuration in Authentik
- Log in to your account and go to the administration interface,
- After successfully logging into the administrative interface, go to the Applications tab on the left side of the screen, and then select Providers.

- Click Create and select the OAuth2/OpenID Provider type. Then move on by clicking Next.
- Fill the provider with the following values:
- Name: cloudflare-zerotrust
- Authentication flow: Choose your configured or set default (default-authentication-flow)
- Authorization flow: choose your configured or set explicit or implicit consent. (This setting refers to the function used during authorization for this application – we define whether Authentik should display a button that allows you to go to the application after logging in, or simply redirect you without asking).
- Protocol settings:
- Client type: We leave Confidential
- Client ID: Copy and save for later
- Client Secret: Copy and save for later
- Redirect URIs/Origins (RegEx): https://
.cloudflareaccess.com/cdn-cgi/access/callback (fieldswap with your team’s existing name in Cloudflare Zero Trust)
- Signing Key: authentik Self-signed Certificate
- Leave the other values unchanged and click Finish.
- On the left side of the screen, selectApplications, and then Applications again.
- Kliknij Create and fill the application with the following values:
- Name: Cloudflare Zero Trust
- Slug: cloudflare-zerotrust
- Provider: cloudflare-zerotrust
- UI Settings you may or may not want to complete.
- Icon: download the Cloudflare icon from the Internet and upload it.
- Publisher: i.e. Cloudflare Inc.
- Description: np. Zero Trust Network Access
- We approve the creation of the application with the Create button.
On the identity provider side, we have already completed the necessary steps. Now it’s time for Cloudflare Zero Trust configuration.
Step 2 – Configuration in Cloudflare
Create a new configuration based on OpenID Connect
To take benefit of Cloudflare Zero Trust, first log into the administration panel of your Cloudflare account. Then, from the menu on the left, select Zero Trust.
Po wybraniu opcji Zero Trust z menu po lewej stronie, otworzy się menu konfiguracji Zero Trust. Click on the Settings tab to access the settings
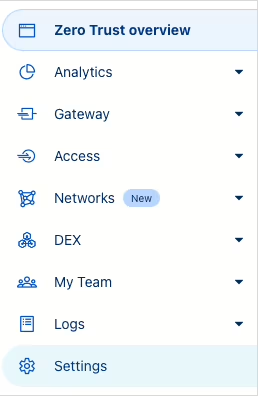
Go to the Authentication section,
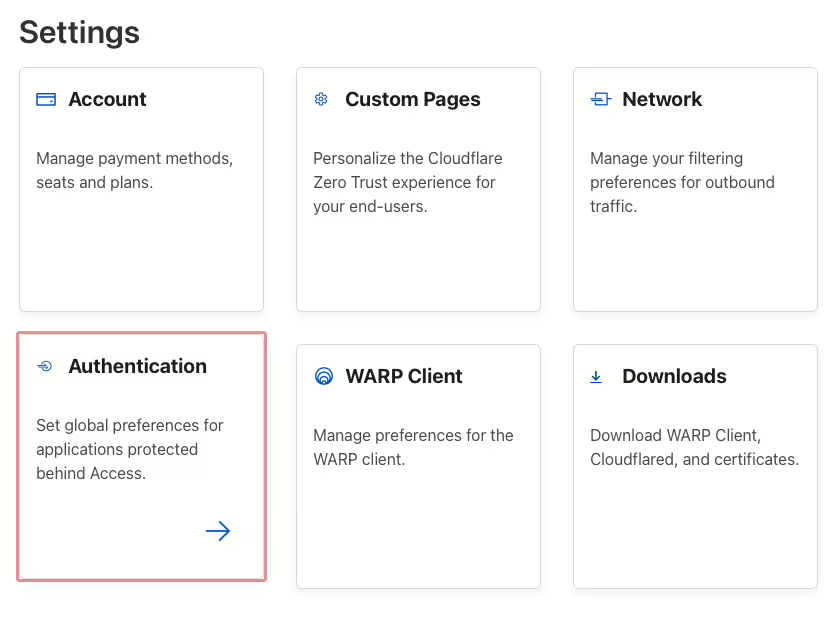
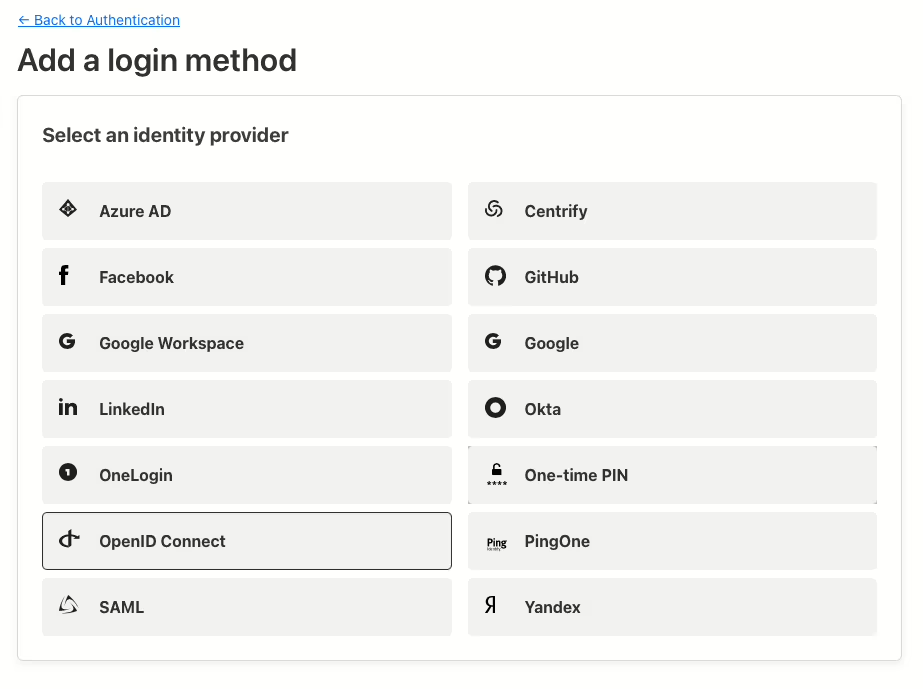
- Inside the Login methods section, click on Add new,
- Click on OpenID Connect,
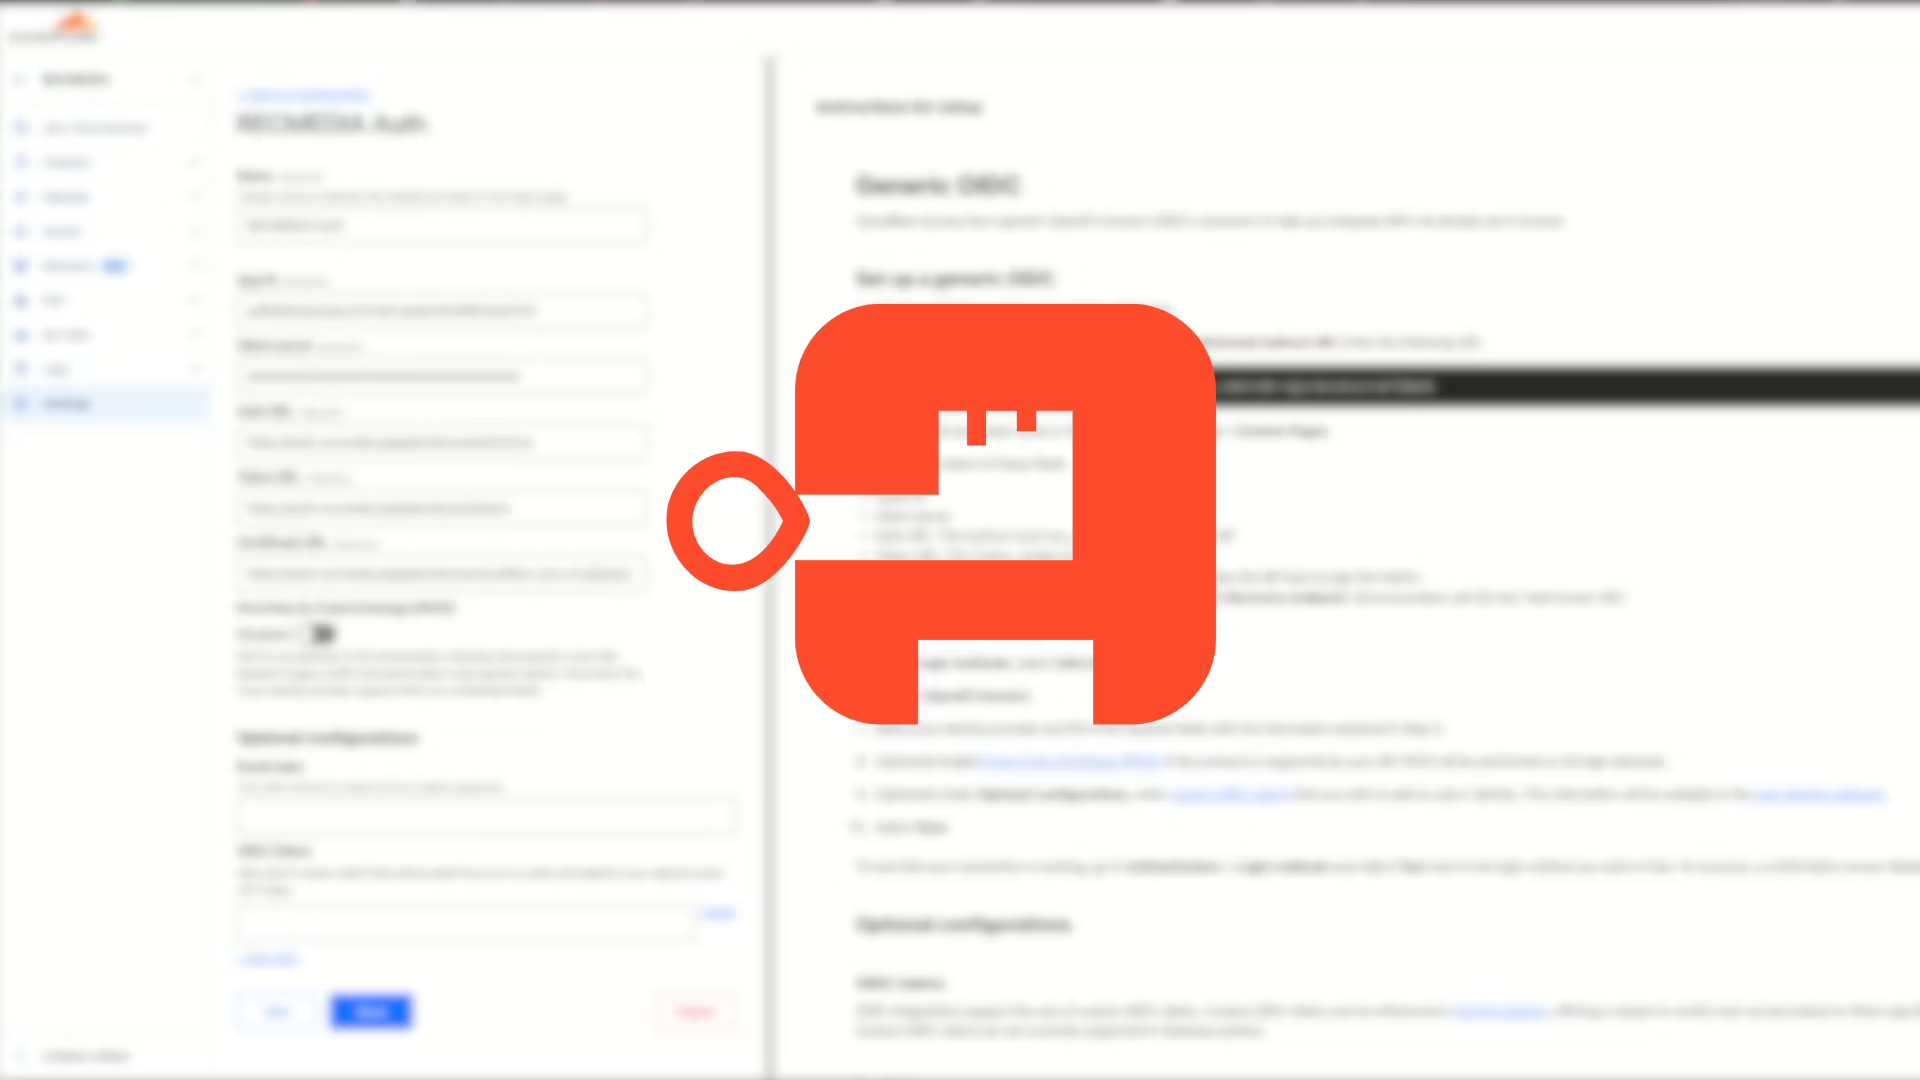
- Fill in the fields with the following values:
- Name: Authentik
- App ID: Paste Client ID from Authentik
- Client secret: Paste Client secret from Authentik
- Auth URL: https://auth.xyz.com/application/o/authorize/
- Token URL: https://auth.xyz.com/application/o/token/
- Certificate URL: https://auth.xyz.com/application/o/cloudflare-zerotrust/jwks/
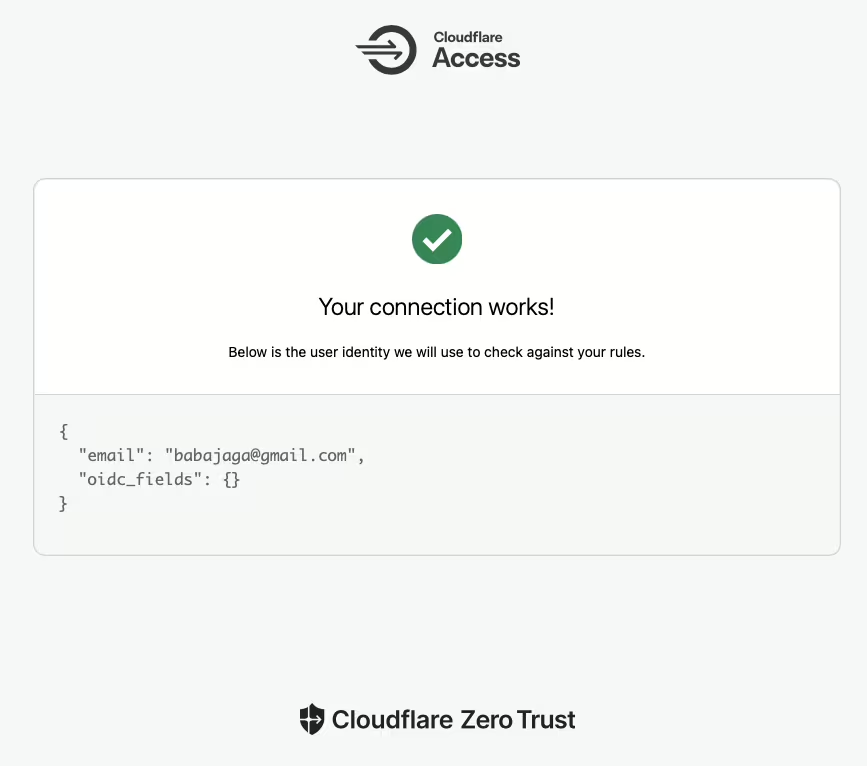
- Confirm the configuration by clicking on Save. You can test the performance of the systems by clicking on Test. If everything is configured correctly, you should get the message Your connection works!
Edit basic settings in Cloudflare Zero Trust authentication
- Return to the Authentication section and go to edit Global session timeout. Set as Same as application session timeout,
- App Launcher: We will configure a basic option without advanced settings of who can access the App Launcher in Zero Trust. Then, according to your needs, you can customize it.
- Click Manage,
- In the Rules / Policies section, click Add a rule and set the given values:
- Rule name: Access,
- Rule action: Allow,
- Include:
- Selector: Login Methods,
- Value: OpenID Connect * Authentik,
- Assign a group: leave default group
- Save your settings with the Save button.
If you have additional questions about the setup, go ahead and leave a comment under this article or contact me directly. I will be happy to answer any concerns and help solve any problems. Your questions can help improve this guide for other users.
Leave a Reply