
Table of contents
Hello!
Today I’ll show you how to install Paperless-ngx on a Synology server using Docker containerization. We will perform the entire installation using Docker Compose via the Portainer tool. Next, we will configure a reverse proxy using the already installed Nginx Proxy Manager. In order for us to access Traccar by domain name on the local network, we will configure DNS rewriting using AdGuard Home.
Introduction to our project
What is Paperless-ngx?
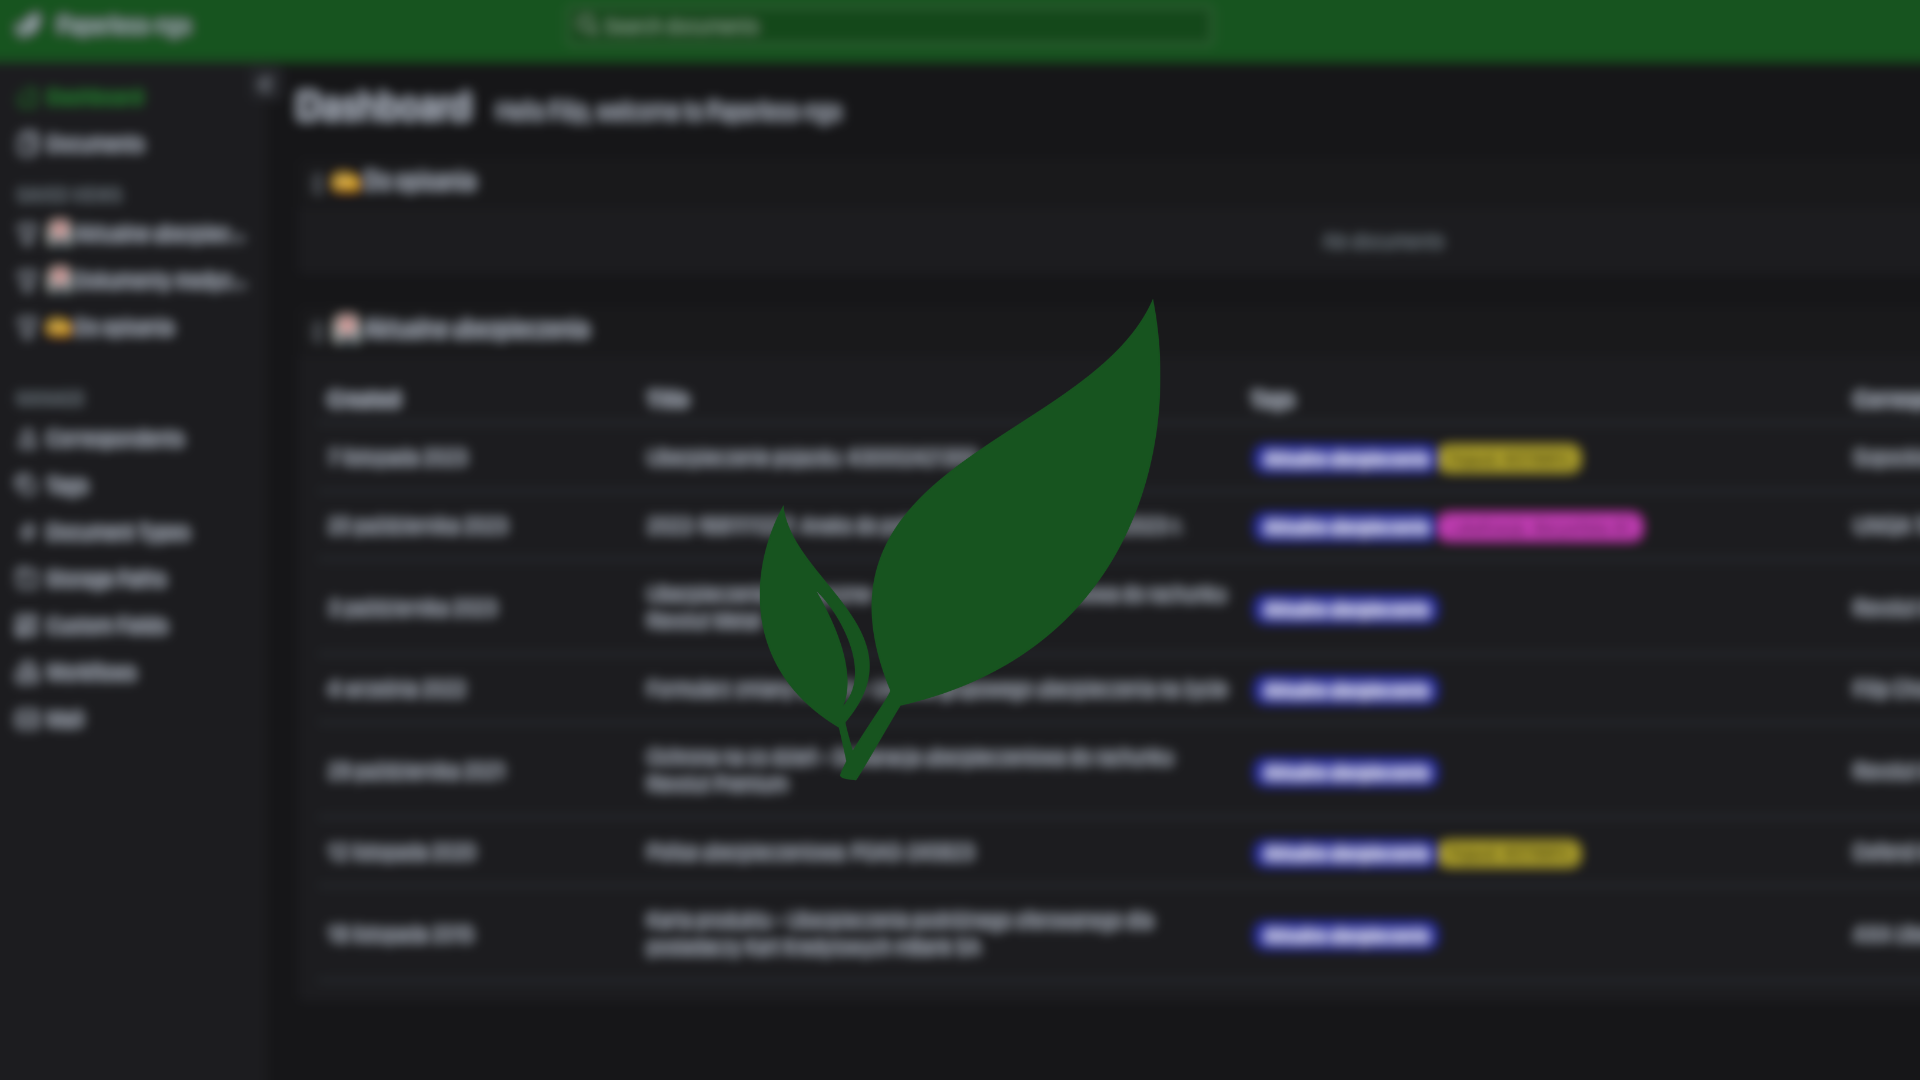
Paperless-ngx is a modern open source solution for paperless document management. It is a fork of the Paperless project, which is designed to scan, tag, search and manage digital copies of paper documents to minimize the need to store physical copies. Paperless-ngx offers a variety of improvements over the original design, including better user interface support, more advanced search options, automatic tagging of documents based on their content, and OCR (optical character recognition) support in multiple languages, allowing for easier management and retrieval of documents in the database.
The project is particularly useful for individuals and companies seeking to reduce paper in their work and daily lives, offering a simple and efficient way to organize digital documents.
The following tutorial was developed using version: Paperless-ngx v2.5.0. The installation was performed using Portainer Community Edition 2.19.4. Reverse proxy na Nginx Proxy Manager - v2.10.4. DNS server from AdGuard home version: v0.107.43
What is Docker Compose used for?
Docker Compose provides a tool for defining and managing multiple Docker containers simultaneously. By describing application configurations, services and dependencies in a YAML file, Docker Compose makes it easy to uniformly create, run and scale applications composed of multiple containers. This tool simplifies the process of setting up a development, test or production environment while ensuring consistency in managing containers and their parameters. With Docker Compose, it is possible to define a comprehensive application infrastructure in a single file, which in turn makes it easier to collaborate and replicate environments in different scenarios.
Preparation
In order to prepare the tutorial, we will adopt an established domain name and certain configuration names, shown below. For customized configuration, apply settings according to individual requirements.
- Full domain name (FQDN) of Synology DSM: https://dsm.xyz.com,
- Full domain name (FQDN) of Paperless-ngx: https://paperless.xyz.com,
- Installed on Synology via Docker: Portainer, AdGuard Home,
- Installed on Synology via Package Center: Container Manager,
- On the router’s DHCP server, the indicated IP address of the DNS server (AdGuard Home) installed on the Synology.
Nginx Proxy Manager (optional)
On my Synology, I set up a reverse proxy using Nginx Proxy Manager, which allows me to access the Paperless-ngx dashboard using a URL (https://paperless.xyz.com) instead of the standard IP address. It is a solution that increases the convenience of document management by offering an easier to remember and more intuitive address available on the LAN. Are you interested in how to do it? Take a look here.
In addition, local DNS redirection is performed by the AdGuard DNS server, also running on a containerized version of the Synology server.
Step 1 – Configuration in Synology DSM
If you use the Authentik single sign-on system, you can make the login process easier by integrating the operating system from Synology DSM with Authentik. For integration instructions, see the dedicated guide.
- Log in to your Synology file server and launch File Station.
- Then, navigate to the previously created shared folder named docker. Inside this folder, create a folder paperless-ngx.
- The next step is to create subfolders inside the paperless-ngx folder: data, media, export, consume, redis, db.

HDD vs. SSD
Placing a folder with Paperless-ngx documents (media) and a database (db, redis) on a separate SSD-based volume on a Synology device can significantly speed up system performance. Accessing files on disk drives is slower, which can delay processes such as OCR or document retrieval. Moving the consumption folder, database, as well as the entire Docker container to SSD will provide faster access to data and improve overall application performance.
Step 2 – Configure Docker Compose in the Portainer
Log in to the Portainer to start the process of creating a new stack (Stack), which will be needed to create Docker Compose code.
- Log in to your account and go to the administrative interface of the Portainer.
- If you are using the Authentik single sign-on system, you can make the login process easier by integrating Portainer with Authentik. For integration instructions, see the dedicated guide.
- Select your environment (eng: Environments) in which you will edit the configuration of the created Docker Compose. Then go to Stacks.
- From the upper right corner (under your login), select Add stack.
- Fill in the Docker Compose file creation with the following values:
- Name: paperless-ngx
- Build method: Web editor
- Web editor: copy the content described below and paste
Verify that the volume on which you have Docker containers installed matches the one specified in the YAML code below. Usually /volume1/ is used.
version: "3.6"
services:
broker:
image: redis
container_name: paperless_redis
hostname: paperless-redis
restart: always
sysctls:
- net.core.somaxconn=511
networks:
- paperless_network
- grafana_network
volumes:
- /volume2/docker/paperless-ngx/redis:/data
db:
image: postgres:13
container_name: paperless_postgres
hostname: paperless-postgres
restart: always
networks:
- paperless_network
- grafana_network
volumes:
- /volume2/docker/paperless-ngx/db:/var/lib/postgresql/data
environment:
POSTGRES_DB: paperless
POSTGRES_USER: paperless
POSTGRES_PASSWORD: paperless
webserver:
image: ghcr.io/paperless-ngx/paperless-ngx:2.5.0
restart: always
container_name: paperless_server
healthcheck:
test: ["CMD", "curl", "-fs", "-S", "--max-time", "2", "http://localhost:8000"]
interval: 30s
timeout: 10s
retries: 5
networks:
- paperless_network
depends_on:
- db
- broker
- gotenberg
- tika
ports:
- 8777:8000
volumes:
- /volume2/docker/paperless-ngx/data:/usr/src/paperless/data
- /volume2/docker/paperless-ngx/media:/usr/src/paperless/media
- /volume2/docker/paperless-ngx/export:/usr/src/paperless/export
- /volume2/docker/paperless-ngx/consume:/usr/src/paperless/consume
environment:
PAPERLESS_SECRET_KEY: "ASDFGHJKLZXCVBNM1234567890qwertyuiop"
PAPERLESS_REDIS: redis://paperless-redis:6379
PAPERLESS_DBHOST: paperless-postgres
USERMAP_UID: 1026
USERMAP_GID: 100
PAPERLESS_TIME_ZONE: Europe/Warsaw
PAPERLESS_ADMIN_USER: jkowalski
PAPERLESS_ADMIN_PASSWORD: jkowalskiwarszawa
PAPERLESS_ADMIN_MAIL: [email protected]
PAPERLESS_URL: "https://paperless.xyz.com"
PAPERLESS_ALLOWED_HOSTS: "paperless.xyz.com"
PAPERLESS_CSRF_TRUSTED_ORIGINS: "https://paperless.xyz.com"
PAPERLESS_TRUSTED_PROXIES: IP-ADDRESS-SYNOLOGY
PAPERLESS_FILENAME_FORMAT: "{created_year}/{correspondent}/{created} {title}"
PAPERLESS_ENABLE_UPDATE_CHECK: enable
PAPERLESS_OCR_LANGUAGES: pol
PAPERLESS_OCR_LANGUAGE: pol+eng
PAPERLESS_OPTIMIZE_THUMBNAILS: "false"
PAPERLESS_TASK_WORKERS: 2
PAPERLESS_THREADS_PER_WORKER: 2
PAPERLESS_EMAIL_TASK_CRON: "disable"
networks:
paperless_network:
name: paperless_network
ipam:
config:
- subnet: 192.168.193.0/24
Parameters
At startup, we can specify parameters that configure containers (such as those included above). These parameters are separated by a colon and indicate <external>:<internal>. For example, -p 8080:80 will make port 80 inside the container accessible from outside the container, from the host IP, on port 8080. A list of all parameters for Paperless is available at this link. Below I will describe only those included in the code:
- PAPERLESS_SECRET_KEY: Session Token. If you’re sharing Paperless on the Internet, you’ll need to change this, as the default secret is well known.
- PAPERLESS_REDIS: The address of the Redis server used for background tasks and caching.
- PAPERLESS_DBHOST: The database host where Paperless stores its data.
- USERMAP_UID i USERMAP_GID: User and group IDs for processes in the container.
- PAPERLESS_TIME_ZONE: Change the value for the time zone (TZ) by selecting the appropriate time zone from this list.
- PAPERLESS_ADMIN_USER, PAPERLESS_ADMIN_PASSWORD i PAPERLESS_ADMIN_MAIL: System administrator login credentials.
- PAPERLESS_URL: URL to the Paperless-ngx user interface.
- PAPERLESS_ALLOWED_HOSTS: List of hosts/domains allowed to connect to the application.
- PAPERLESS_CSRF_TRUSTED_ORIGINS: A list of trusted sources for CSRF type requests. This is important for the security of the application, especially when it is accessed over the Internet. With this variable, you can define from which sources the application should accept unsafe requests, such as. POST.
- PAPERLESS_FILENAME_FORMAT: File name format for saved documents.
- PAPERLESS_ENABLE_UPDATE_CHECK: Enable checking for the availability of updates.
- PAPERLESS_OCR_LANGUAGES: Additional languages used for OCR of documents
- PAPERLESS_OCR_LANGUAGE: The main language used for OCR of documents.
- PAPERLESS_OPTIMIZE_THUMBNAILS: Document thumbnail optimization.
- PAPERLESS_TASK_WORDKERS i PAPERLESS_THREADS_PER_WORKER: Configure workers and threads for background tasks.
- PAPERLESS_EMAIL_TASK_CRON: Email task scheduling.
PUID i PGID
When you use volumes (-v parameter), there may be permission issues between the host OS and the container. To get around these problems, we give you the option to select a user identifier (PUID) and a user group (PGID).
- Before pasting the above code into the editor area, change the number values for PUID and PGID to your own PUID and PGID values. The PUID and PGID values refer to a particular account existing on Synology. You need to enter your own values.
- To check your PUID and PGID values on Linux, you can use a terminal. Enter the command id username (replacing username with your own username on the computer). The result of this command will show your PUID (UID) and PGID (GID). These values are essential to properly configure Docker containers, as they allow you to match the permissions of files and directories in the container to your system.
id jkowalski
uid=1026(jkowalski) gid=100(users) groups=100(users),101(administrators)
- Click Deploy the stack, then wait until Portainer downloads the content and creates the container.
- When the process is successful, the message Success: Stack successfully deployed will appear in the upper right corner of the screen. Then, the newly created container stack will appear in the container list.
- It is recommended to wait about 5 to 10 minutes for the installation to be fully completed.
Step 3 – Configuration in Nginx Proxy Manager
Web access over HTTPS (SSL Certificate).
If you have uploaded an SSL certificate for your domain that supports subdomains (Wildcard certificate):
- Log in to the administrator account in Nginx Proxy Manager.
- Click on Hosts, then select Proxy Hosts from the menu,
- In the upper right corner, click Add Proxy Hosts.
- Complete the parameters with the following values:
- Domain Names: paperless.xyz.com
- Scheme: http
- Forward Hostname/IP: IP-ADDRESS-SYNOLOGY
- Forward Port: 8777
- In the Edit Proxy Host window on the Details tab, check:
- Cache Assets (optional),
- Websockets Support,
- and Block Common Exploits.
- Then go to the SSL tab, select your SSL certificate and check all available additional options:
- Force SSL,
- HTTP/2 Support,
- HSTS Enabled,
- and HSTS Subdomains.
Step 4 – Configuration in AdGuard Home
In order to access Paperless from our computer via a domain name defined in Proxy Manager (e.g. paperless.xyz.com) on our local network, it is necessary to configure the DNS server to point to the location of this site.
- Log in to the AdGuard Home administration panel.
- Go to the Filters tab, and then select DNS Rewriting from the menu.
- Click Add DNS rewriting, then fill in the fields with the following values:
- Enter the domain name you want to rewrite: paperless.xyz.com
- IP Address: IP-ADDRESS-SYNOLOGY
- Done! Wait a while until the configuration is saved. Once the process is complete, you will be able to access the server at paperless.xyz.com. 🚀
Step 5 – Log in to Paperless
The final step of our installation is to log in with administrator rights to the application we have just deployed.
- Open the Paperless-ngx web interface: Once the container is successfully installed and running, open a web browser and type https://paperless.xyz.com,

- Then, on the login screen, enter your username, and in the password field, enter the one you set when installing the application in Docker Compose, located in the section:
PAPERLESS_ADMIN_USER: jkowalski
PAPERLESS_ADMIN_PASSWORD: jkowalskiwarszawa
Additional Sources and information
Configure Single Sign-On (SSO) between Authentik and Paperless-ngx using OpenID Connect to increase the convenience of logging in and security of access to your document management system. Learn the steps needed to integrate these two powerful tools and enjoy a smoother authentication process.
👉 Learn more about the process and make your login management easier.
For further exploration and more information, I recommend checking out the links below. They are valuable sources that were used in the development of this guide:
- https://docs.paperless-ngx.com – Paperless-ngx documentation,
- https://passcheck.anhur.xyz – Password generator.
Read also
- Paperless: How to enable uploading digitally signed PDF files / Discover how to easily upload digitally signed PDF files to Paperless-ngx for document management convenience.
- How to configure Leox GPON ONT insert on Mikrotik router / Step-by-step guide on how to configure Leox LXT-010S-H GPON ONT insert on Mikrotik RB5009 router, instead of ONT module from Orange.
- UniFi Network Application: Connecting an Access Point from another network / Discover how to connect a device from Ubiquiti UniFi from another network to Network Application – using Mikrotik’s IPSec tunnel as an example.
- UniFi Controller in Docker: Migrating to UniFi Network Application / UniFi Controller: Discover step-by-step how to successfully migrate to Network Application using Docker Compose.
- Home Assistant: Install mirror lighting on ESPHome / Set up simple mirror lighting with ESPHome in Home Assistant. Discover simple integration and control light with ease.
- ADS-B: Receiver Installation and Configuration on Raspberry Pi / Discover the secrets of installing and configuring your own ADS-B antenna on Raspberry Pi. Develop skills and track aircraft in real time.
- Traccar: A guide to installing on Synology with Docker / Step-by-step guide: Installing Traccar on Synology using Docker. Effective vehicle tracking on your own server.
Comments (1)
hhkungfusays:
25/07/2024 at 13:15Very descriptive post, I loved that bit. Will there
be a part 2?