Hello!
Many devices use the UART interface to transfer data. Although they are often typically associated with radio scanners, such as Uniden’s popular BC75XLT series, their use is much wider. CP210x UART controllers facilitate communication with various devices via the UART interface, including GPS modules, sensors, controllers, and peripherals. Users must properly install these drivers on Windows 10 PCs to ensure smooth operation of multiple devices.
This article presents a comprehensive step-by-step guide to installing CP210x UART drivers on Windows 10. While we’ll demonstrate connecting a Uniden BC75xLT scanner, these instructions are applicable for configuring any device utilizing CP210x.
Whether your intention is to utilize a radio scanner, GPS module, sensor, or other hardware, this article will guide you through the driver installation process. It ensures the full functionality restoration of your device on a Windows 10 system.
What is Silicon Labs?

Beyond the CP210x UART product line, Silicon Labs provides a diverse array of semiconductor solutions. These encompass wireless circuits, power supplies, sensors, mixed-signal circuits, and microcontrollers.
Renowned equipment manufacturers worldwide rely on their chips, facilitating the development of cutting-edge, energy-efficient, and dependable devices.
Step 1 – Connect the device to the computer
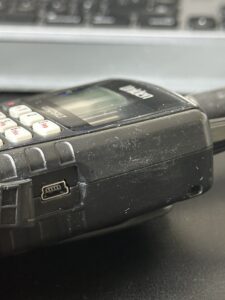
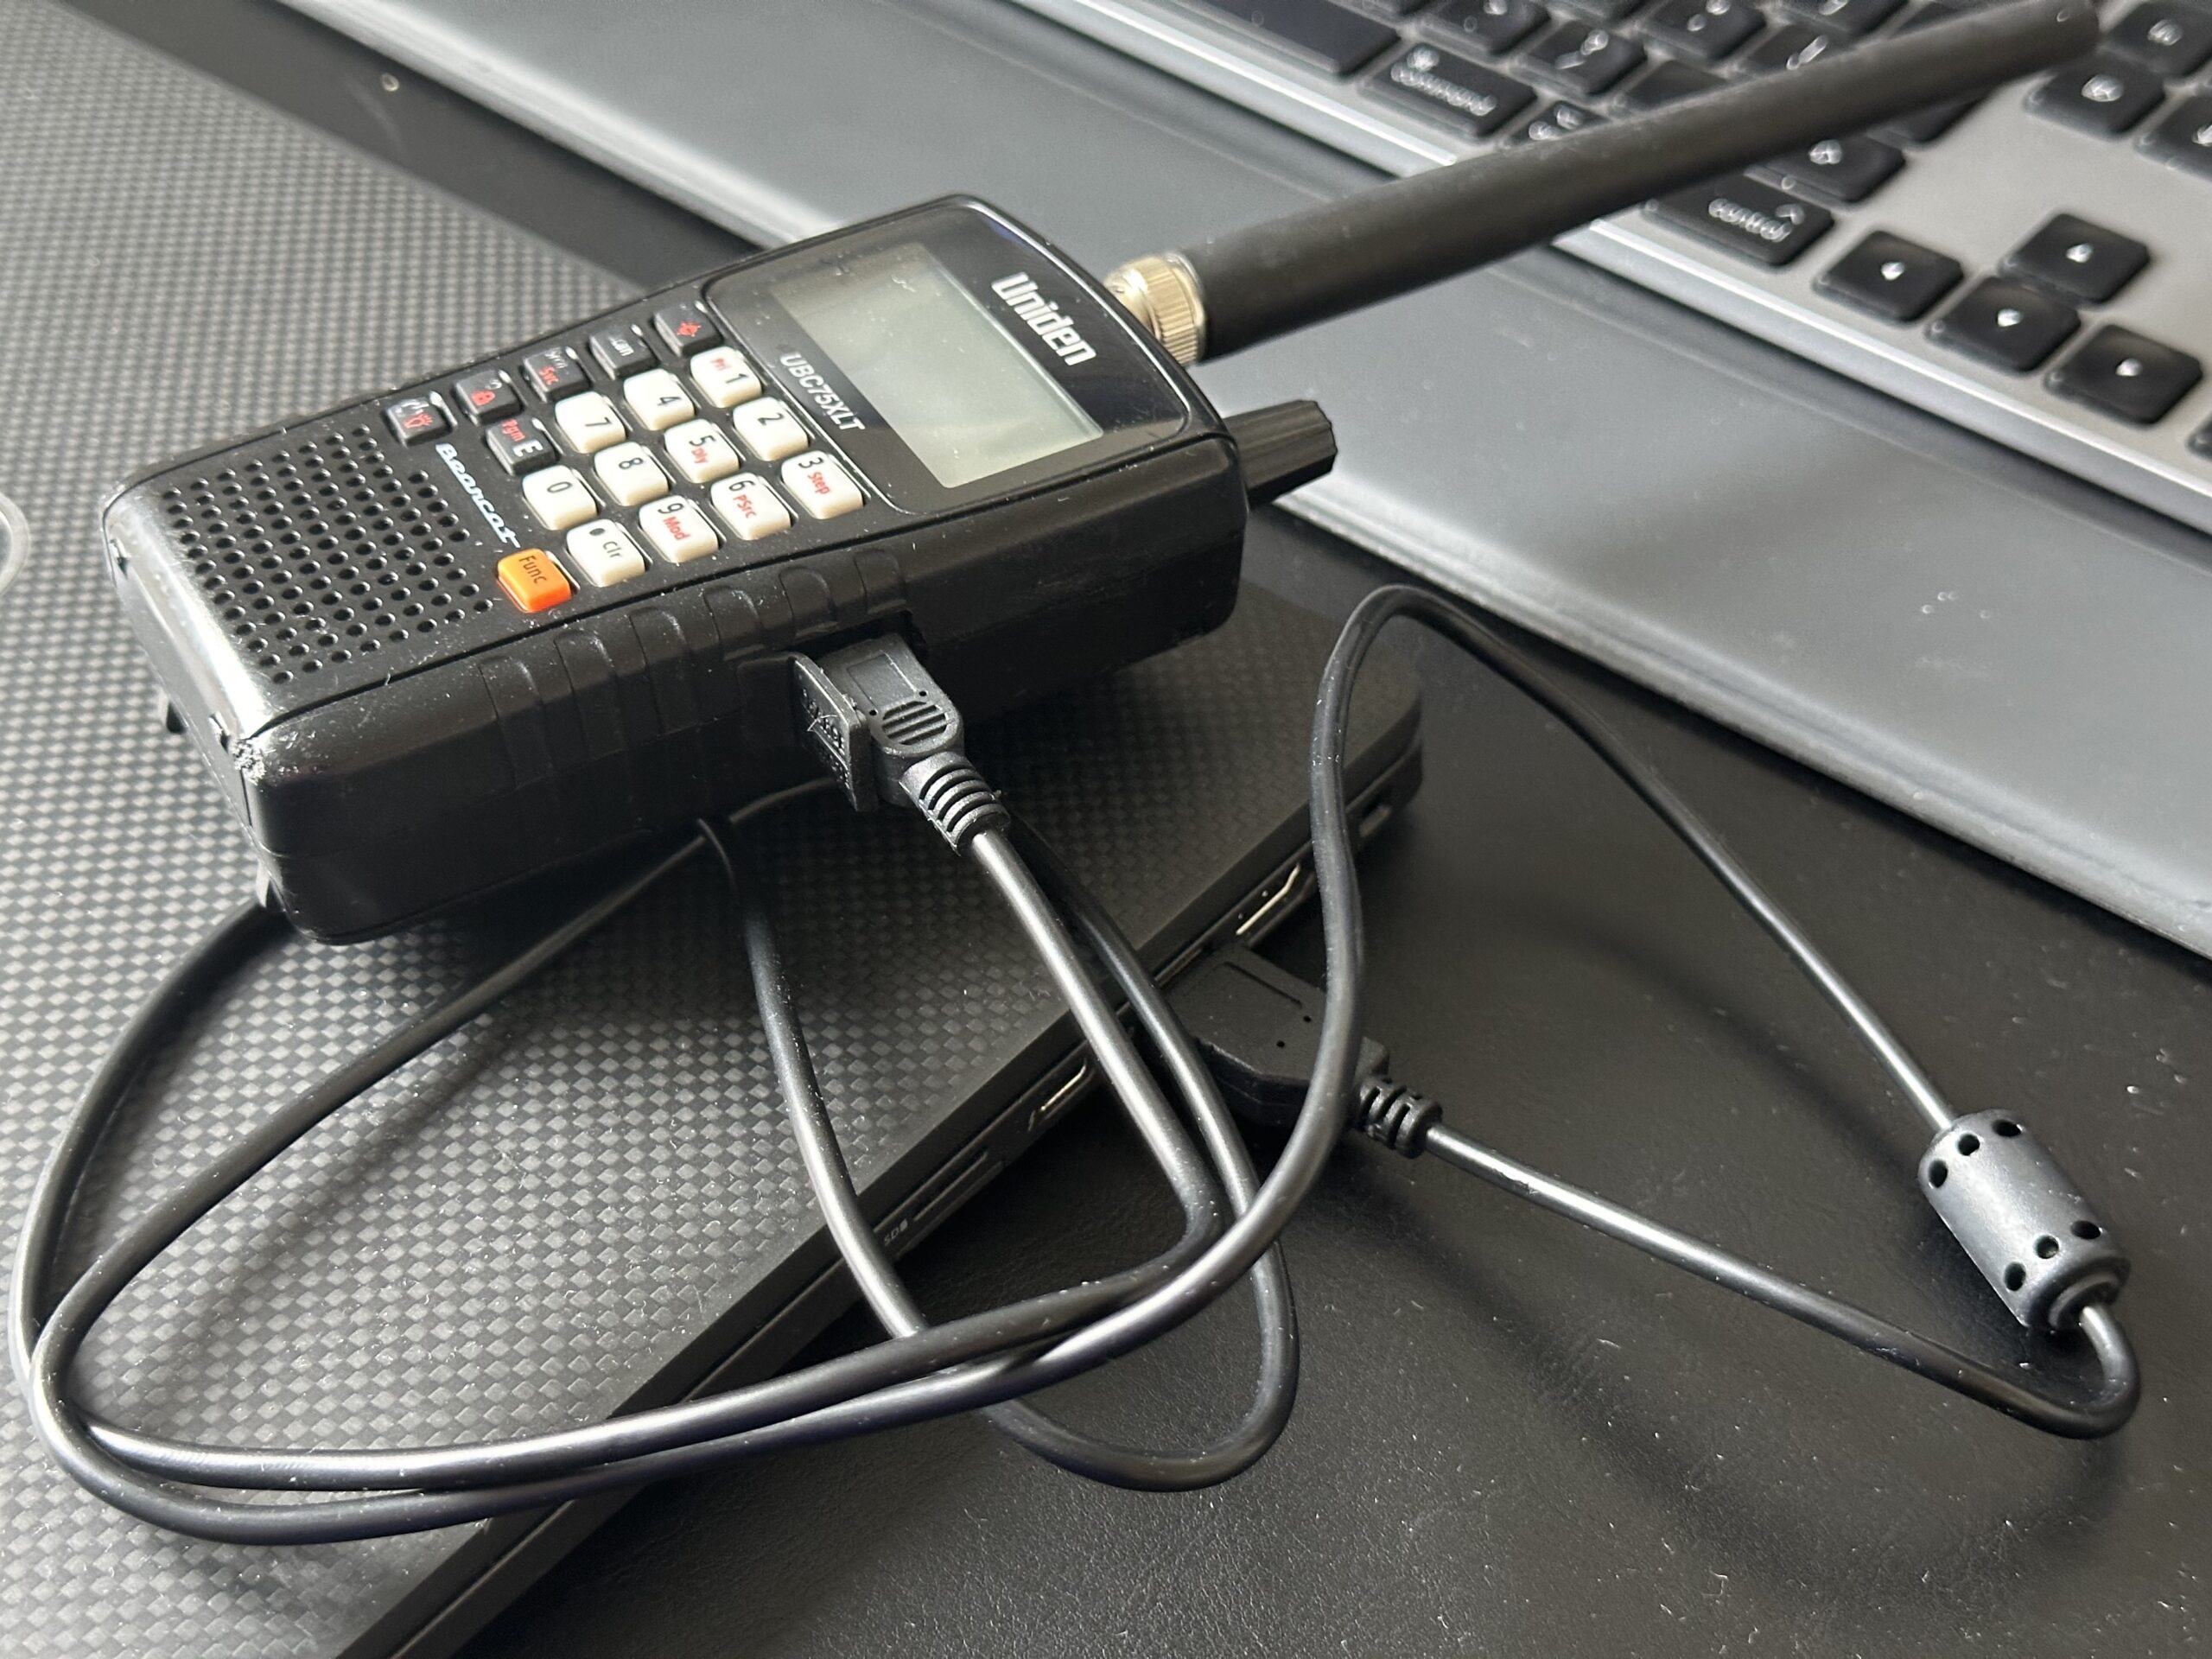
The first step of installing CP210x drivers on Windows is to physically connect the device to the computer. For the Uniden BC75XLT scanner, use the USB cable included in the kit.
- Locate the USB port on the Uniden BC75XLT scanner. It is located on the side of the device.
- Plug one end of the USB cable into the port on the scanner.
- Then connect the other end of the USB cable to a free USB port on the computer. Turn on the device.
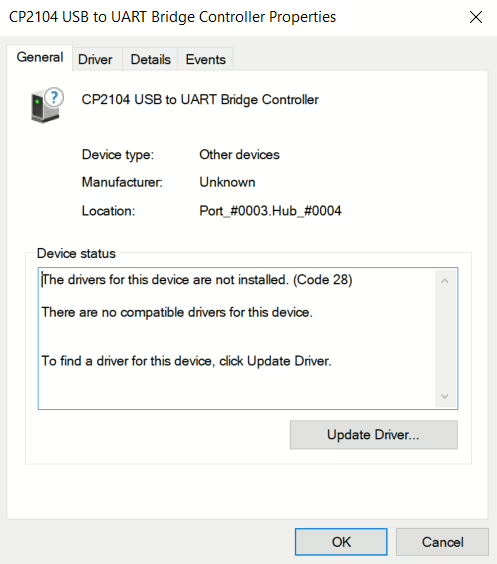
- After connecting the cable, the computer should detect the new device. However, Windows 10 is often unable to automatically install the appropriate CP210x UART drivers. In such a situation, a message about a problem with the startup of the device will appear.
Due to potential problems with Windows 10’s automatic installation of the drivers, we will now turn to detailed instructions for manually installing the CP210x UART drivers. This will ensure proper configuration and communication with the connected device.
For other devices using the CP210x chip, the connection process will be similar. If the computer does not recognize the device correctly, proceed to the next steps to install the appropriate drivers manually.
Step 2 – Download and install the drivers to your Windows PC
To ensure proper communication with a device using the CP210x UART chip, download and install the appropriate drivers from the Silicon Labs manufacturer’s website. Here’s how to do it:
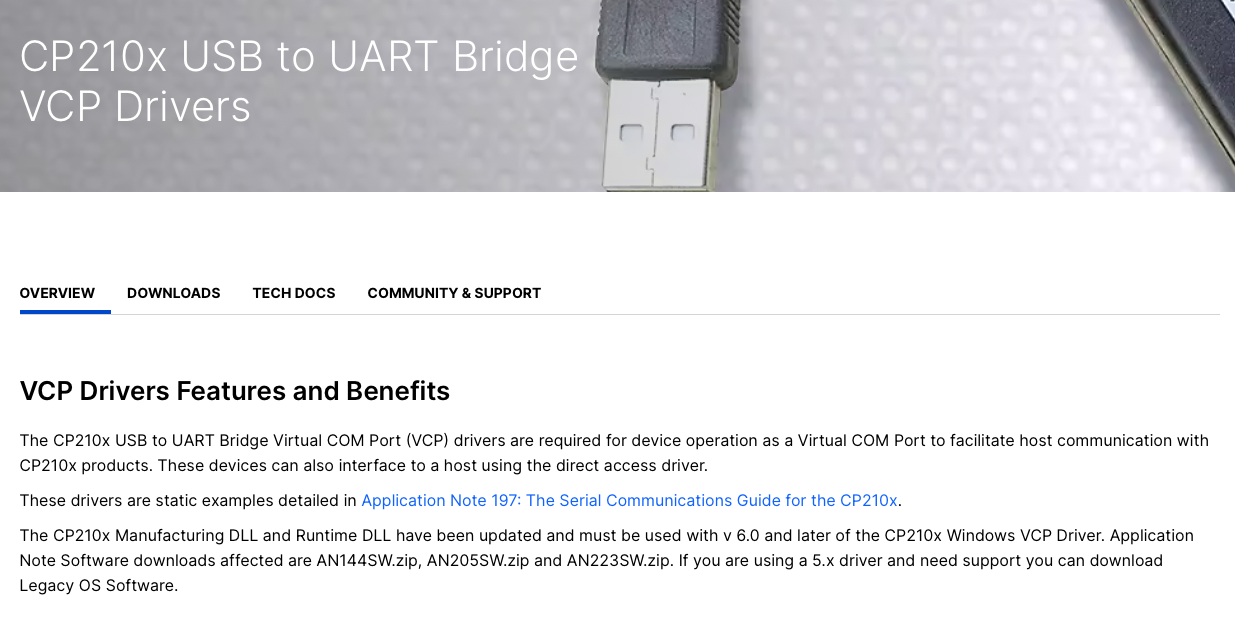
- Open a web browser and go to https://www.silabs.com/products/development-tools/software/usb-to-uart-bridge-vcp-drivers
- On the page, go to Downloads and select the appropriate version of Windows drivers.
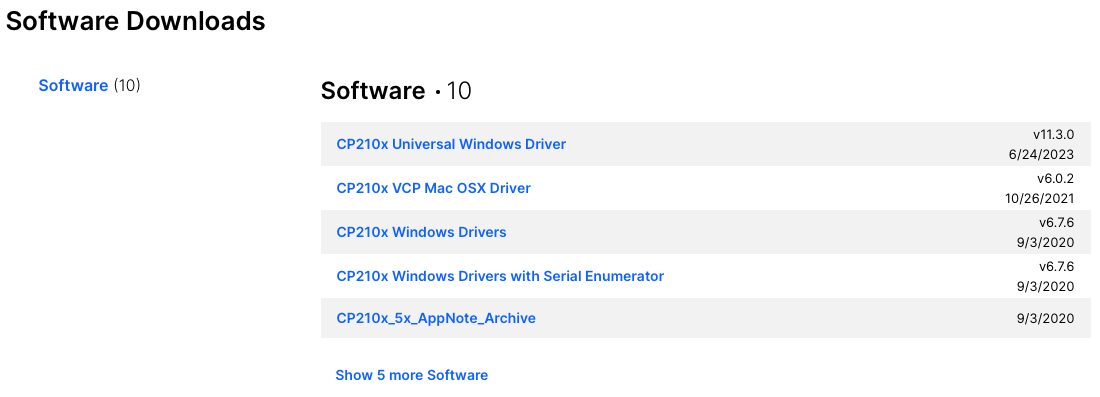
- After downloading the driver installation file, unzip the .zip file to any location on your computer.
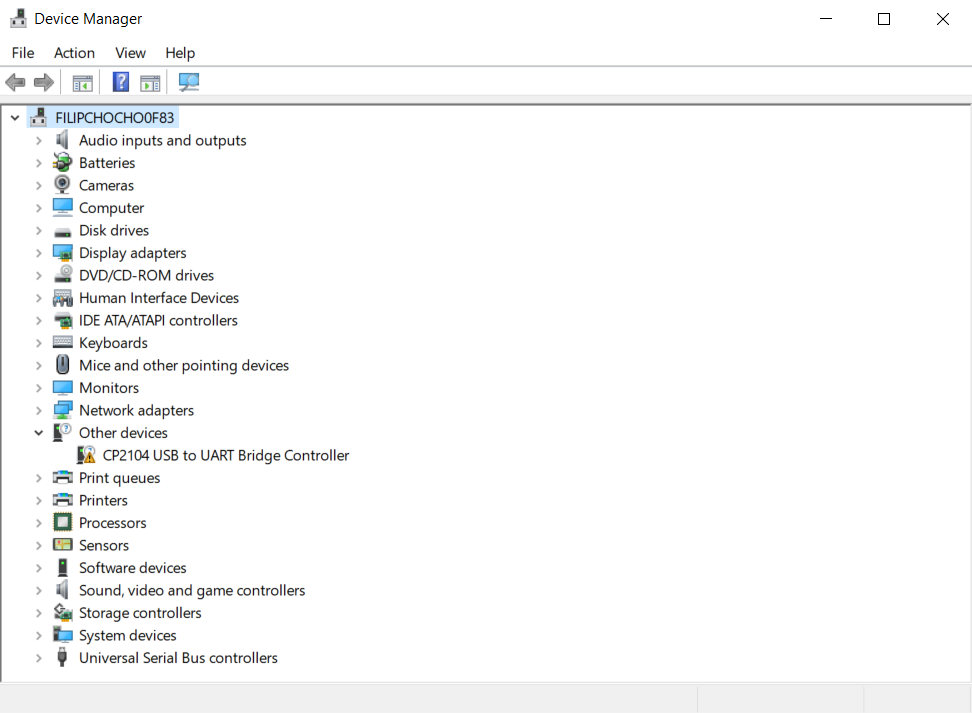
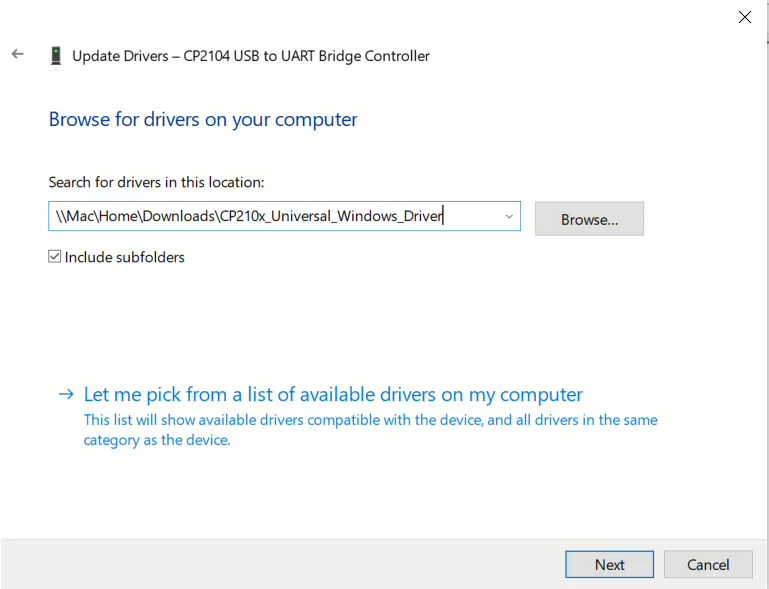
- Open the Device Manager and select the CP2104 USB to UART Bridge Controller to update.
- Point to the path to the previously unzipped drivers on your drive so that Device Manager can install them manually.
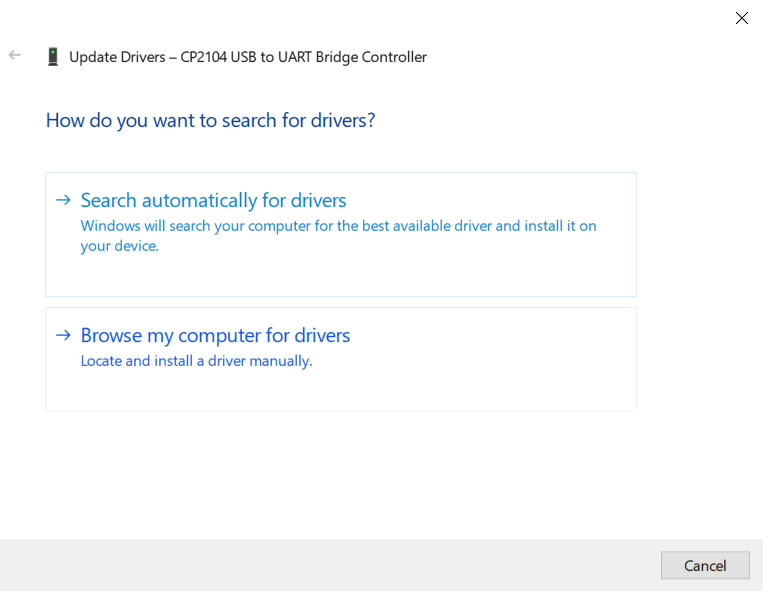
- Select the folder where the drivers are located and proceed with the installation.
- After a while, you will receive a message that the drivers have been successfully updated.

After these steps, the CP210x UART drivers should be successfully installed on your Windows 10 computer.
Uniden scanner setup on Windows
To take full advantage of the Uniden scanner’s capabilities on a Windows computer, I recommend using the free Scan 75 software by Nick Bailey. You can download them from the official site: https://www.nick-bailey.co.uk/scan75/download/.
Scan 75 is a great alternative to the paid software recommended by Uniden, which can cost more than 100 PLN. This free app allows full configuration and control of the Uniden scanner, offering a wide range of functionality in an affordable form.
After downloading and installing the program, you will be able to easily manage scan lists, program frequencies, create groups and much more. The software provides an intuitive interface and rich configuration options, making it easy to maximize the potential of your Uniden scanner.
It’s worth using this free alternative instead of manufacturer-recommended software, especially if you’re looking to save money. The software has a good reputation among Uniden scanner users and provides a robust tool for managing the device on Windows computers.

If you have additional questions about the setup, go ahead and leave a comment under this article or contact me directly. I will be happy to answer any concerns and help solve any problems. Your questions can help improve this guide for other users.
Additional Sources and information
For further exploration and more information, I recommend checking out the links below. They are valuable sources that were used in the development of this guide:
- Scan75 Control Program Suite – https://www.nick-bailey.co.uk/scan75/index.html
- Transmission1, The home of radio: BC75XLT / UBC75XLT and Scan125 software – https://www.transmission1.net/viewtopic.php?t=56896
Read also
- Nginx Proxy & Cloudflare: How to restore real IP address / Learn how to restore the display of users’ real IP addresses in server logs using Nginx Proxy Manager and Cloudflare as reverse proxy.
- TVHeadend: Installing and configuring SAT>IP decoder / Telestar Digibit Twin: Discover in today’s blog post the step-by-step configuration of SAT>IP with TVHeadend in Docker Compose.
- Home Assistant: ESPHome and estate barrier control / Learn how to integrate and control a residential barrier or entrance gate remotely using ESPHome and the Home Assistant platform.
- How to configure Leox GPON ONT insert on Mikrotik router / Step-by-step guide on how to configure Leox LXT-010S-H GPON ONT insert on Mikrotik RB5009 router, instead of ONT module from Orange.
- UniFi Network Application: Connecting an Access Point from another network / Discover how to connect a device from Ubiquiti UniFi from another network to Network Application – using Mikrotik’s IPSec tunnel as an example.
- UniFi Controller in Docker: Migrating to UniFi Network Application / UniFi Controller: Discover step-by-step how to successfully migrate to Network Application using Docker Compose.
- ADS-B: Receiver Installation and Configuration on Raspberry Pi / Discover the secrets of installing and configuring your own ADS-B antenna on Raspberry Pi. Develop skills and track aircraft in real time.
- Traccar: A guide to installing on Synology with Docker / Step-by-step guide: Installing Traccar on Synology using Docker. Effective vehicle tracking on your own server.
Leave a Reply