Hello!
If you own an RTL-SDR dongle and want to change its serial number on a Raspberry Pi running Linux, this tutorial is for you. Changing the serial number can be useful for several reasons, such as to better identify the device or to resolve conflicts with other modules with the same number.
The process of changing the serial number is not complicated, but it does require a few steps in the terminal. In this article, I will provide you with detailed instructions so that you can easily make modifications. Before continuing, make sure you have the necessary tools and drivers for RTL-SDR installed on your Raspberry Pi.
What is RTL-SDR?
The RTL-SDR is an inexpensive device based on the RTL2832U chip, initially designed for digital TV receiving. With the help of open source software, they can be turned into inexpensive programmable receivers, enabling them to receive signals over a wide range of frequencies, from about 24 MHz to 1.7 GHz.
RTL-SDR devices have gained great popularity among hobbyists, engineers and scientists because of their low price and versatility. They can be used for a variety of applications, such as receiving radio signals, scanning the frequency spectrum, monitoring the weather, listening to radio transmissions and more.
Although the RTL-SDR dongles were originally designed to receive digital television, their capabilities have been greatly expanded through software such as GNU Radio, GQRX and other open source tools. This has allowed the use of these inexpensive devices in many fields, such as telecommunications, science, security and many others.
📡 RTL-SDR in practice?
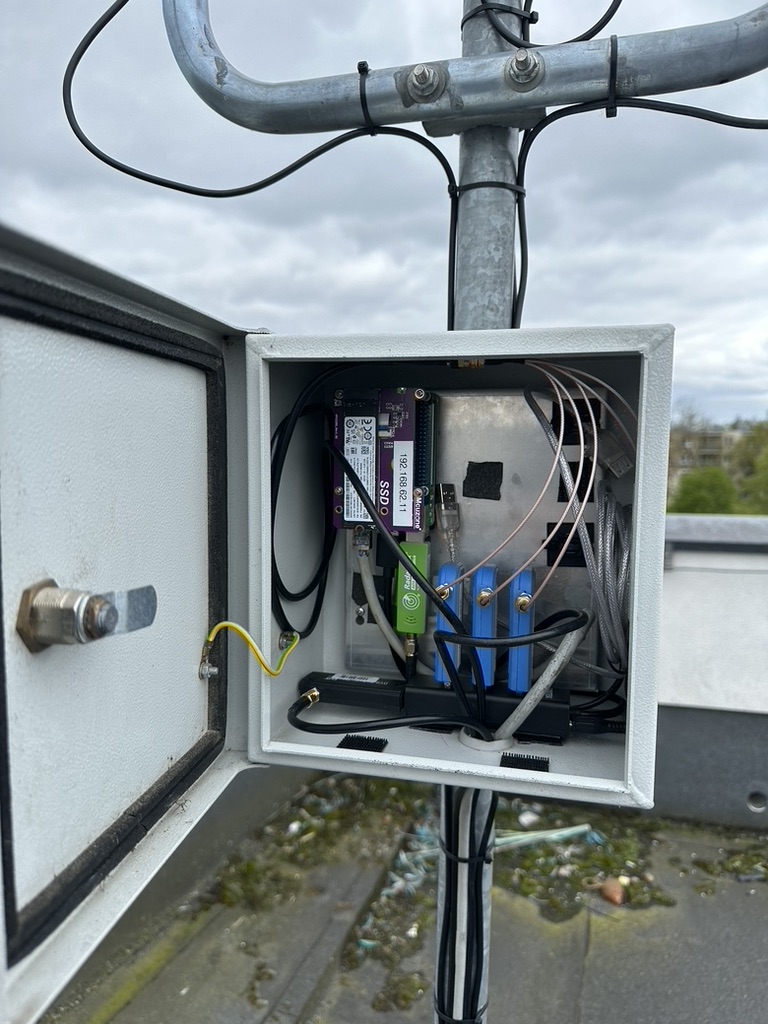
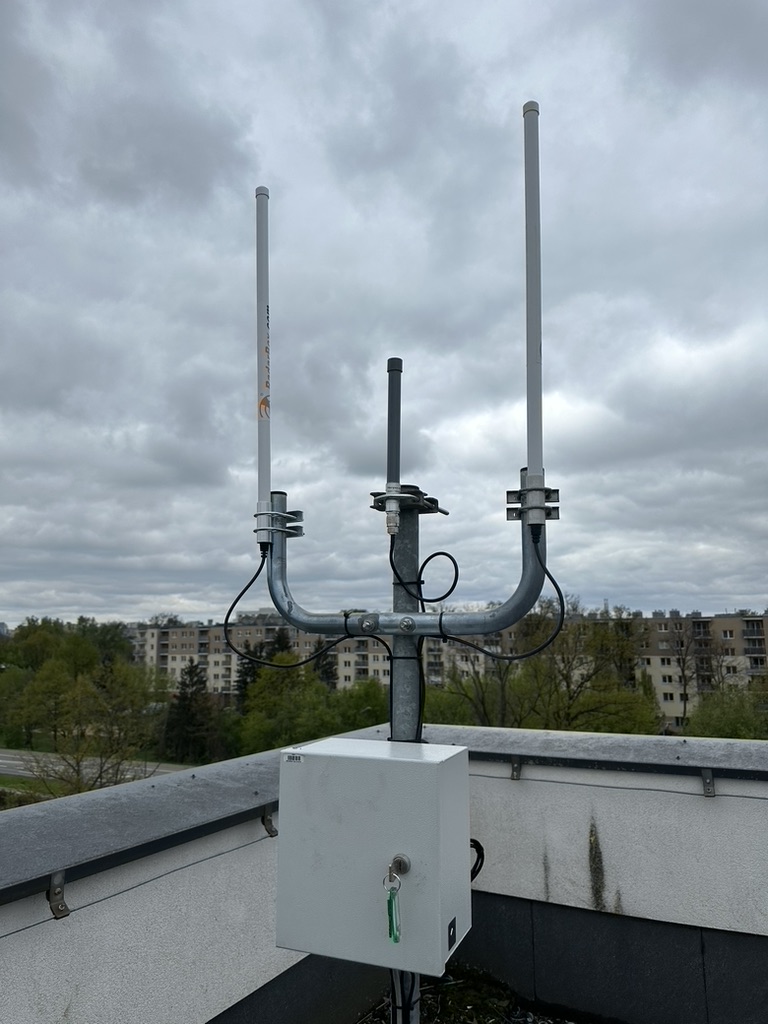
Want to see my RTL-SDR installation in action? Click here to learn more about my station installed on the roof of an apartment building, where I receive data, among other things. ADS-B using RTL-SDR dongles. Get inspired by this advanced kit and find out what you can do with inexpensive SDR equipment!
Step 1 – Upgrade and install packages on Raspberry Pi
Before starting the process of changing the serial number, it is important to update the Raspberry Pi’s operating system and install the necessary packages. Perform the following steps in the terminal:
sudo apt-get update
sudo apt-get upgrade
The above commands will update the list of available packages and install the latest updates for your Raspberry Pi system.
Then install the packages required to work with RTL-SDR:
sudo apt-get install rtl-sdrThe rtl-sdr package contains the software and drivers required to run the dongle on Debian-based systems such as Raspberry Pi OS.
After issuing this command, the apt package manager will automatically download and install rtl-sdr along with all required dependencies. This makes it simpler to configure the environment on the Raspberry Pi to work with RTL-SDR, without having to manually install each package individually.
Step 2 – Change the serial number
After installing the necessary packages, we can proceed to change the serial number of the RTL-SDR dongle. This process requires the use of the rtl_eeprom tool included in the rtl-sdr package.
- Connect the RTL-SDR module to one of the USB ports on the Raspberry Pi.
- Open the terminal and execute the following command to change the serial number:
sudo rtl_eeprom -s 00868000The new serial number should consist of 8 digital numbers, such as: 00010100, 00010200, etc. You can use numbers that specify the frequency the module will be used for, such as 01090000 (ADS-B), 00868000 (Open Glider Network/FLARM), etc.
sudo rtl_eeprom -s 01090000
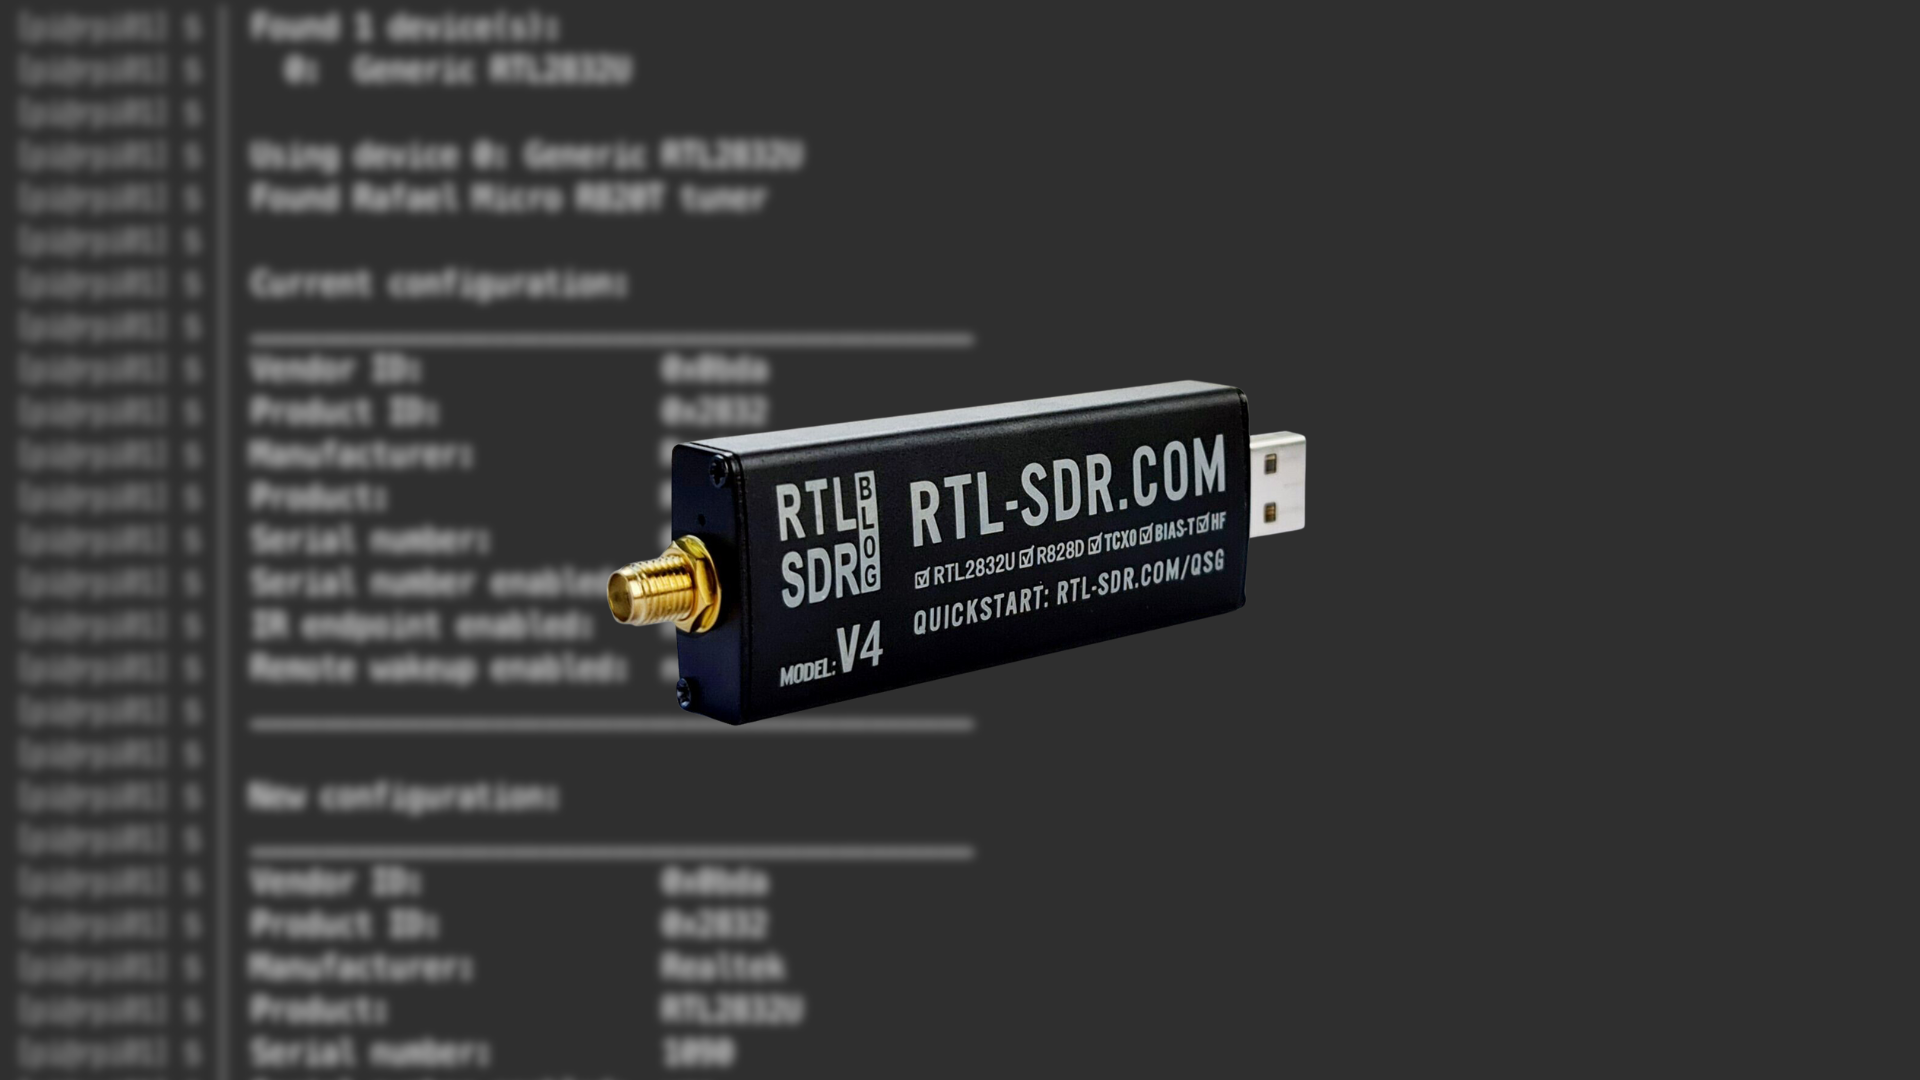
Found 1 device(s):
0: Generic RTL2832U OEM
Using device 0: Generic RTL2832U OEM
Found Rafael Micro R820T tuner
Current configuration:
__________________________________________
Vendor ID: 0x0bda
Product ID: 0x2838
Manufacturer: Realtek
Product: RTL2838UHIDIR
Serial number: 00000001
Serial number enabled: yes
IR endpoint enabled: yes
Remote wakeup enabled: no
__________________________________________- At the last line of the current device configuration, the system will ask you to confirm the continuation of the serial number change. Type y and press the Enter key.
New configuration:
__________________________________________
Vendor ID:              0x0bda
Product ID:             0x2838
Manufacturer:           Realtek
Product:                RTL2838UHIDIR
Serial number:          01090000
Serial number enabled:  yes
IR endpoint enabled:    yes
Remote wakeup enabled:  no
__________________________________________
Write new configuration to device [y/n]? y

Configuration successfully written.
Please replug the device for changes to take effect.- Disconnect and physically reconnect the device so that the system loads the new device serial number.
- After changing the serial number, your RTL-SDR dongle will have a unique identification. Remember to use the new serial number when configuring the software.
Congratulations! You just changed the serial number of the RTL-SDR dongle on the Raspberry Pi. If you encountered any problems, make sure you have the correct permissions and path to the USB device.
If you have additional questions about the setup, go ahead and leave a comment under this article or contact me directly. I will be happy to answer any concerns and help solve any problems. Your questions can help improve this guide for other users.
Additional Sources and information
For further exploration and more information, I recommend checking out the links below. They are valuable sources that were used in the development of this guide:
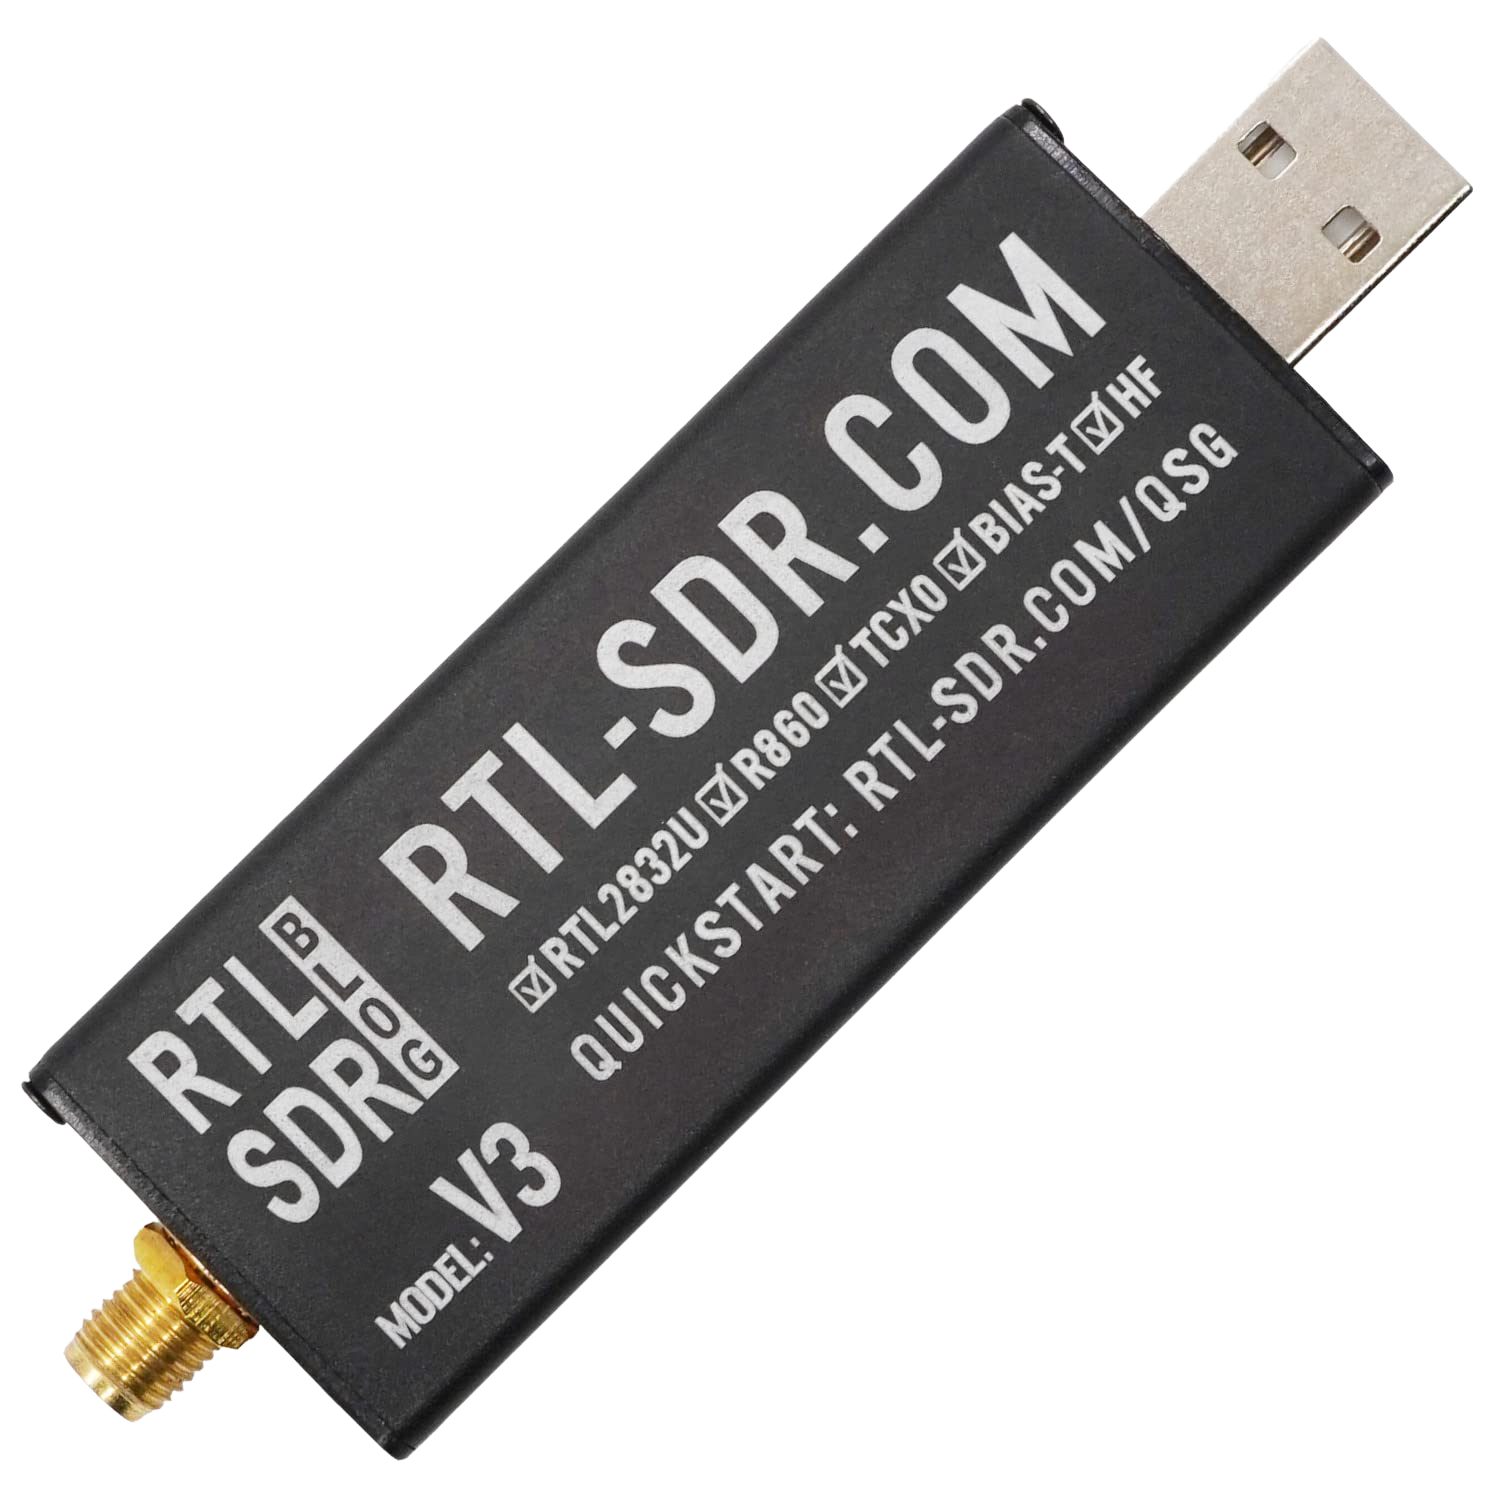
- RTL-SDR.com v3 Dongles, User guide – https://www.rtl-sdr.com/rtl-sdr-blog-v-3-dongles-user-guide/
Read also
- Nginx Proxy & Cloudflare: How to restore a real IP address. Discover how to restore users’ real IP addresses in server logs using Nginx Proxy Manager and Cloudflare as reverse proxy.
- TVHeadend: SAT>IP decoder installation and configuration. Telestar Digibit Twin: Discover the step-by-step configuration of a SAT>IP decoder with TVHeadend in Docker Compose in blog post.
- Home Assistant: ESPHome and estate barrier control. Learn how to integrate and remotely control a housing estate barrier or entrance gate using ESPHome and the Home Assistant.
- How to configure a Leox GPON ONT module on a Mikrotik router. Step-by-step guide on how to configure Leox LXT-010S-H GPON ONT module on Mikrotik RB5009 router, instead of ONT module from Orange.
- UniFi Network Application: Connecting an Access Point from another network. Discover how to connect a device from Ubiquiti UniFi from another network to Network Application – using Mikrotik’s IPSec tunnel as an example.
- UniFi Controller in Docker: Migrating to UniFi Network Application. UniFi Controller: Discover step-by-step how to successfully migrate to Network Application using Docker Compose.
- ADS-B: Installing and configuring the receiver on a Raspberry Pi. Discover the secrets of installing and configuring your own ADS-B antenna on a Raspberry Pi. Develop skills and track aircraft in real time.
- Traccar: A guide to installing on Synology in Docker. Step-by-step guide: Installing Traccar on Synology using Docker. Effective vehicle tracking on your own server.
Leave a Reply