Hello!
In a previous tutorial, I discussed configuration on the Raspberry Pi. Today we will focus on the installation and initial setup of a kit for receiving aircraft locations in the air using a Synology device and a few accessories. What’s more, I’ll show you how to use an existing server for this purpose, which can be an alternative to setting up from scratch.
I will divide the guide into several steps – from the initial setup, to preparing the system, installing Docker containers on Synology, sharing our data with other flight information aggregation portals.
Introduction
What is the ADS-B?
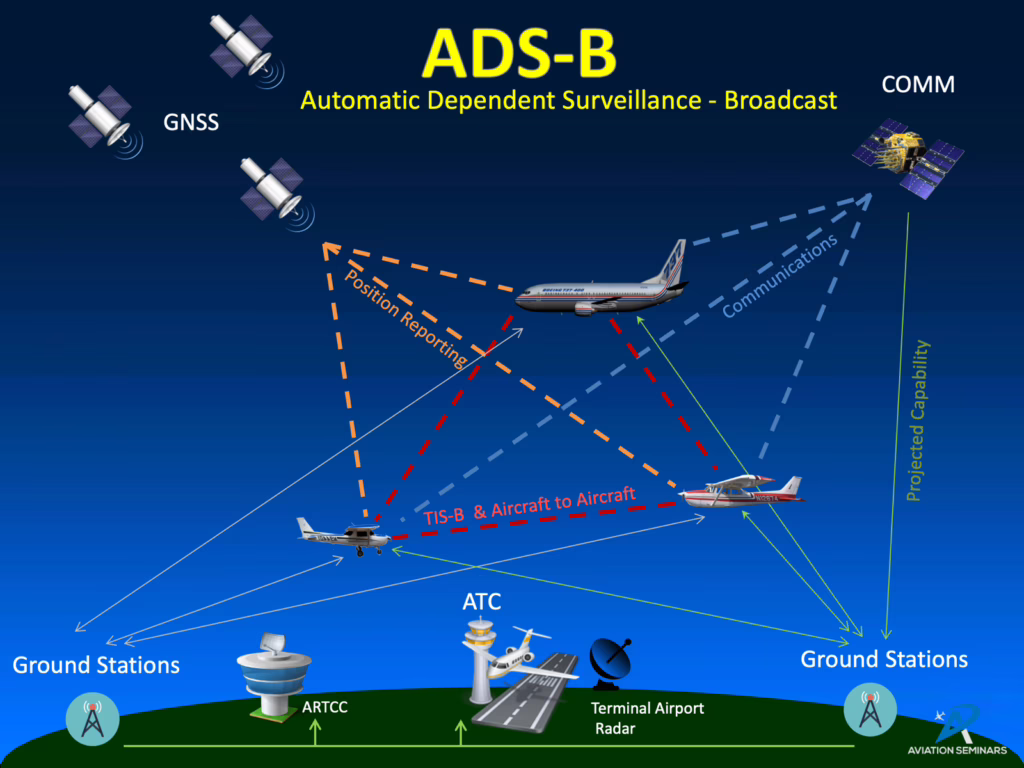
ADS-B (Automatic Dependent Surveillance-Broadcast) is an automatic surveillance and transmission system used in aviation. This technology allows aircraft to transmit data, such as position, speed, altitude and identification, to other ships and ground stations. It is based on GPS technology and transponders mounted on board aircraft.
The ADS-B system operates on two main frequencies: 1090 MHz and 978 MHz. Both bands are used depending on the world region and application.
In fact, most large aircraft are equipped with ADS-B transponders, operating at 1090 MHz, while smaller aircraft, especially those operating in the United States, can use UAT at 978 MHz. The interaction of the two bands is intended to increase the efficiency and flexibility of ADS-B in air traffic management.
What is Synology?
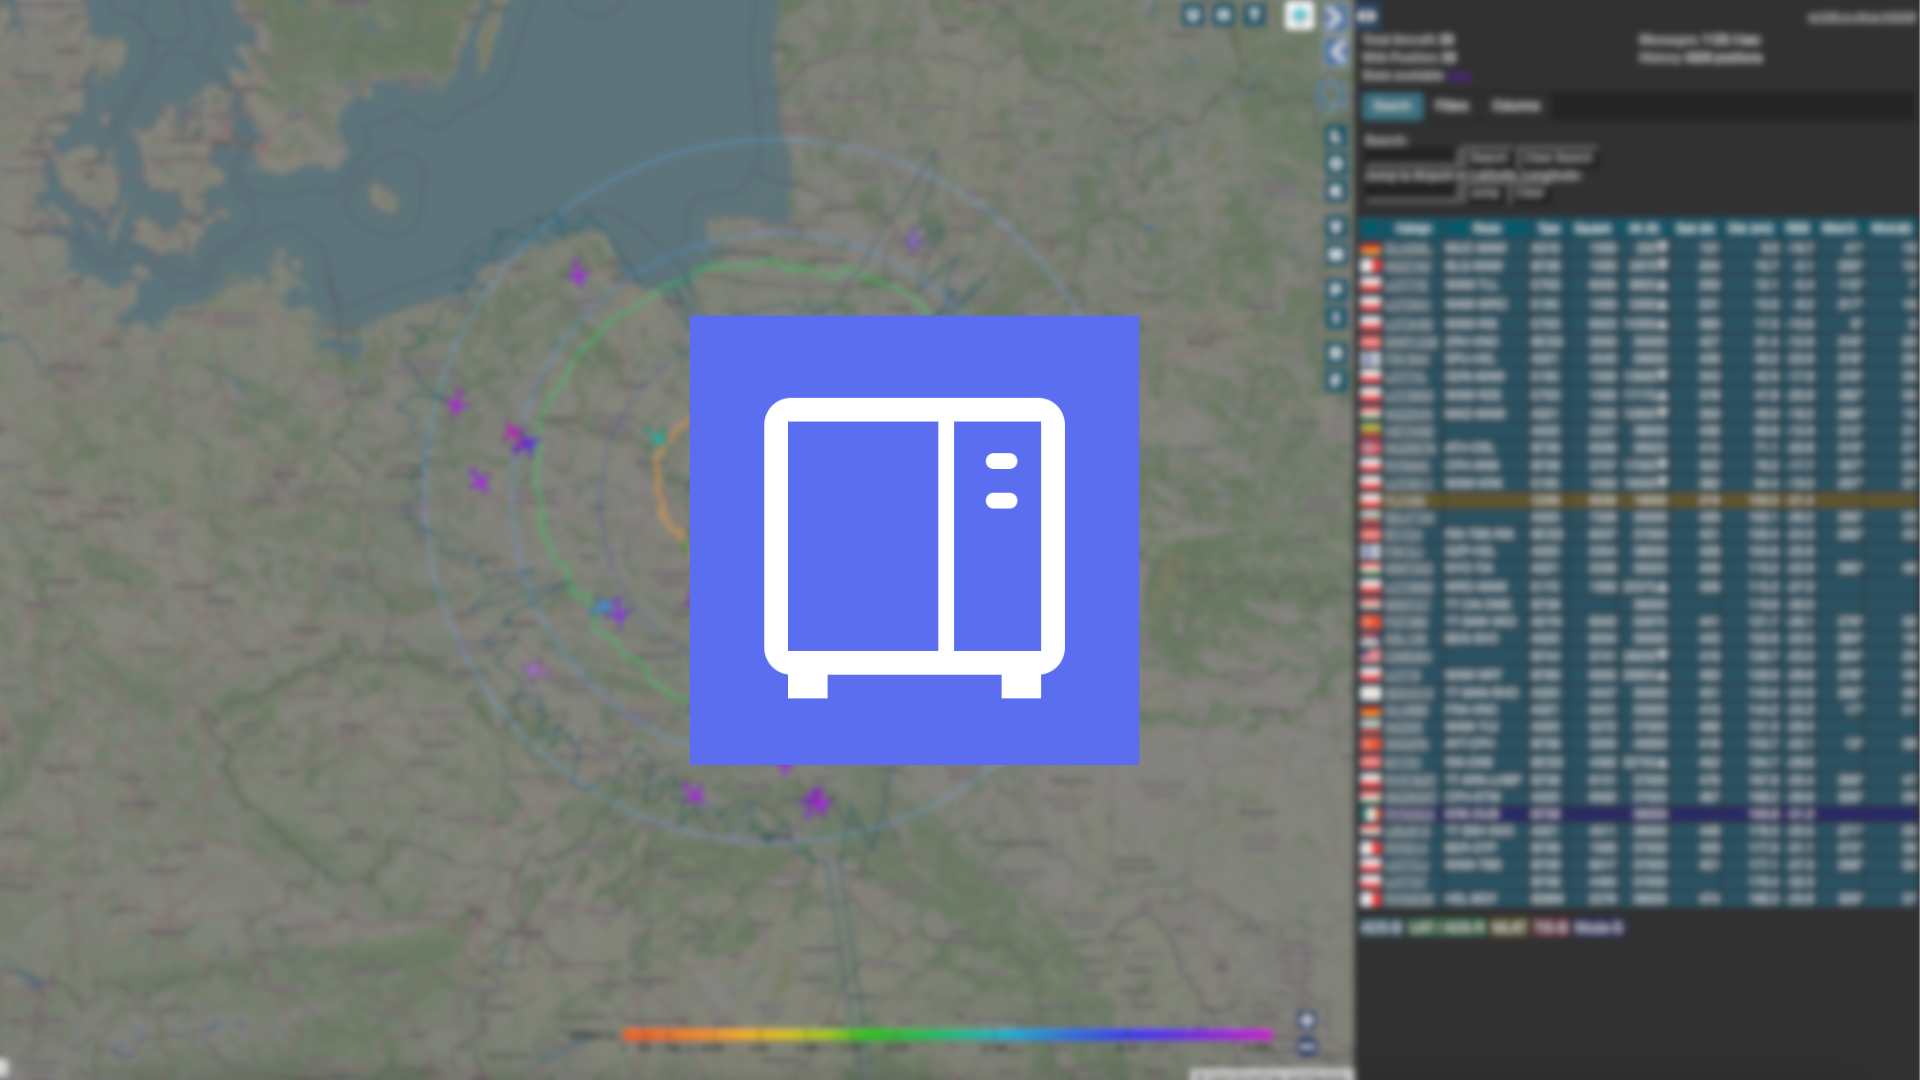
![]() Synology is a company specializing in the production of network hardware and software for data storage and management. Their main products are NAS (Network Attached Storage) servers, which offer a wide range of functions such as file storage, media sharing, backup, and hosting network services.
Synology is a company specializing in the production of network hardware and software for data storage and management. Their main products are NAS (Network Attached Storage) servers, which offer a wide range of functions such as file storage, media sharing, backup, and hosting network services.
Thanks to their flexibility, Synology devices are used both in home networks, where they serve as a central data storage and media server, and in businesses, where they are used to store and share files and run a variety of business applications, such as email servers, file servers, and project management platforms.
In addition, Synology devices are popular in security-oriented environments, where they are used to store surveillance camera footage and run video surveillance systems. Moreover, thanks to the wide range of applications available in their ecosystem, users can expand the functionality of their NAS servers by installing virtualization servers or cloud data management solutions, among others. In this way, Synology becomes not only a central data storage point, but also a platform for extensive IT infrastructure management in diverse environments.
Preparation
Before installing an ADS-B pickup system, it is a good idea to make solid preparations. Here is a more extensive description of what was needed based on my setup for my colleague.
For the creation of the guide, I will use the documentation provided by the SDR-Enthusiasts team, who have done a very good job. I sincerely thank them for making this information available. In the rest of the tutorial, I will also use their containers, which will make the installation and configuration process easier.
Location
When setting up an ADS-B receiving system using a Synology server, keep in mind the importance of a suitable place to install the antenna. Here are some tips that you may find helpful.
- Antenna location: Choose a location that provides free access for the antenna to the open sky. Make sure that the antenna will not be obscured by obstacles – such as trees, buildings or other objects;
- Avoid interference: Place the antenna away from devices that generate electromagnetic interference, which could affect the quality of received signals;
- Wiring safety: Ensure safe routing of cables from the antenna to the receiver, avoiding potential sources of damage. Protect your cabling from bad weather;
- Optimum height: Try to place the antenna at an optimal height to minimize terrain interference and improve the range of received signals;
By locating the antenna on the roof, we are sure that we have given it free access to the open sky. By taking advantage of this optimal height, we also avoid terrain interference, which contributes to improving the range of received signals.
Paperwork for the use of the roof in housing buildings
Background of the problem
When planning to install an antenna on the roof of a housing building, it is necessary to comply with the formalities of the construction law, especially when dealing with a building covered by a community or cooperative.
Make sure that the following steps have been taken
Therefore, the following steps must be taken to erect the mast and antenna on the roof:
- Community or Cooperative Consent: Before proceeding with the installation, it is important to obtain the approval of the community or housing cooperative board. Typically, the roofs of apartment buildings are considered common areas, and decisions on their use require the approval of the housing community.
- Construction Law: You should check the construction law to find out if installing an antenna on the roof requires any special permits or approvals. In some cases, depending on the type of antenna and the planned installation, additional paperwork may be required.
- Contract and Liability: The community or cooperative may also require the signing of a contract, which will specify the terms of use of the roof, rights and obligations related to the installation of the antenna. It is also worth discussing issues related to possible damage to the roof or other building components during installation.
- Structure Safety: Regardless of the purpose of the antenna installation, the mast should be sturdy and safe. Make sure it meets all safety standards to avoid possible damage or accidents.
- Notification to the Housing Community: Before starting work, it is important to inform neighbors and residents about the planned installation, and to listen to their concerns or objections, if any. Cooperation with residents can help reach an agreement on the installation of the antenna.
Required equipment and components
In our case, in order for my colleague to start receiving any information sent by aircraft, it was necessary to have:
Hardware
- Synology DS720+ (purchased some time ago), 2x HDD, 4x 2-2.7 GHz, upgraded to 8 GB RAM, 2x USB 3.0, 2x 1 GbE LAN;
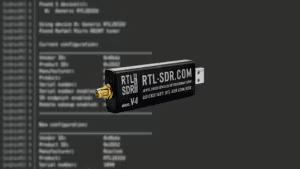
- SDR receiver, which ranges from 1090 MHz,The USB receiver from AirNav has a built-in filter and amplifier for the aforementioned frequency – hence its purchase was economically justified;
- Antenna optimized for operation at 1090 MHz,
Mounting method
It is worth noting that the ADS-B antenna can be mounted on a mast from a satellite dish, if we do not have any other place available to place it. However, it is advisable to arrange the installation to avoid overloading the mast from the satellite dish and not to create a kind of “Christmas tree”.
Therefore, if possible, consider installing a separate antenna mount or mast specifically designed for ADS-B antenna installation. Such a procedure will not only ensure stable placement of the antenna, but also allow easier management of the installation and ensure future flexibility. With an additional bracket or mast, you will have the ability to install other antennas in the future, which can be useful for system expansion or additional communication needs.
In the case of installing an antenna on the roof of a residential building – below I describe the additional components that in my case were necessary for the installation of antennas (three antennas are currently installed: ADS-B, Airband and Open Glider Network).
Additional equipment
- Non-invasive ballast mast with a height of 1.2 m;
- Hermetic box for mounting on the pole of a pole without invasion;
- Concrete blocks for the load of a non-invasive mast;
- Rubber wiper, on which the non-invasive mast will be placed.
Software
As software for monitoring and sharing ADS-B data with other aggregators, we will use Ultrafeeder from SDR-Enthusiasts. I will describe the installation steps below, following the instructions provided by the manufacturer.
The introduction of this software will make it possible to effectively monitor air traffic and share the collected data with other portals operating in the ADS-B area.
By making the signal available to air traffic monitoring platforms such as FlightRadar24, FlightAware and RadarBox, we can expect to benefit from free subscriptions to these portals. This enables a more complete use of advanced features, real-time tracking of air traffic and access to additional information and statistics. Sharing ADS-B data thus becomes a tangible investment in the growing aviation community, while giving access to a more advanced air traffic monitoring experience.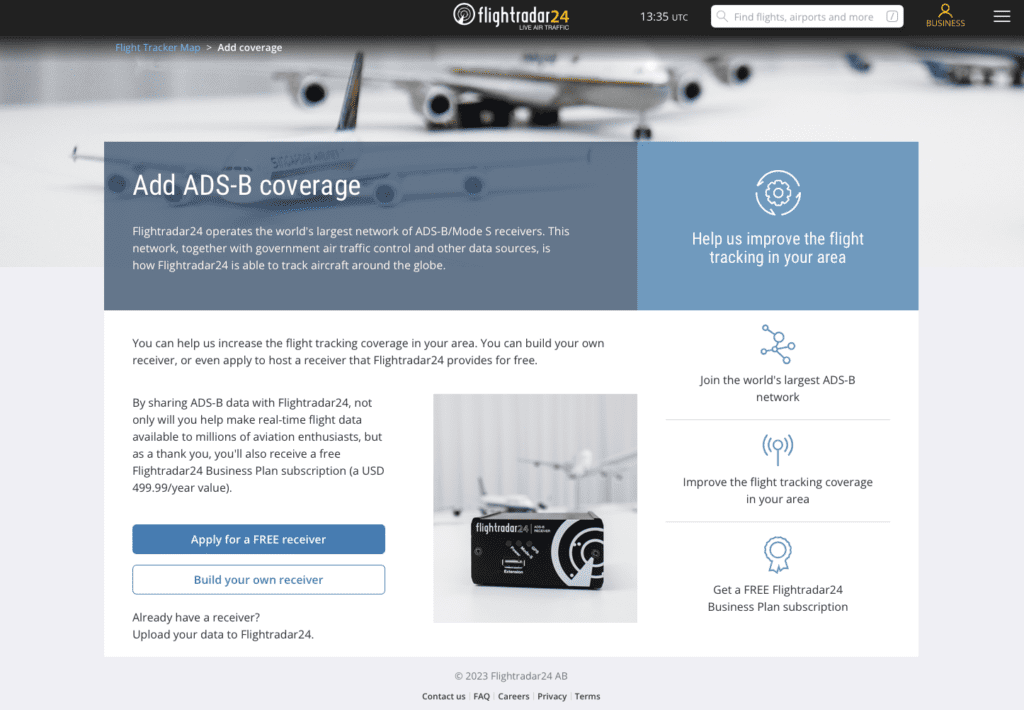
Collecting the location parameters of our receiver
In order to properly configure the receiver, it is necessary to collect precise data on its location. Here is the key information you need to obtain:
Antenna height (above sea level)
- For this information, visit https://www.freemaptools.com/elevation-finder.htm. Move the pin closer to the exact location of the antenna, and then consider the distance from the ground level where the antenna is installed.
Latitude and longitude of the antenna (to at least five decimal places)
- To get this information, visit https://www.gps-coordinates.net or https://maps.google.com, zoom in to the exact location of the antenna and click to get the exact latitude and longitude data. Alternatively, you can use a handy GPS.
Providing precise location data is a key step in effectively configuring an ADS-B receiver. Be sure to enter this information with the utmost accuracy to ensure effective system operation and provide reliable air traffic data.
Step 1 – Installing the antenna on the roof
When installing an antenna on the roof of a house or multi-family building, there are a few general rules to follow. On the roof of the house, ensure that the antenna is stably mounted (I described above).
In the case of a multifamily building, it is worthwhile to use the technical channel where cables run between floors. In this case, you should add your cable to the existing infrastructure, and it should be clearly marked who is responsible for the cable.
When installing an antenna on the roof of a building, it is also important to pay attention to fire safety features, such as a sealing compound, such as the one available from HILTI products. If there is a fireproof membrane between floors, it may be necessary to supplement it with sealant on our side. The sealing material is designed to protect the space from smoke and fire penetration in the event of a fire, which is important for maintaining the integrity of the building’s fire protection system.
Step 2 – Configuration in the Synology DSM
Installing Docker (Container Manager) on Synology
![]() Until version 6.2, a Docker package was available on the Synology DiskStation Manager (DSM) operating system, which allowed users to run application containers on NAS servers. With the introduction of DSM 7, Synology decided to introduce its own solution, known as Container Manager.
Until version 6.2, a Docker package was available on the Synology DiskStation Manager (DSM) operating system, which allowed users to run application containers on NAS servers. With the introduction of DSM 7, Synology decided to introduce its own solution, known as Container Manager.
- Log in to the DSM interface – Open a web browser and log in to the administration panel on your Synology device, using the appropriate credentials (administrator account),
- Install Container Manager – After logging in, go to the Package Center (which is the central place to manage applications on Synology devices). Search for the Container Manager package and install it on your device.
Support for USB external devices on DSM 7
DSM 7 no longer includes support for USB dongles such as Wi-Fi, Bluetooth, 3G/4G, USB DAC/speaker and DTV dongle. If your device is currently connected to Synology, it was probably disconnected after upgrading to DSM 7. To restore the operation of these devices, follow these steps (it is necessary to set the appropriate access permissions and load kernel modules to allow USB dongles):
- Go to the Control Panel, then scroll down to find the Task Scheduler.
- Click Create and select Run task – User-defined script,
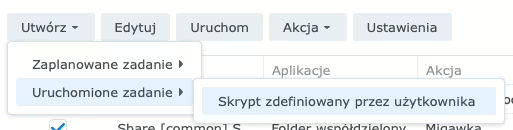
- On the Create Task – General tab, enter the following values:
- Task: Remaping 80/443 ports,
- User: root,
- On the Create Task – Task Settings tab, enter the following values:
- Submit the launch details in an email: Check and enter your email address,
- Submit launch details only when the script is unexpectedly terminated: Check,
- Run the command: Paste the following script in your text editor:
- Open a browser and type http://IP-ADRES:9000/. Choose a username and a strong password, confirm them, and then click Create User.
- Then click Get Started to continue using the local environment in which Portainer is running.
Multiple hosts
The Portainer Agent is a tool that acts as an interface between Portainer (the platform for managing Docker containers) and the host on which Docker containers are run. The agent enables remote management of Docker containers on hosts via Portainer.
Using the Portainer agent facilitates centralized and automated management of Docker containers on multiple hosts from a single user interface.
To install Portainer Agent on your Synology, follow these steps:
- Log in to your account and go to the administration interface.
- Are you using the Authentik single sign-on system? Make the login process easier for yourself by integrating Portainer with Authentik with the help of these instructions.
- At the bottom left of the Settings section, select and click Environments,
- Click Add environment,

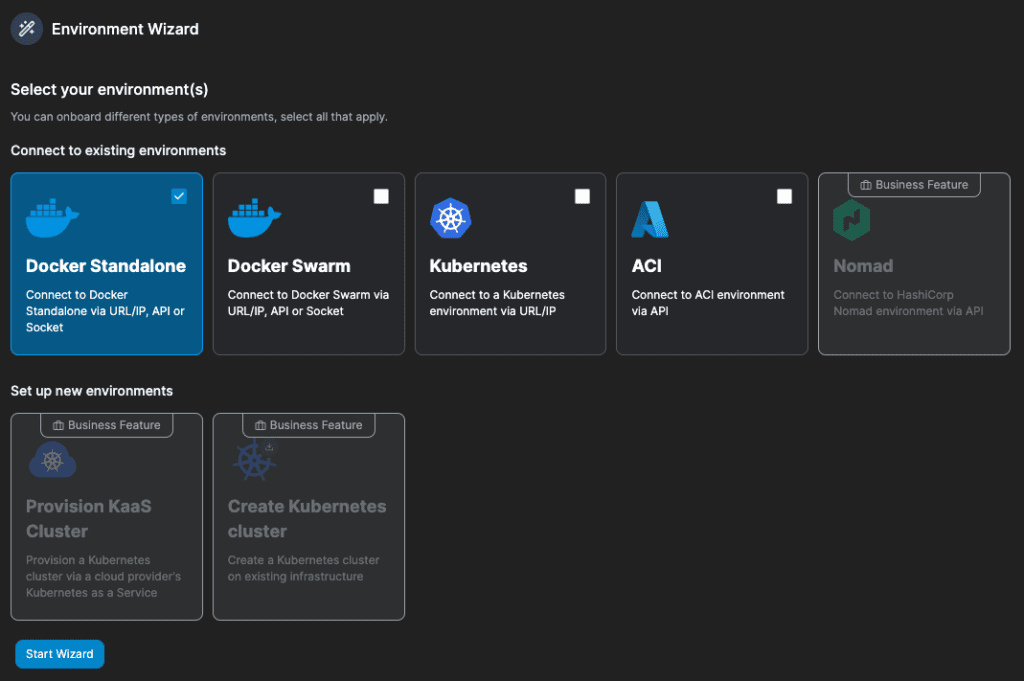
- From the list of proposed environments, select the option to connect Docker Standalone. Then click Start Wizzard,
- Leave the Agent option checked, then copy the command to install the agent on the remote device,
- Log in over SSH to Synology and enter the following command:
You can use the resulting string of this command (in the format 00000000-0000-0000-0000-000000000000) as your UUID. In further configurations, you will use the same UUID for each feeder of your station.
Create a heywhatsthat panorama ID
Heywhatsthat is a website that can generate an overlay on a map, showing a theoretical range based on obstacles and the curvature of the earth. In the upper left corner of the panorama page you will find the URL, which will look like this: https://www.heywhatsthat.com/?view=CW5KV545. This code will be used later in the configuration instructions.
To create a panorama, follow the steps below:
- Go to https://heywhatsthat.com/,
- Click New Panorama,
- Set the exact location of your antenna,
- Enter the title of your location / antenna,
- Submit the request and wait for the processing to complete,
Installing Ultrafeeder using Docker Compose in Portainer
The Ultrafeeder container is the heart of our ADS-B receiver. It receives signals at 1090 MHz from your SDR, demodulates the messages, making them available to all other containers. We will now create a configuration file in Docker Compose using the Portainer.
- From the Portainer’s home screen, select your device that you previously connected centrally or with an agent.

- Go to the Stacks section, then Add stack.
- Name: adsb-feeder
- Web editor: Paste the following code content
Environment variables in the Portainer
- In the above file, there are several parameters that have values labeled as ${PARAMETR}. These values are read from the environment variables section – which are described below.
- Under the code editor, in the environment variables section, go to Advanced mode.
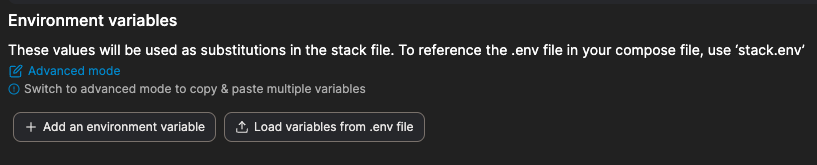
- Paste the following content, and the prompts that are in parentheses
replace with values according to the legend described below:
To return to the previous view, select Simple mode in the Portainer. In this mode, the Portainer will automatically assign the entered environment variables to the name and value categories. If you plan to add more ADS-B data aggregators to your setup, this will make the process easier, as you will be able to add variables that you will need in the future.
Implementing Docker Compose in production
The last step left is to create the environment and run the installation. To do so, under the Actions section, click on Deploy the stack and wait a while for the Docker container images to be downloaded to the device’s memory.
If everything is successful, you will see Success: Stack successfully deployed in the upper right corner of the screen, and then two newly created containers will appear in the container list. 🚀
Access to data via browser
Once configured and running using the above example, the container will make the website available on port 8080 of the host. Here are some generated web pages:
- http://IP-ADRES-RPI:8080/ : A map of tar1090 and a table of all aircraft that the antenna detected and decoded,
- http://IP-ADRES-RPI:8080/graphs1090/ : A page with graphs and statistics of our receiver’s performance.
Where is the ADS-B data from the station transmitted?
If you want to learn more about specific information and what protocol is used to send data from the receiver, take a look at the link here. The authors of SDR-Enthusiasts describe this question very precisely, along with a definition of who is a commercial and who is a non-profit data aggregator.
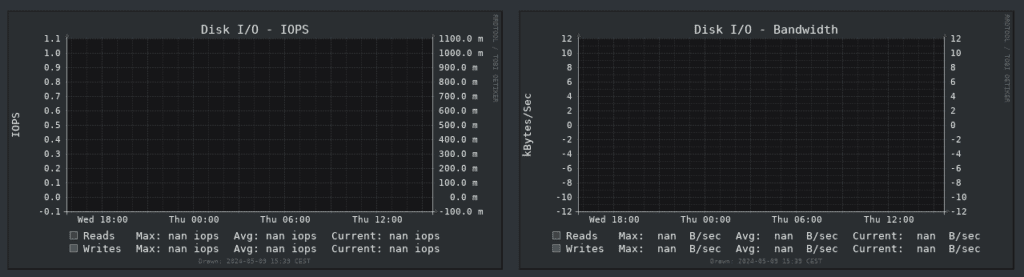
Disk I/O IOPS and Disk I/O Bandwith graphs missing in graphs1090
At the time of writing the tutorial, I noticed that input/output (I/O) data from the disk on which Ultrafeeder is installed is not being transferred to Graphs1090. In the near future, I will report the problem via a ticket on GitHub to the author of the component so that he can make an appropriate fix to the code.
If you have additional questions about the setup, go ahead and leave a comment under this article or contact me directly. I will be happy to answer any concerns and help solve any problems. Your questions can help improve this guide for other users.
Additional sources and information
Thank you for reaching this point. For further exploration and more information, I recommend checking out the links below. They are valuable sources that were used in the development of this guide.
- Information about ADS-B: https://dlapilota.pl/wiadomosci/dlapilota/ads-b-automatic-dependent-surveillance-broadcast
- List of tools for ADS-B, projects: https://github.com/rickstaa/awesome-adsb
- Instructions for using Heywhatsthat.com: https://github.com/wiedehopf/tar1090#heywhatsthatcom-range-outline
Discover simple instruction for changing the serial number of an RTL-SDR dongle on Linux. A step-by-step guide through the modification process.
Discover iPerf3, a network testing tool for the Raspberry Pi. Explore how it measures TCP/UDP network performance in a simple way.
Step-by-step guide: Installing Traccar on Synology using Docker. Effective vehicle tracking on your own server.
Discover how to configure Synology RADIUS Server on Mikrotik devices. Learn about the steps and benefits of integration in our article.
Installation and integration of the Eastron SDM120M energy meter with Home Assistant using ESPHome. A detailed step-by-step guide.

Here you will find step-by-step instructions for installing CP210x UART drivers on Windows 10 for Uniden scanners.
Comments (3)
Szymonsays:
27/09/2025 at 11:41Cześć Filip, z wielką uwagą (i nadzieją – bo mam kilka serwerów NAS oraz odbiorników ADSB) przeczytałęm twój poradnik. Generalnie jest zrozumiały, ale poruszając sie krok po kroku nie udało mi sie prawidłowo uruchomić odbiornika. Problem jest zawsze tan sam – uruchomiony w kontenerze program nie widzi odbiornka (NAS go widzi) ale nie mogę udostępnić go dla Container Managera. Czy mozesz mi troszkę w tym pomóc ? Nie wiem jak sie do tematu zabrać a spędziłem juz trochę czasu na poszukiwaniach !
Filip Chochółsays:
28/09/2025 at 11:52Hej, odezwij się w wiadomości prywatnej do mnie 🙂 Na razie jestem na wyprawie motocyklowej, więc najwcześniej to będę mógł Ci pomóc w połowie października. Postaram się o Tobie nie zapomnieć.
Dziękuję i trzymaj się!
amnesiasays:
09/01/2025 at 13:32How about using a Synology Container Manager? Can you make a tutorial using that? Is there any changes since DSM7 and USB access?