Hello!
Today I’ll show you how to install Netbox on a Synology server using Docker containerization. We will perform the entire installation using Docker Compose via the Portainer tool. Next, we will configure a reverse proxy using the already installed Nginx Proxy Manager. In order for us to access Traccar by domain name on the local network, we will configure DNS rewriting using AdGuard Home.
Introduction to our project
What is Netbox?
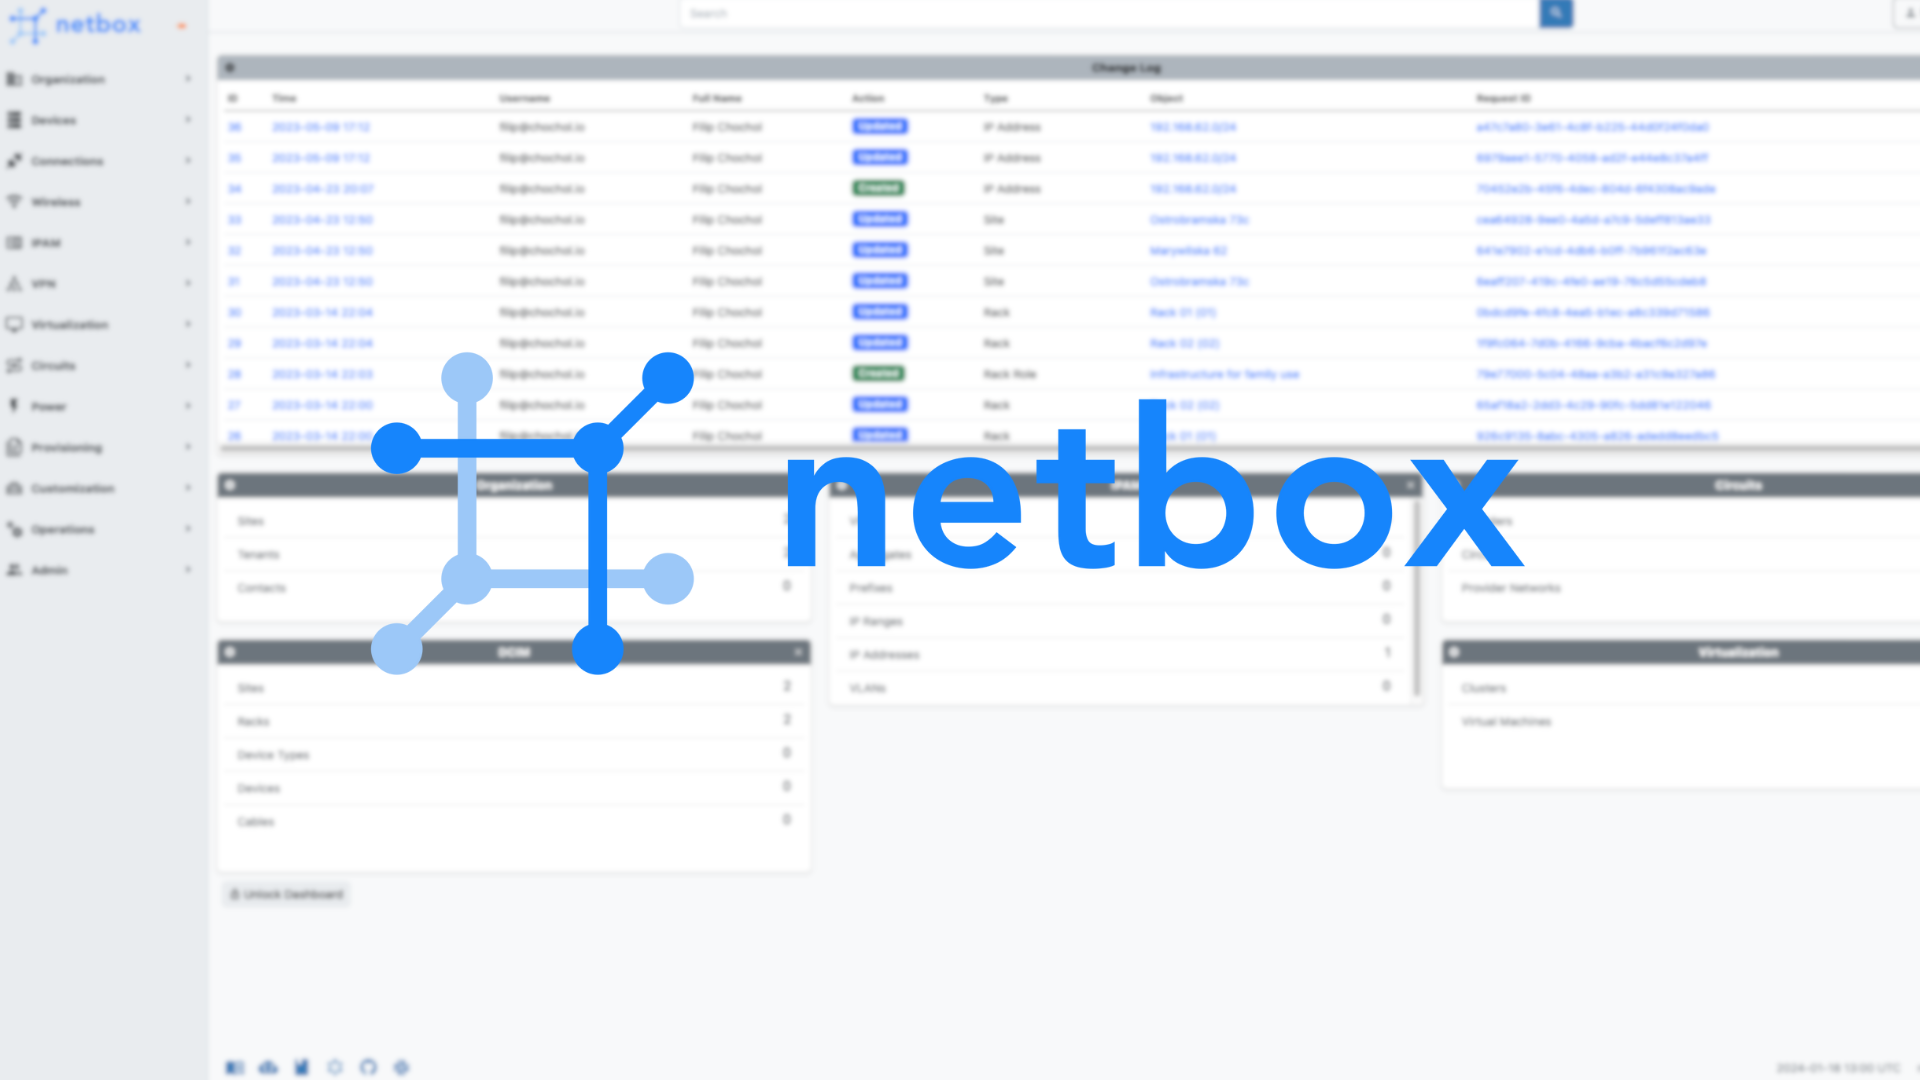
![]() Netbox is a web-based application for managing and documenting network infrastructure. It allows efficient management of IP addresses, network equipment, servers, and their locations. The application also provides features such as cable connection tracking, rack space management, and data visualization.
Netbox is a web-based application for managing and documenting network infrastructure. It allows efficient management of IP addresses, network equipment, servers, and their locations. The application also provides features such as cable connection tracking, rack space management, and data visualization.
Designed to meet the needs of network administrators, it simplifies the management of complex networks and supports the change planning process. It is an open-source solution, which means that its source code is available to everyone and can be modified according to individual needs.
What is a Portainer?
 Portainer is an open-source tool for managing and monitoring containers in a Docker environment. This is a graphical user interface (GUI) that makes it easy to configure, manage and monitor containers, as well as other Docker-related resources.
What is Docker Compose used for?
Docker Compose provides a tool for defining and managing multiple Docker containers simultaneously. By describing application configurations, services and dependencies in a YAML file, Docker Compose makes it easy to uniformly create, run and scale applications composed of multiple containers. This tool simplifies the process of setting up a development, test or production environment while ensuring consistency in managing containers and their parameters. With Docker Compose, it is possible to define a comprehensive application infrastructure in a single file, which in turn makes it easier to collaborate and replicate environments in different scenarios.
Preparation
In order to prepare the tutorial, we will adopt an established domain name and certain configuration names, shown below. For customized configuration, apply settings according to individual requirements.
- Full domain name (FQDN) of Synology DSM: https://dsm.xyz.com,
- Full domain name (FQDN) of Netbox: https://netbox.xyz.com,
- Installed on Synology via Docker: Portainer, AdGuard Home,
- Installed on Synology via Package Center: Container Manager,
- On the router’s DHCP server, the indicated IP address of the DNS server (AdGuard Home) installed on the Synology.
Hardware
Nginx Proxy Manager (optional)
On my Synology, I have configured a reverse proxy using Nginx Proxy Manager, which allows access to the Netbox panel via a URL (https://netbox.xyz.com) instead of the standard IP address. It is a solution that increases the convenience of managing UniFi devices by offering an easier to remember and more intuitive address available on the LAN. Are you interested in how to do it? Take a look here.
In addition, local DNS redirection is performed by the AdGuard DNS server, also running on a containerized version of the Synology server.
Container from LinuxServer.io
A repository of the containerized version of Netbox created by LinuxServer.io is available here. Based on this data, we will create a new Stack in the Portainer.
Step 1 – Configuration in Synology DSM
If you use the Authentik single sign-on system, you can make the login process easier by integrating the operating system from Synology DSM with Authentik. For integration instructions, see the dedicated guide.
- Log in to your Synology file server and launch File Station.
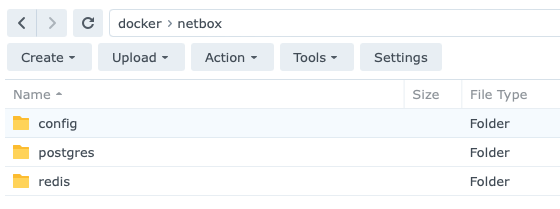
- Then, navigate to the previously created shared folder named docker. Inside this folder, create a netbox folder.
- The next step is to create subfolders inside the netbox folder: config, postgres and redis.
Step 2 – Configure Docker Compose in the Portainer
Log in to the Portainer to start the process of creating a new stack (Stack), which will be needed to create Docker Compose code. In this configuration, include separate services for the database, cache and application server. This will allow the integration of both the database and applications into one comprehensive container solution.
- Log in to your account and go to the administrative interface of the Portainer.
- If you are using the Authentik single sign-on system, you can make the login process easier by integrating Portainer with Authentik. For integration instructions, see the dedicated guide.
- Select your environment (eng: Environments) in which you will edit the configuration of the created Docker Compose. Then go to Stacks.

- From the upper right corner (under your login), select Add stack.

- Fill in the Docker Compose file creation with the following values:
- Name: netbox
- Build method: Web editor
- Web editor: copy the content described below and paste
- Click Deploy the stack, then wait until Portainer downloads the content and creates the container.
- When the process is successful, the message Success: Stack successfully deployed will appear in the upper right corner of the screen. Then, the newly created container stack will appear in the container list.
- It is recommended to wait about 5 to 10 minutes for the installation to be fully completed. At that time, trying to log in to the application through the IP address, you may encounter a blank web page (without any content).
Step 3 – Configuration in Nginx Proxy Manager
Web access over HTTPS (SSL Certificate).
If you have uploaded an SSL certificate for your domain that supports subdomains (Wildcard certificate):
- Log in to the administrator account in Nginx Proxy Manager.
- Click on Hosts, then select Proxy Hosts from the menu,

- In the upper right corner, click Add Proxy Hosts.

- Complete the parameters with the following values:
- Domain Names: netbox.xyz.com
- Scheme: http
- Forward Hostname/IP: IP-ADDRESS-SYNOLOGY
- Forward Port: 13031
- In the Edit Proxy Host window on the Details tab, check:
- Cache Assets,
- Websockets Support,
- and Block Common Exploits.

- Then go to the SSL tab, select your SSL certificate and check all available additional options:
- Force SSL,
- HTTP/2 Support,
- HSTS Enabled,
- and HSTS Subdomains.

Step 4 – Configuration in AdGuard Home
In order to access the Netbox from our computer via the domain name defined in Proxy Manager (e.g. netbox.xyz.com) on our local network, it is necessary to configure the DNS server to point to the location of this site.

- Log in to the AdGuard Home administration panel.
- Go to the Filters tab, and then select DNS Rewriting from the menu.

- Click Add DNS rewriting, then fill in the fields with the following values:
- Enter the domain name you want to rewrite: netbox.xyz.com
- IP Address: IP-ADDRESS-SYNOLOGY
- Done! Wait a while until the configuration is saved. Once the process is complete, you will be able to access the server at netbox.xyz.com. 🚀
Step 5 – Log in to Netbox
The final step of our installation is to log in with administrator rights to the application we have just deployed.
- Type https://netbox.xyz.com into your browser address,
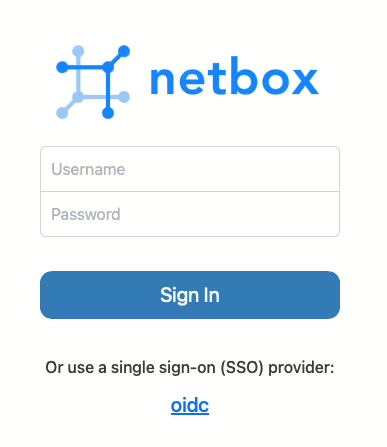
- On the login screen, enter admin as the username, and in the password field, enter the password you set when installing the application in Docker Compose, found in the section:
Leave a Reply