Hello!
Raspberry Pi is a popular platform for IoT projects, IT education and many other applications. Despite their versatility, these devices often have a limited amount of RAM. This can lead to performance problems, especially if you are running memory-intensive applications.
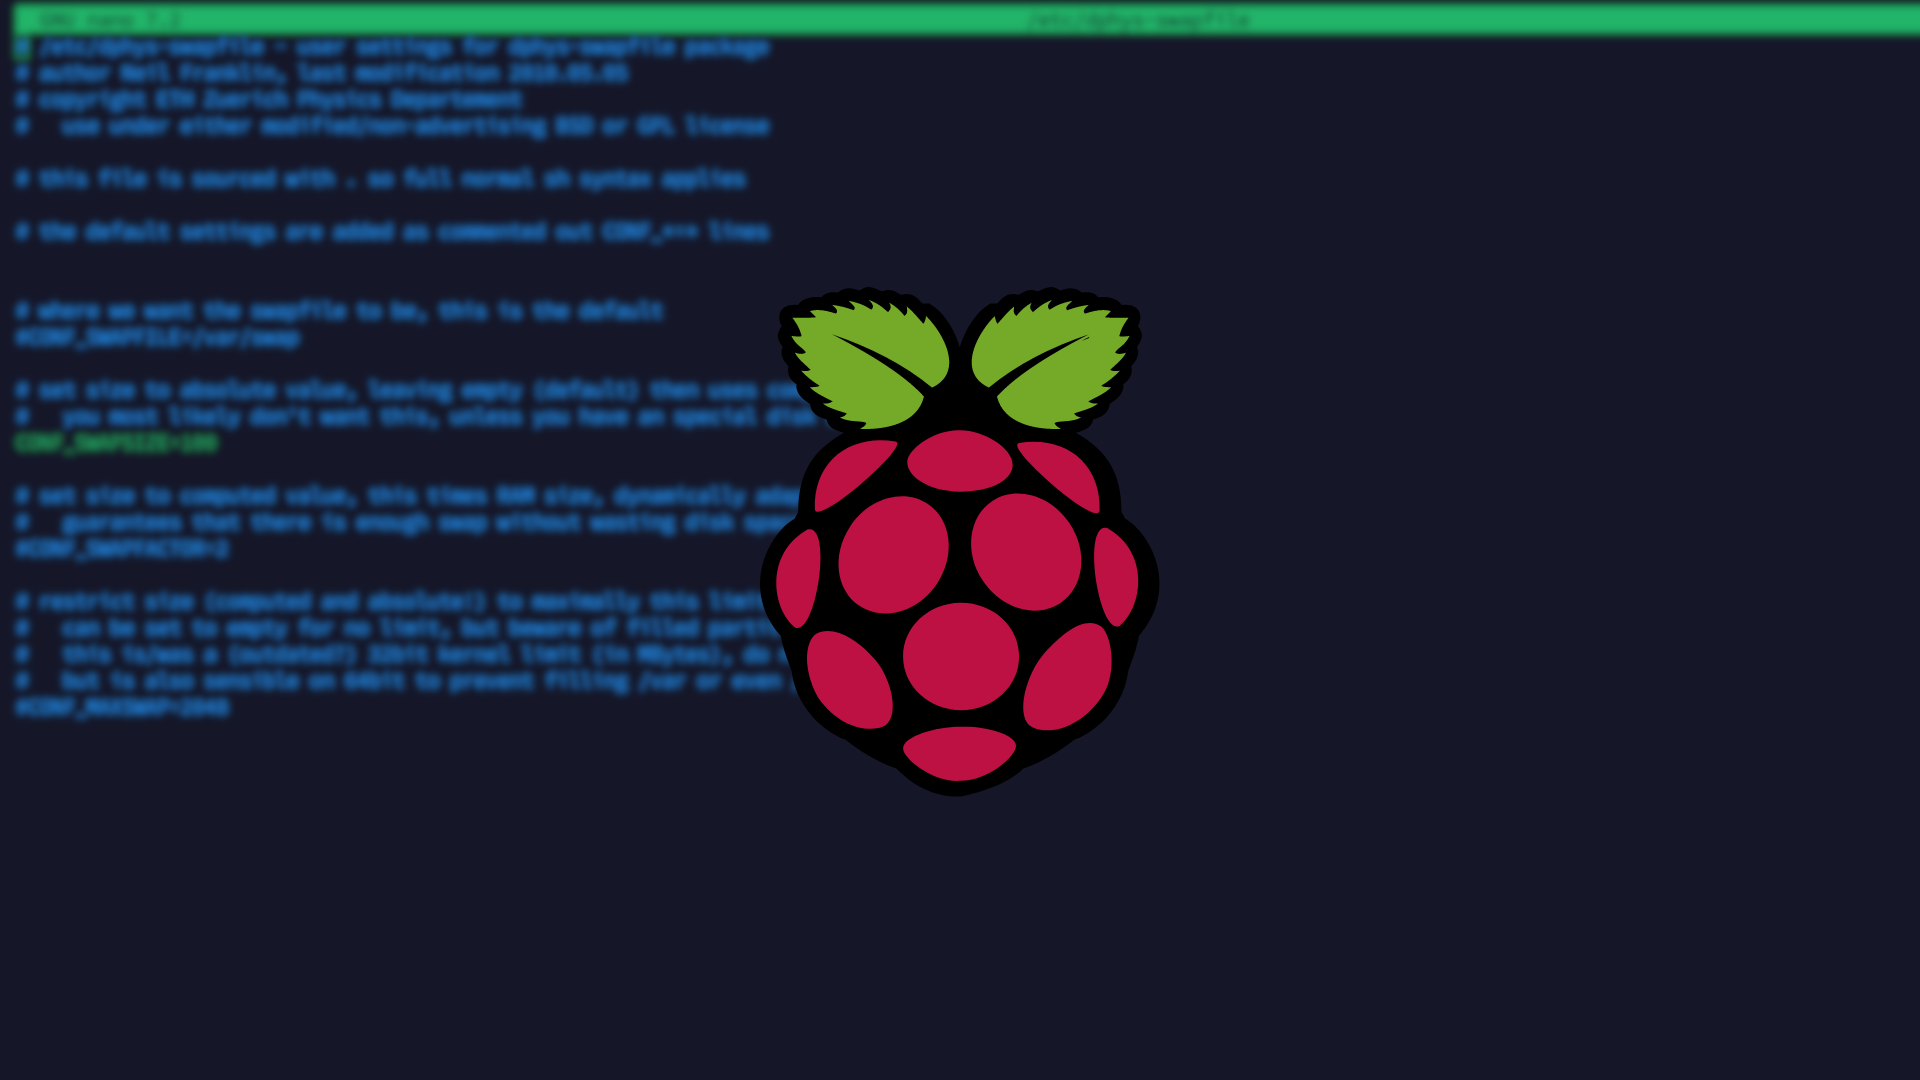
Operating systems on the Raspberry Pi use a SWAP partition, extending RAM with a hard drive. However, the default SWAP settings may not be sufficient, especially when working with resource-intensive applications.
In this article, I will discuss how to increase the SWAP partition to improve system performance and ensure smooth application operation even in situations where the amount of available RAM is limited. We will review the steps needed to resize a SWAP partition and the best practices involved in configuring it.
Introduction
What is a Raspberry Pi?
Raspberry Pi is a family of single-board computers (SBCs) created by the Raspberry Pi Foundation, a non-profit organization based in the United Kingdom. The first Raspberry Pi model appeared on the market in 2012. Since then, the series has continued to evolve, delivering newer and more advanced capabilities at an affordable price.
The Raspberry Pi is used for a variety of purposes, from educational to hobbyist to professional, as an inexpensive and compact computer. It takes the form of a small board with a built-in processor, RAM, input/output (GPIO) ports, USB ports, an Ethernet port, and often with built-in Wi-Fi and Bluetooth modules.
Although the Raspberry Pi is not equivalent to traditional desktop computers in terms of performance, it offers enough computing power for a wide range of applications, such as learning programming, creating IoT (Internet of Things) projects, home servers, monitoring systems and more.
All Raspberry Pi models run on open-source software, usually based on a Linux operating system such as Raspberry Pi OS (formerly known as Raspbian), although other operating systems such as Windows 10 IoT Core can also be run on them. Thanks to its popularity, the Raspberry Pi has become an essential tool for hobbyists, students, developers and even some professionals in various fields of computer science and electronics.
What is a SWAP partition?
 SWAP, also known as a swap partition, is an area on the hard drive that the operating system uses as additional memory when RAM is insufficient to support currently running processes. The main purpose of SWAP is to ensure that the system continues to operate when RAM is exhausted or when dealing with large amounts of data.
When the operating system finds that RAM is running out and new processes require more memory, it uses SWAP as a place to store temporary data. This means that some data from RAM that is not currently being used is moved to the hard disk to make room for new data. When this data is needed again, the operating system moves it back to RAM.
SWAP is especially useful in situations where you are running multiple applications simultaneously or working with large files that require a lot of memory. However, using SWAP can cause the system to slow down, as accessing data on the hard disk is much slower than data stored in RAM. Therefore, it is recommended that SWAP be used as a last resort when RAM is almost completely used up.
For Linux-based systems, including the Raspberry Pi, the SWAP partition is usually created during the installation of the operating system, but it can also be customized by changing its size according to the user’s needs.
Preparation
Before we proceed with the configuration, it is a good idea to properly prepare our device – I will use Raspberry Pi version 5 to create the tutorial. We will issue commands to our device via SSH.
- I recommend using rpilocator.com to see where you can currently get a reasonably priced device;
- For Microsoft Windows operating system I recommend PuTTY, while for Apple macOS operating systems I recommend Termius.
Step 1 – Configuration on Raspberry Pi
Update package list and upload updates
- Launch PuTTY (Windows OS) or Termius (macOS), then connect to your device,
- Enter the following command to update the package list and install available updates:

Take benefit of single sign-on to Synology DSM. A simple way to manage your server. See how easy it is to control access.

Welcome on my blog, where ‘Hello World’ is a symbolic start. Discover with me the fascinating world of coding and news from the world of technology.
Discover how to quickly install Portainer on Synology – simple step-by-step instructions. Manage your Docker containers today!
Take benefit of Traccar’s single sign-on. A simple way to manage users. See how easy it is to control access.
Review of the Aqara U200 lock: modern design, advanced features, integration with Home Assistant and Apple HomeKit. Safety and convenience.

Discover how to enable Office file support in Paperless using Gotenberg and Tika. Learn the way to effective document management!
Leave a Reply