Hello!
Today we will discuss the process of installing the Telnet client on macOS. If you are a macOS user and are involved in computer networking work, you may have noticed that the Telnet client is missing. However, it’s worth remembering that you can easily install it, and this guide will help you do it in a simple and easy-to-understand way. Let’s not waste any more time and now let’s get to the specifics!
What is Telnet and what is this communication protocol used for?
Telnet is a communication protocol used to remotely access and manage network devices and remotely execute commands on computers. It is a text-based protocol that allows users to connect to and interact with other computers or devices on the network in text mode.
The main features of Telnet are:
- Remote login: Telnet allows users to remotely log in to other computers or devices by providing their credentials, such as username and password.
- Command execution: After logging in with Telnet, users can execute commands on a remote computer, such as configuring network devices.
- Text protocol: Telnet sends data in text form, which means that all actions and responses are readable by the user. This is useful for remote diagnostics and system maintenance.
Telnet is a non-secure protocol, which means that data sent using it is transmitted in an open form, without encryption. Therefore, it is not recommended to use Telnet to connect to untrusted or public networks, as data may be vulnerable to interception by third parties. In such cases, it is recommended to use more secure protocols, such as SSH (Secure Shell).
macOS Compatibility
Step 1 – Installing Homebrew on macOS
 Homebrew is a popular package manager for macOS and Linux-based systems. Its main purpose is to make it easier to install, manage and update various software and tools on your Mac.
With Homebrew, you can quickly customize your Mac by installing development tools, applications, libraries and more, all from a single command line tool. It is useful for both developers and ordinary users who want to extend the functionality of their macOS.
To install Homebrew on your Mac, follow the steps below:
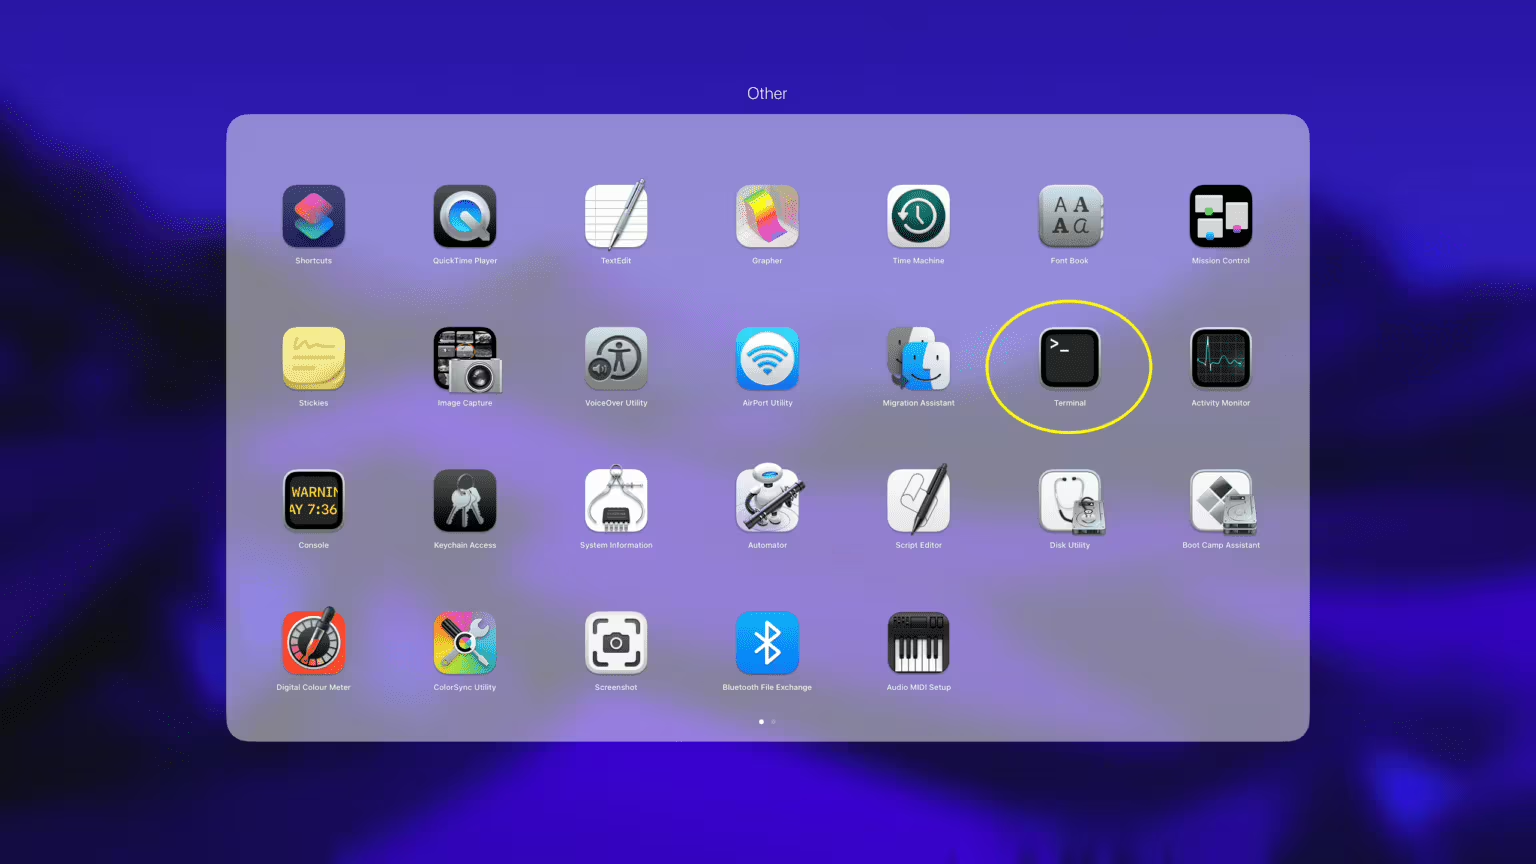
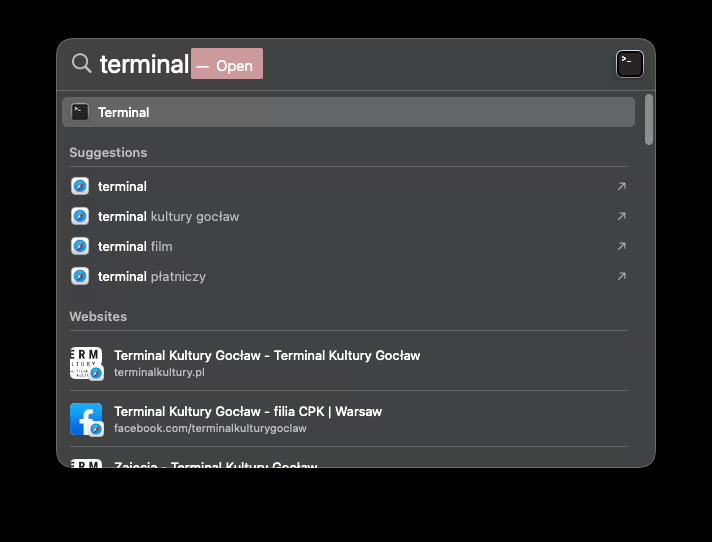
- Open Terminal: You can do this by going to Applications > Utilities and launching Terminal, or you can use the Spotlight search engine by typing Terminal.
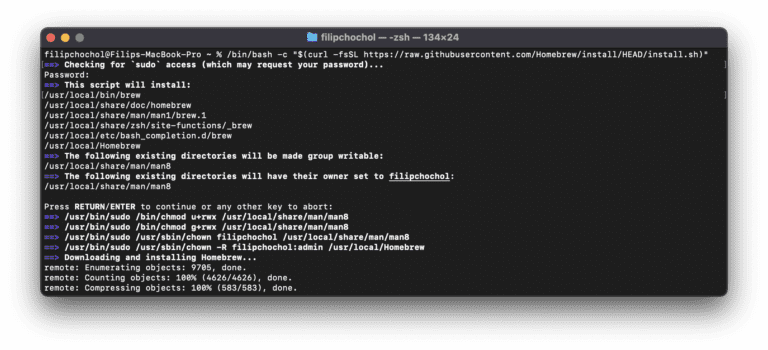
- Copy and paste the following command into Terminal and press Enter:
/bin/bash -c "$(curl -fsSL https://raw.githubusercontent.com/Homebrew/install/HEAD/install.sh)"- This command will download and run the Homebrew installation script. Terrminal will ask you for permission to install Homebrew. Press Enter to continue.
-
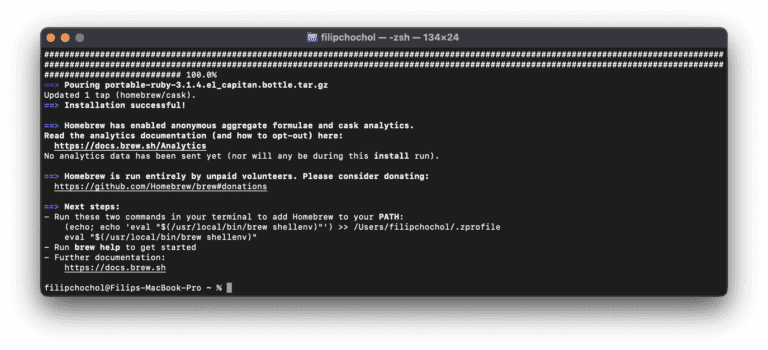
Once the Homebrew installation is complete, Terminal will inform you that the installation is complete.
- To check if Homebrew has been successfully installed, you can type the command:
brew --version- If Homebrew has been installed correctly, you will see the Homebrew version in the Terminal response.
Last login: Mon Jan 22 17:02:36 on ttys000
filipchochol@Filips-MacBook-Pro ~ % brew --version
Homebrew 4.2.4
filipchochol@Filips-MacBook-Pro ~ %
Now that Homebrew is installed, you can move on to installing the Telnet client on your Mac, which we will discuss in the next steps.
Step 2 – Installing the Telnet client using Homebrew
Now that you have Homebrew installed on your Mac, you can continue installing the Telnet client using this package manager. Follow the steps below:
Open Terminal, if it is not already running. You can do this by going to Applications > Utilities and launching Terminal.
In Terminal, type the following command and press Enter to install the Telnet client:
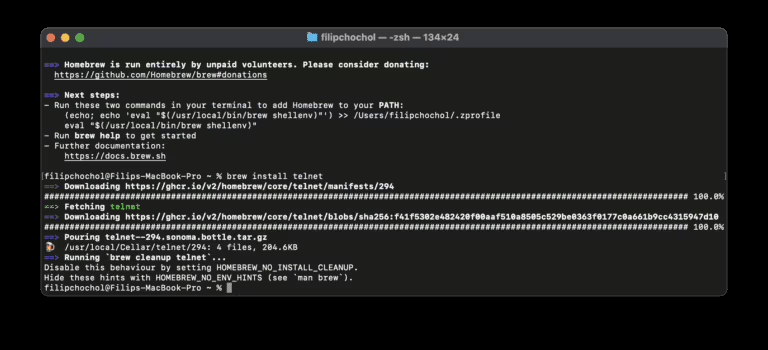
brew install telnet- Homebrew will automatically download and install the Telnet client on your Mac. This may take a while, depending on the speed of your Internet connection.
- Once the installation is complete, you can verify that the client was successfully installed by typing in Terminal:
telnet- If the client has been installed correctly, you should see the expected response from the program.
telnet>Additional sources and information
- Homebrew Formulae: https://formulae.brew.sh/formula/telnet
Read also
- Netbox: A guide to installing Netbox on Synology using Docker Compose / A guide to installing Netbox on Synology using Docker Compose. Step by step, easy and fast solution for network management.
- UniFi Network Application: Connecting an Access Point from another network / Discover how to connect a device from Ubiquiti UniFi from another network to Network Application – using Mikrotik’s IPSec tunnel as an example.
- UniFi Controller in Docker: Migrating to UniFi Network Application / UniFi Controller: Discover step-by-step how to successfully migrate to Network Application using Docker Compose.
- Home Assistant: Install mirror lighting on ESPHome / Set up simple mirror lighting with ESPHome in Home Assistant. Discover simple integration and control light with ease.
- ADS-B: Receiver Installation and Configuration on Raspberry Pi / Discover the secrets of installing and configuring your own ADS-B antenna on Raspberry Pi. Develop skills and track aircraft in real time.
- Traccar: A guide to installing on Synology with Docker / Step-by-step guide: Installing Traccar on Synology using Docker. Effective vehicle tracking on your own server.
Leave a Reply