Hello!
Today I’ll walk you through the steps of configuring the single sign-on (SSO) service between the Traccar server and Authentik.
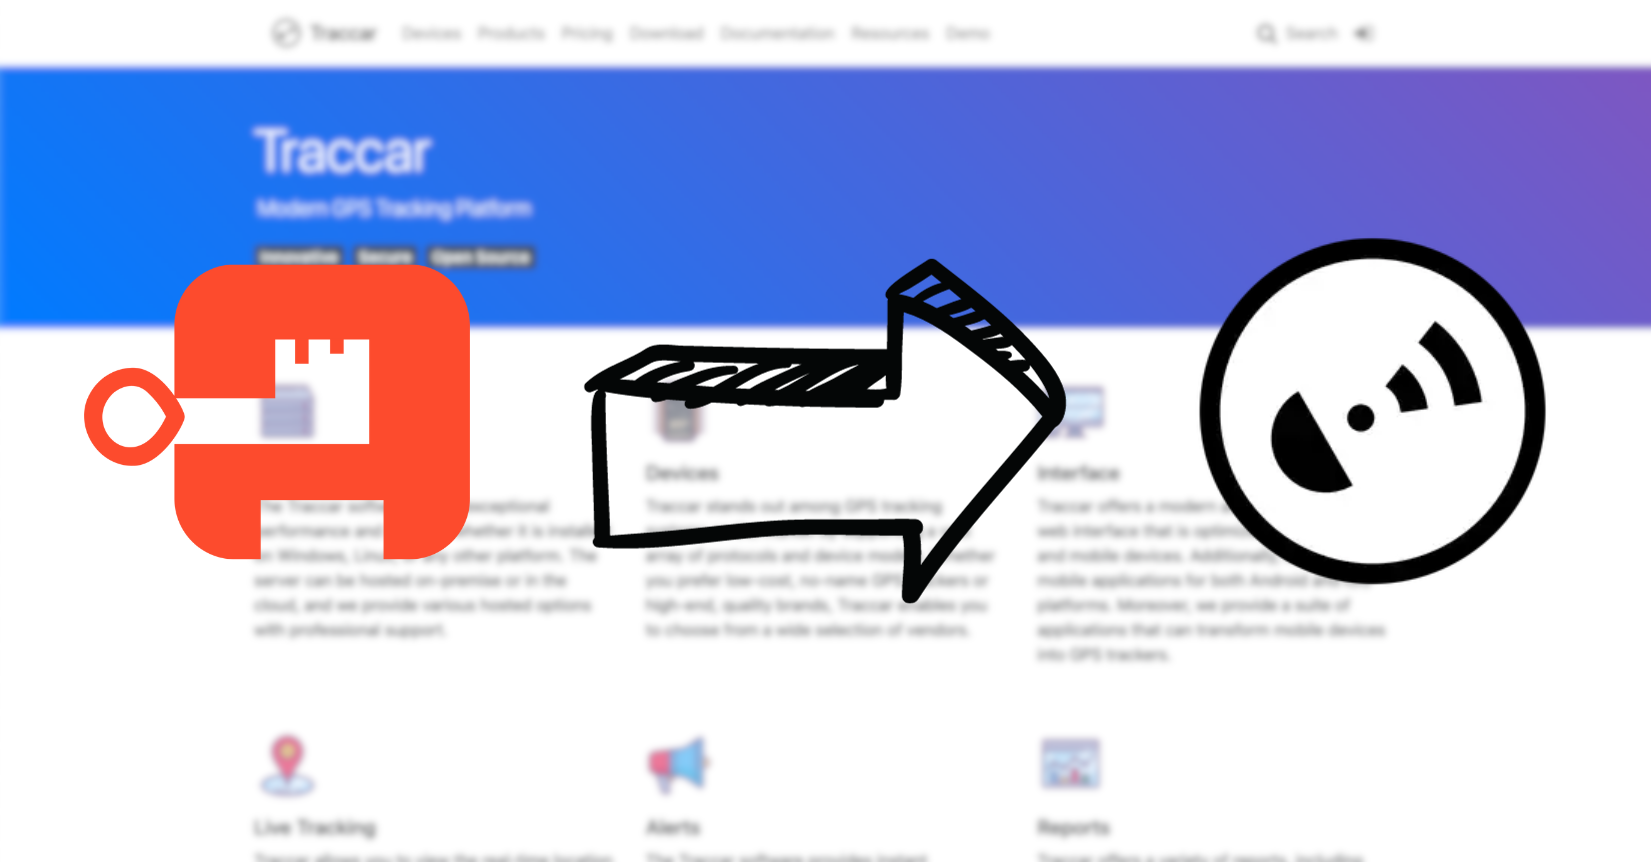
What is Traccar?
 Traccar is an open-source vehicle tracking tool for monitoring and managing fleets. It works on the principle of a GPS server, collecting data from GPS devices and other sensors, and then presents this information in a web-based interface. Traccar allows you to track the location of vehicles in real time, analyze route history, monitor fuel consumption and other parameters.
What is Authentik?
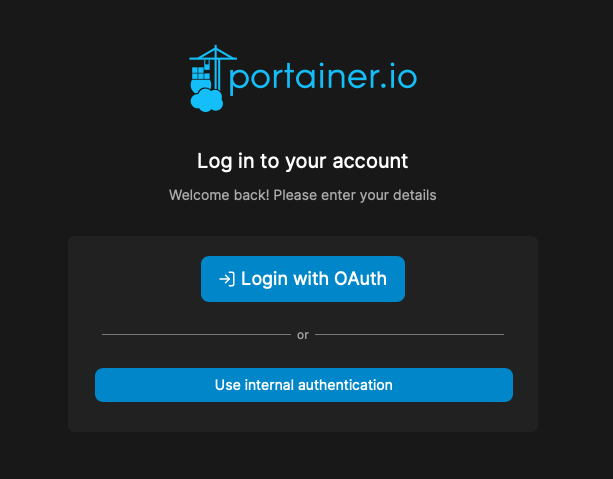
![]() Authentik is also an open-source tool that acts as an Identity Provider. Similar commercial services, such as Okta or One Login, are already operating in the market. As for similar open-source tools, on the other hand, you can mention the likes of Keycloak and Authelia.
Authentik is also an open-source tool that acts as an Identity Provider. Similar commercial services, such as Okta or One Login, are already operating in the market. As for similar open-source tools, on the other hand, you can mention the likes of Keycloak and Authelia.
Preparation
In order to prepare the tutorial, we have already adopted a predetermined domain name and certain configuration names, shown below. For customized configuration, adjust the settings according to individual requirements.
- Full domain name (FQDN) of Traccar: https://traccar.xyz.com
- Full domain name (FQDN) Portainer: https://auth.xyz.com
Step 1 – Configure the server through Docker Compose in the Portainer
Do you already have a server configured on your Synology device? If not, read this article to prepare your server, then return here to continue with further configuration.
Step 2 – Configure communication with the GPS tracker
Do you already have ports forwarded on your router and a GPS tracker configured to send information to the Traccar server? If not, read this article on server customization, then come back here to continue with the configuration.
Step 3 – Configuration in Authentik
- Log in to your account and go to the administration interface,
- After successfully logging into the administrative interface, go to the Applications tab on the left side of the screen, and then select Providers.

- Click Create and select the OAuth2/OpenID Provider type. Then move on by clicking Next.
- Fill the provider with the following values:
- Name: traccar-prod
- Authentication flow: Choose your configured or set default (default-authentication-flow)
- Authorization flow: choose your configured or set explicit or implicit consent. (This setting refers to the function used during authorization for this application – we define whether Authentik should display a button that allows you to go to the application after logging in, or simply redirect you without asking).
- Protocol settings:
- Client type: We leave Confidential
- Client ID: Copy and save for later
- Client Secret: Copy and save for later
- Redirect URIs/Origins (RegEx): https://traccar.xyz.com/api/session/openid/callback
- Leave the other values unchanged and click Finish.
- On the left side of the screen, selectApplications, and then Applications again.
- Kliknij Create and fill the application with the following values:
- Name: Traccar
- Slug: traccar
- Provider: traccar-prod
- UI Settings you may or may not want to complete.
- Icon: download the Traccar icon from the Internet and upload it.
- Publisher: Anton Tananaev
- Description: Open source GPS tracking server
- We approve the creation of the application with the Create button.
On the identity provider side, we have already completed the necessary steps. Now it’s time to configure Traccar.
Step 4 – Disable the server operation in the Portainer
Before you start editing the XML file, disable the server container and database operations in the Portainer. To do this:
- Log in to your account and go to the administration interface.
- Are you using the Authentik single sign-on system? Make the login process easier for yourself by integrating Portainer with Authentik with the help of these instructions.
- Go to your environment (Environments), where you will deactivate containers created within Docker Compose. Then go to Stacks and select the created Stack named traccar.
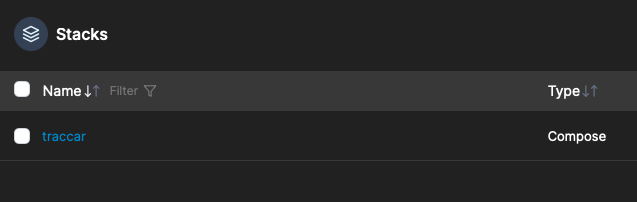
- Select both active containers and click Stop. Wait a while until the containers are stopped.

Single Sign-On principle of operation
Traccar can authenticate users using a third-party identity provider that supports the OpenID Connect protocol.
Guided by the technical documentation available on Traccar’s official website, we discover the details of the authentication process using single sign-on via the OpenID protocol:
- Traccar redirects user to identity provider
- The user, the target authenticates with an identity provider (in our case it will be Authentik);
- The identity provider (Authentik) redirects the user to Traccar with the authorization code;
- Traccar verifies the callback and requests user information from the identity provider;
- If a user with a matching email address is found, they are authenticated. If not, a new user is created.
Step 5 – Edit the configuration file in Synology’s text editor
To configure our communication using the OpenID Connect protocol, it is necessary to add the following values to the XML file in the application’s configuration folder. Our GPS tracker server is located in Docker on Synology, so for this we will use the text editor installed on our file server.
- Log in to your file server and open File Station

- Navigate to the docker folder, then locate the directory of our GPS tracker server, which is named traccar.
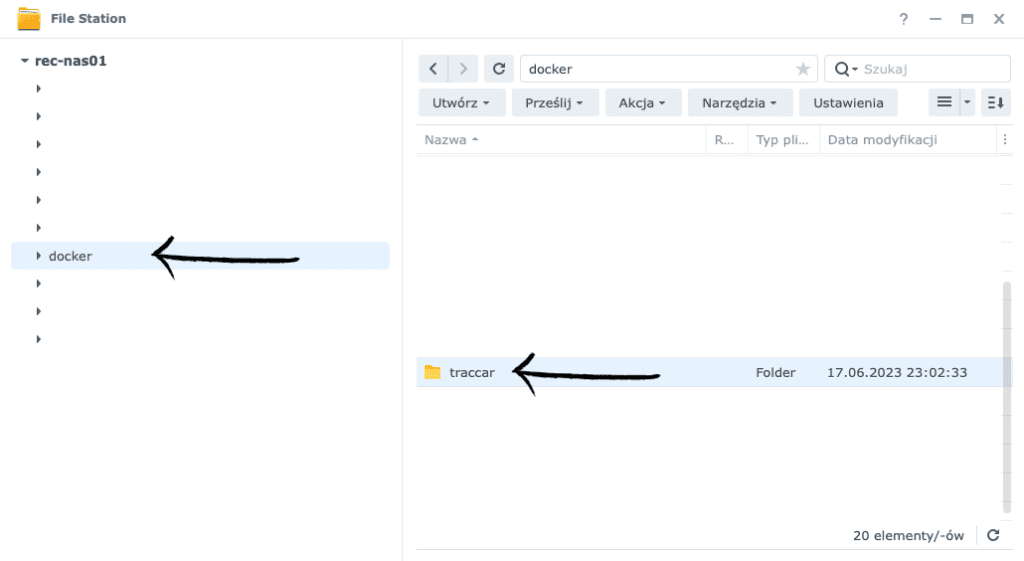
- In the traccar directory, located inside the docker folder, go to the subfolder named config and locate the traccar.xml file. Open it with the text editor installed on the Synology by double-clicking with the left mouse button.

- Between the section
and, add the following parameters: 
- Save the edited file

Step 6 – Return to the Portainer and start the containers
- Start the deactivated containers back up. Wait a while until the file configuration loads correctly.

Step 7 – Log in to the server using your Authentik account
- Gotowe! 🚀 To test the operation, go to our server’s website and select Login with OpenID

Additional Sources and information
For further exploration and more information, I recommend checking out the links below. They are valuable sources that were used in the development of this guide.
- OpenID Connect technical documentation on the author’s website: https://www.traccar.org/openid-sso/
Leave a Reply